
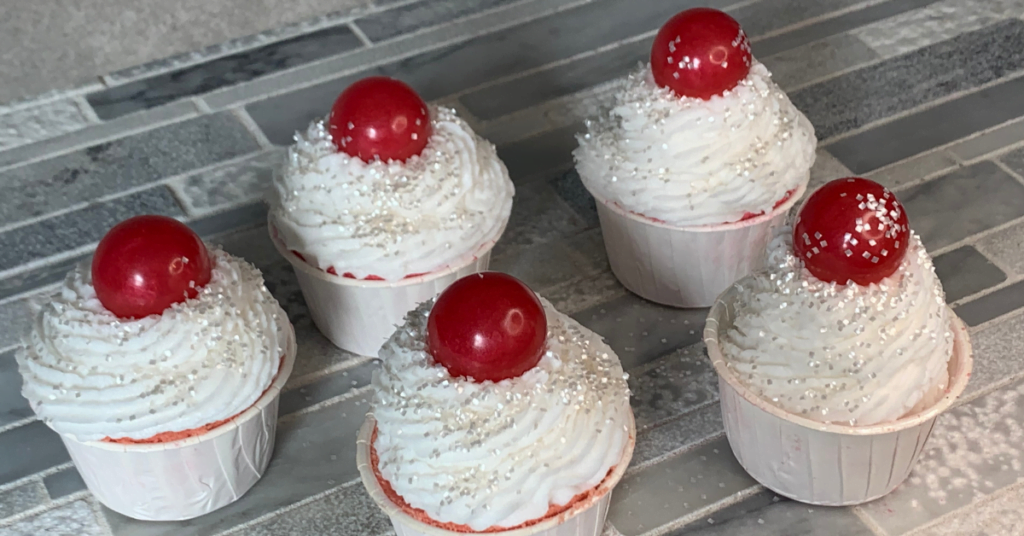
Discover the ultimate guide to crafting your own DIY Cupcake Bath Bomb topped with luxurious whipped soap frosting! These delightful bath bombs not only add charm but also infuse your bathwater with vibrant colors and delightful bubbles. The base of the cupcake features a bath bomb, elegantly adorned with a delightful whipped soap topping. Elevate its charm further with a soapy embed and a sprinkle of edible glitter for a truly enchanting bath bomb experience.
Prefer to watch this project instead of reading it?
Some of the links are affiliate links, because I am an associate and I earn a small commission on them. There is no additional cost to you, I earn a commission if you click through and make a purchase.
Crafting DIY Cupcake Bath Bombs
Transform ordinary bath bombs into adorable cupcake creations! Crafting these DIY bath bomb cupcakes involves three key components: the bath bomb base, the luxurious bubble bath frosting, and the charming soap embed. Join me as I guide you through the creation of each element, starting with the bath bomb base. Let’s embark on this sweet journey together!
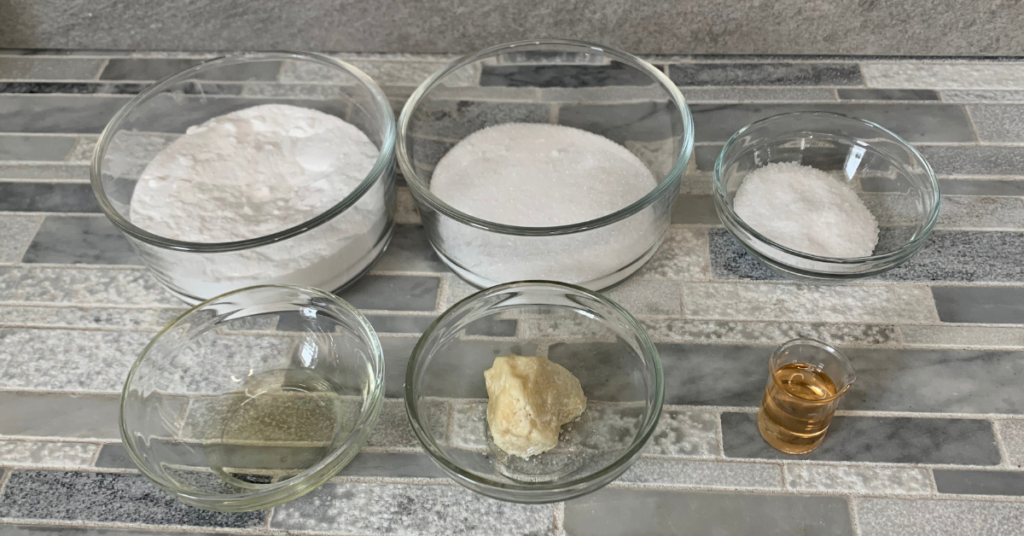
Cupcake Bath Bomb Ingredients
Baking Soda – This ingredient creates a fizzing reaction when mixed with citric acid and water, vital for bath bomb fizziness.
Citric Acid – Typically used at a 2:1 ratio with baking soda by weight, contributing to the fizziness.
Epsom Salt – The epsom salt is not an essential ingredient, it just adds a relaxation element to your bath. You can swap this out for any salt of your choice. I ground mine up with a mortal and pestle so the large grains did not show through in my bath bomb.
Wet Ingredients
Cocoa Butter – The cocoa butter is added to add a bit of moisture into the bath water, it also helps to hold the bath bomb together a little bit. This can be substituted for another butter or carrier oil. This also adds just a touch of a chocolate scent to the bath bombs.
Polysorbate 80 – The polysorbate 80 helps with stabilizing the mixture and creates a “foam”. It is a surfactant that reduces the surface tension of two liquids to get them to mix better. In a bath bomb the polysorbate 80 is going to keep everything mixed together and prevent ingredients from separating, and distribute the fragrance and color evenly throughout the bath water.
The rule of thumb when determining how much to use in your recipe is 1-2% of the weight of the dry ingredients. So if we were using 10 ounces of dry ingredients, we would use 0.1 – 0.2 polysorbate 80 in the recipe.
Sugared Strawberry Fragrance Oil – The fragrance oil is a delicious strawberry scent. The strawberry top notes are enhanced by light notes of sweet nectar, green apples, and grape. This is combined with the hint of chocolate from the cocoa butter and makes the bath bomb smell amazing.
Coloring – You have a few different choices when it comes to the coloring of your bath bomb. If you want the bath water to be colored, you should use a lake dye. If you just want the bath bomb to have color (and maybe a light pastel bath water) you should use a mica powder.
I prefer the lake dye as the color is a little nicer and it does not stick to the sides of the bath tub like the mica power does.
How to Make DIY Cupcake Bath Bombs
- Here are the steps to make the cupcake bath bombs:
- Mix baking soda, citric acid, and Epsom salt in a large bowl.
- Place the cocoa butter into a heat safe container and melt it on a double boiler. (If you prefer, this can also be melted in the microwave in 5-10 second bursts. Mix well in between each burst). Once melted, pour the cocoa butter on top of the dry ingredients.
- Add the polysorbate 80 and Sugared Strawberry fragrance oil and mix well. I will normally start mixing with a spatula, but in the end you will have to mix this with your hands.
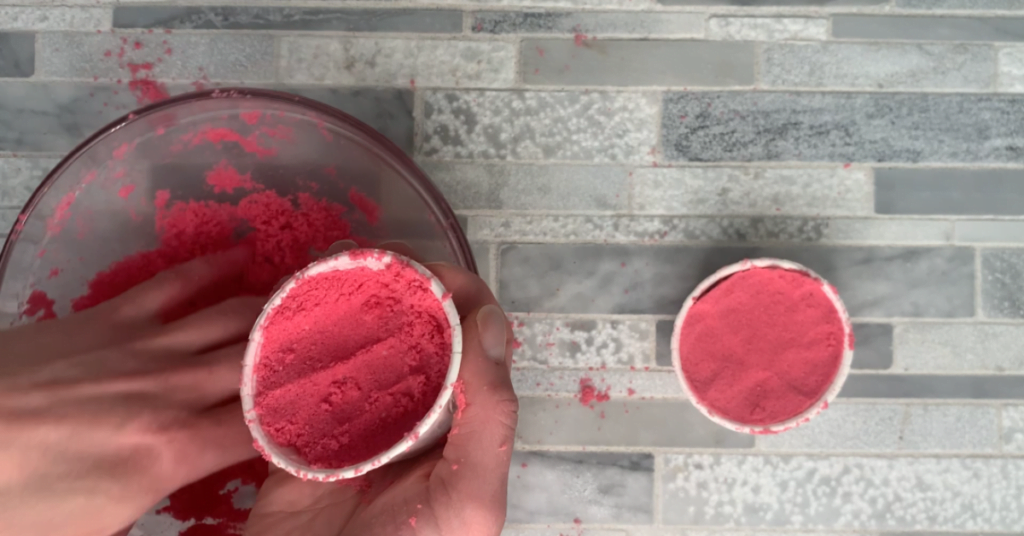
- If you are using more than one color, separate the mixture and add mica powder to each section. For these I separated it into 2 parts. I colored one with a lake dye and one with a mica powder.
- Spray the witch hazel on the mixture. Only do 1-2 sprays at a time. (You want to be sure not to add too much or it can cause fizzing). If you prefer you can use rubbing alcohol instead of witch hazel.
- Then mix very well. We are gong for a consistency of wet sand. To test the consistency, you will want to grab a handful of the mixture and squeeze it in your hand into a ball. Then from about 5 inches above the bowl, drop it. If it stays in the ball and doesn’t break apart, you are at the right consistency. If it breaks apart, just add another spray or two and test it again.
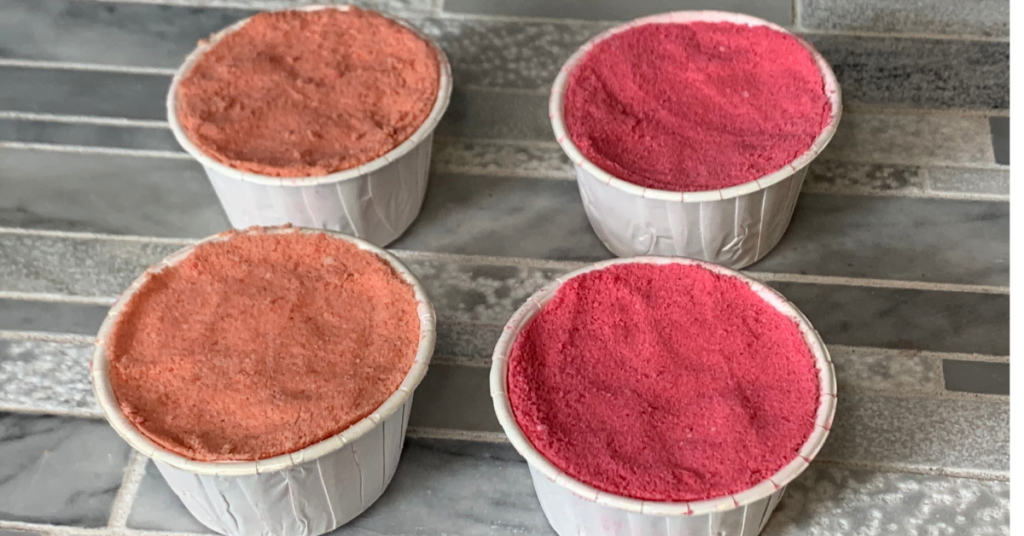
- Press the bath bomb mixture into your cupcake cup or silicone mold. You can change the colors as you go. It is important that you press it down into the mold to get it all to pack in there, the more you pack it in the mold the better your bath bomb will hold together.
- Leave the bath bomb cup cakes to harden in for at least 6 hours. I like to just let mine set up overnight. You can use a cupcake pan with a silicone liner to make these. I decided to use Party Cups.
- If you are using a mold, carefully release the bath bombs from the mold.
DIY Soap Frosting
How do you make a soap frosting? You can either purchase a premade bath butter or you can make your own whipped soap base. You can use a pre-made base, or if you want to make your own here is my Whipped Soap Base Recipe.
The thing is that for this whipped soap, we need it to be able to be pipped but then we need it to harden up so we can package it. The combination of a melt and pour soap and a whipped soap base will give us this consistency.
Whipped Soap Frosting Recipe
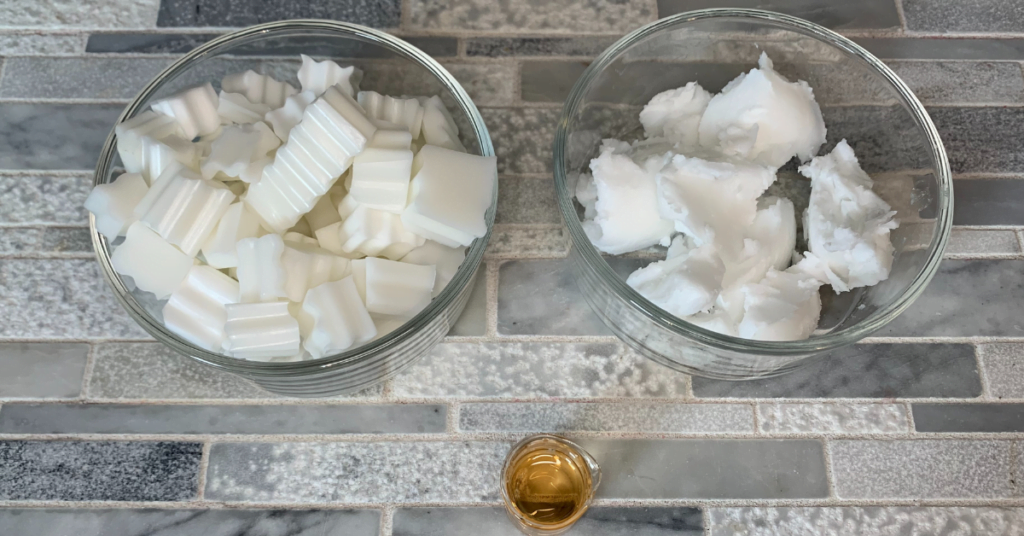
Whipped Soap Base – You can buy a Whipped Soap Base or you can make your own Whipped Soap Base Recipe. The whipped soap base is used to soften the melt and pout soap up.
Melt and Pour Soap – Melt and pour soap is a soap base that is heated up and then poured. I used a white melt and pour in this recipe, but you can swap it out for clear soap if you prefer.
Sugared Strawberry Fragrance Oil

How to make the Whipped Soap Frosting
Now that you have your ingredients, let’s go ahead and whip up the soap frosting. Since we want this soap base to harden up (so you can package the bath bomb) we need to add a bit of melt and pour soap to it.
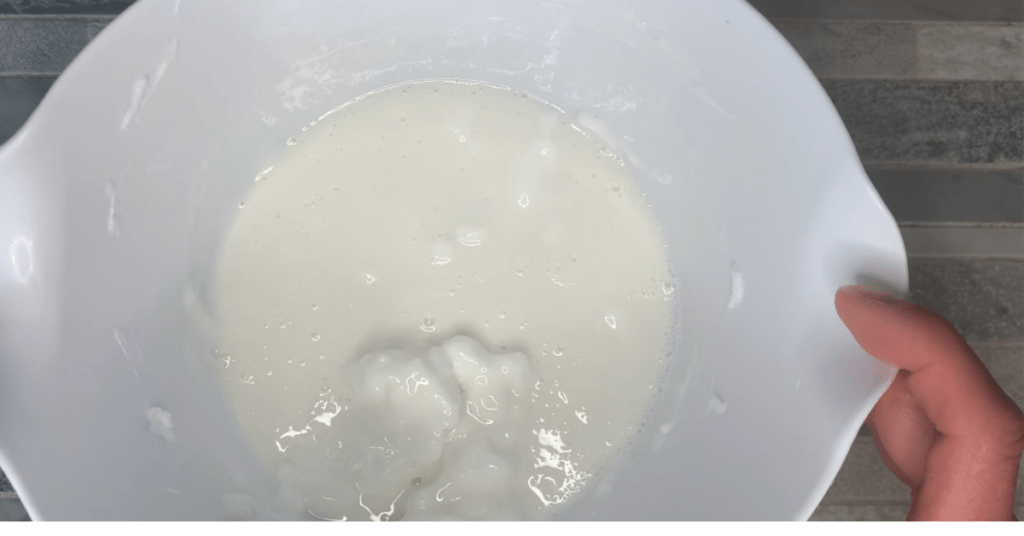
Add the whipped soap base into a large bowl.
Start mixing the whipped soap base on a slow speed. It is going to be a little hard in the beginning to mix it.
Melt the melt and pour soap in the microwave. You want to do this in 10-15 second intervals, mixing well in between each one.
Pour the melted soap into the container with the whipped soap.
Add the fragrance oil.
Mix together well with the hand mixer.
Occasionally use a spatula to wipe down the sides of the container to ensure that everything is mixing evenly.
Troubleshooting Whipped Soap
Adjust consistency by adding more whipped soap base or briefly heating if it becomes too hard.
How to frost Cupcake Bath Bombs
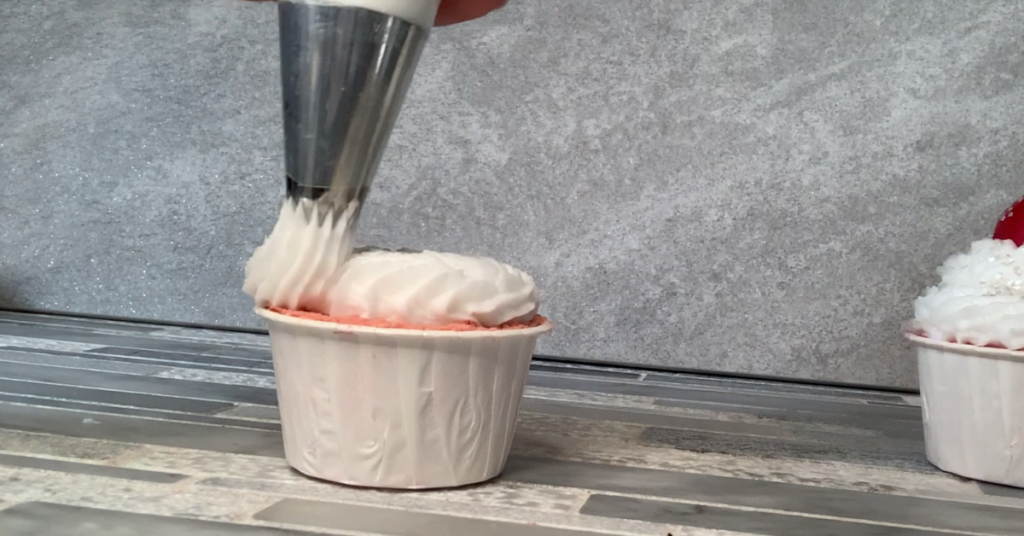
steps…
Decorating the top of Cupcake Bath Bomb
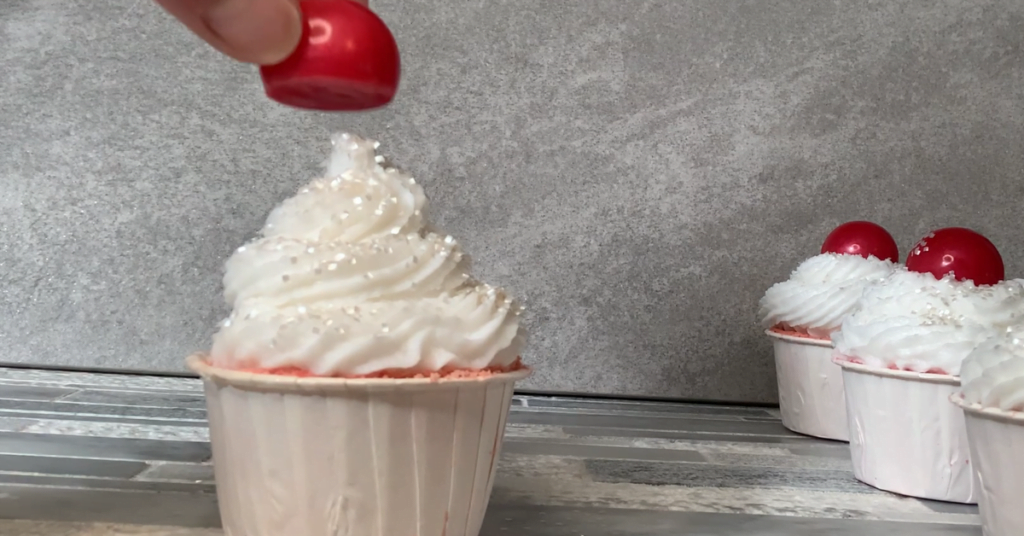
Now that our DIY Cupcake Bath Bomb is made and frosted, we can add some decorations to the top. I like to make a little circle soap embed and place it on the top with a touch of biodegradable glitter.
How to make the Melt and Pour embed
Clear Melt and Pour Soap – If you want a more pastel color, use a white melt and pour. If you prefer a more vibrant color, use a clear soap base. I wanted vibrant and shiny top, so I went with the clear soap base.
Mold – You will need a silicone mold to make the embed. I used a semi sphere but you can use any mold that you would like
Glitter – You can use biodegradable glitter or edible glitter. I used a bit of edible glitter in mine.
Melt and Pour Embed
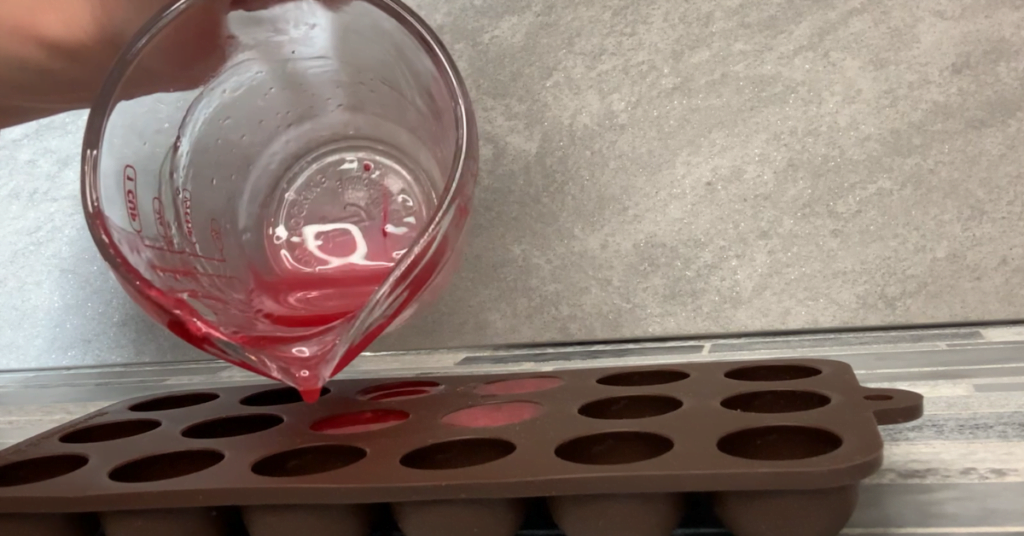
Melt clear melt and pour soap base.
Add mica powder to the melted soap and mix well. Sometimes the mica does not want to mix in, to get it to mix you can spray the top with a bit of rubbing alcohol to break the surface tension.
Pour into your silicone mold.
Spray the top of the embeds with rubbing alcohol.
Once hardened, remove from the mold.
Place the soap embed on the top of your cupcake and sprinkle with a little biodegradable glitter. If you do not have biodegradable glitter, you can also use edible glitter as this will melt in the bath water.
Packaging Bath Bomb Cupcakes
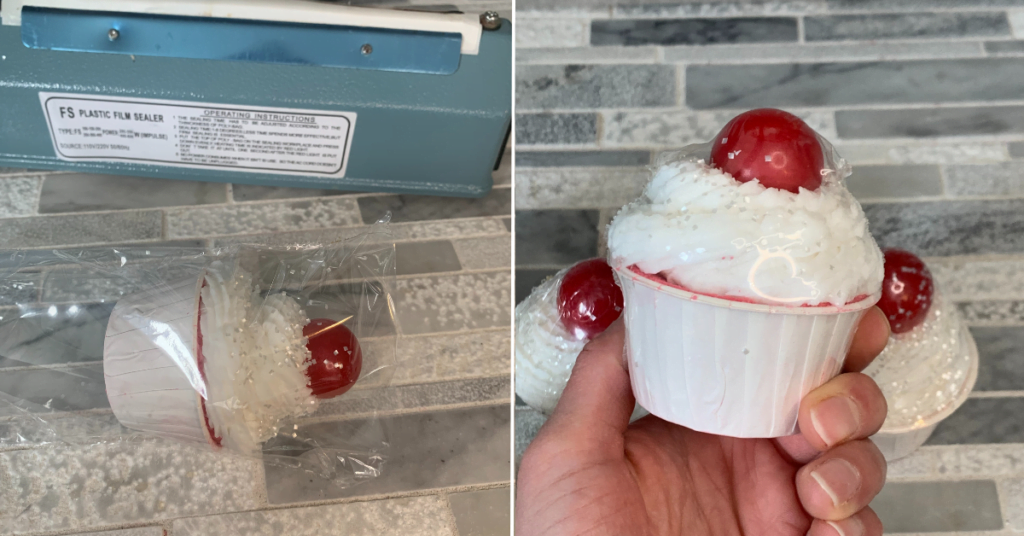
Packaging Bath Bomb Cupcakes
To prevent glycerin dew or moisture reactions, shrink wrap or saran wrap your bath bomb cupcakes.
To learn more about what glycerin dew is check out my Soap Sweating or Glycerin Dew post.
How to use Bath Bomb Cupcakes with Bubble Frosting
Fill your bath with warm water.
Place the bath boob base in the water. It will start fizzing and dissolving right away.
Bath Bomb Cupcake
Equipment
- Scale
Ingredients
Bath Bomb
- 9.28 ounce | 58% Baking Soda
- 4.64 ounce | 29% Citric Acid
- 0.96 ounce | 6% Epsom Salt
- 0.64 ounce | 4% Cocoa Butter
- 0.16 ounce | 1% Polysorbate 80
- 0.32 ounce | 2% Sugared Strawberry Fragrance Oil
- Lake Dye optional
Whipped Soap Topping
- 5.12 ounce | 32% Whipped Soap Base
- 10.40 ounce | 65% Melt and Pour Soap
- 0.32 ounce | 2% Sugared Strawberry Fragrance Oil
Melt and Pour Embed
- 1.96 ounce | 98% Clear Melt and Pour Soap
- 0.04 ounce | 2% Sugared Strawberry Fragrance Oil
- Glitter
- Mold
Instructions
Bath Bomb
- Place all of the dry ingredients (baking soda, citric acid and epsom salt) into a large mixing bowl and mix them together.
- Place the cocoa butter into a heat safe container and melt it on a double boiler. (If you prefer, this can also be melted in the microwave in 5-10 second bursts. Mix well in between each burst). Once melted, pour the cocoa butter on top of the dry ingredients.
- Add the polysorbate 80 and Sugared Strawberry fragrance oil and mix well. I will normally start mixing with a spatula, but in the end you will have to mix this with your hands.
- Spray the witch hazel on the mixture. Only do 1-2 sprays at a time. (You want to be sure not to add too much or it can cause fizzing). If you prefer you can use rubbing alcohol instead of witch hazel.
- Then mix very well. We are gong for a consistency of wet sand. To test the consistency, you will want to grab a handful of the mixture and squeeze it in your hand into a ball. Then from about 5 inches above the bowl, drop it. If it stays in the ball and doesn’t break apart, you are at the right consistency. If it breaks apart, just add another spray or two and test it again.
- Press the bath bomb mixture into your cupcake cup or silicone mold. You can change the colors as you go. It is important that you press it down into the mold to get it all to pack in there, the more you pack it in the mold the better your bath bomb will hold together.
- Leave the bath bomb cup cakes to harden in for at least 6 hours. I like to just let mine set up overnight.
Whipped Soap Topping
- Add the whipped soap base into a large bowl.
- Start mixing the whipped soap base on a slow speed. It is going to be a little hard in the beginning to mix it.
- Melt the melt and pour soap in the microwave. You want to do this in 10-15 second intervals, mixing well in between each one.
- Pour the melted soap into the container with the whipped soap.
- Add the fragrance oil.
- Mix together well with the hand mixer. Occasionally use a spatula to wipe down the sides of the container to ensure that everything is mixing evenly.
Melt and Pour Embed
- Melt clear melt and pour soap base.
- Add mica powder to the melted soap and mix well. Sometimes the mica does not want to mix in, to get it to mix you can spray the top with a bit of rubbing alcohol to break the surface tension.
- Pour into your silicone mold.
- Spray the top of the embeds with rubbing alcohol.
- Once hardened, remove from the mold.
- Place the soap embed on the top of your cupcake and sprinkle with a little biodegradable glitter. If you do not have biodegradable glitter, you can also use edible glitter as this will melt in the bath water.


