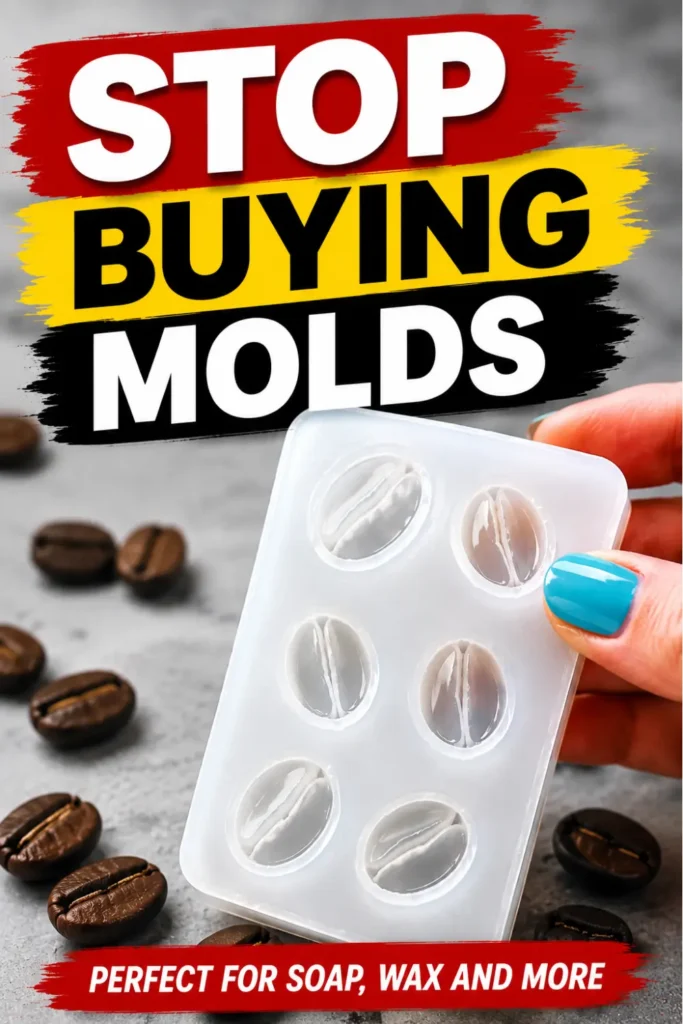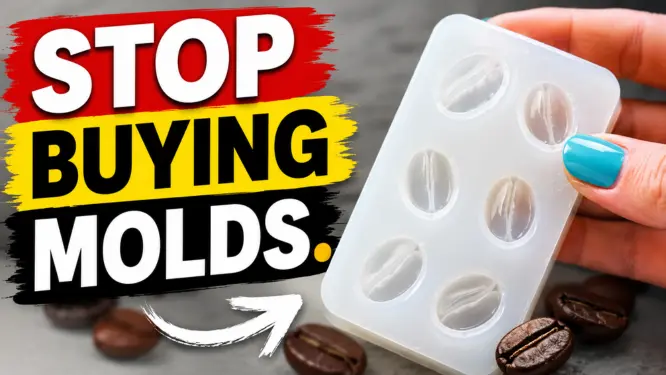
If you’ve ever wanted to make your own molds for soap, wax melts, or resin, this beginner-friendly tutorial will show you exactly how to make silicone molds at home using a simple cardboard setup.
In this guide, I’ll walk you through creating a coffee bean silicone mold step-by-step—perfect for DIY projects and small batch creations.
Watch the Video Tutorial on Making Coffee Bean Silicone Molds
Some links on this website are affiliate links, meaning I may earn a small commission if you click and make a purchase. This comes at no additional cost to you.
Quick Answer: How Do You Make a Silicone Mold?
To make a silicone mold at home:
- Build a small mold box
- Secure your objects (like coffee beans) inside
- Mix a 1:1 ratio silicone
- Pour over objects with at least ½ inch thickness
- Let cure overnight
- Remove objects and clean the mold
Supplies You’ll Need
- Coffee beans
- Cardboard
- Masking tape
- Press & Seal cling wrap
- Hot glue gun
- Two-part silicone (1:1 ratio)
- Disposable cup
- Popsicle stick
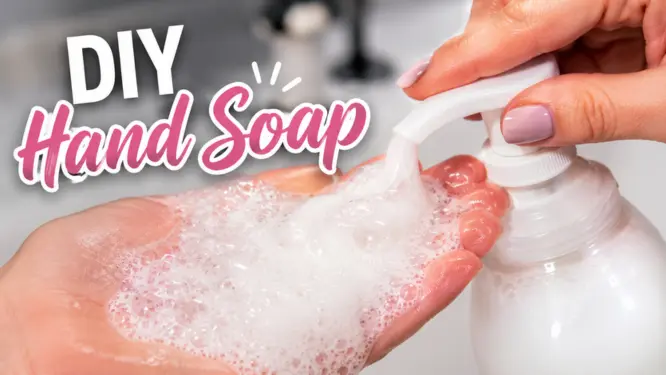
If you’re planning to use this mold for soap, you may also want to check out my guide on making melt and pour soap at home.
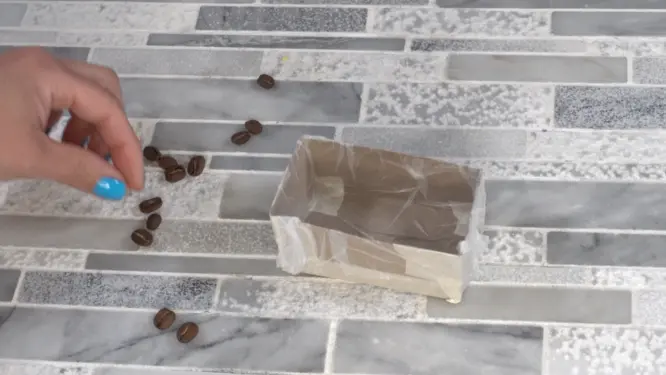
Step 1: Build Your Mold Box
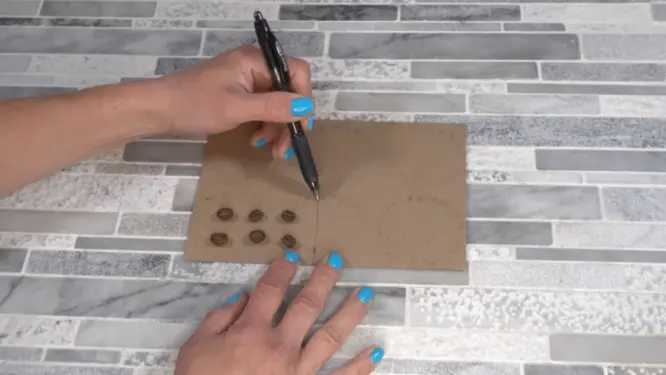
Start by laying out your coffee beans to estimate your mold size.
For this tutorial, the box dimensions are:
- 2 inches x 3.5 inches
- 1.5 inches deep
Tape the cardboard together securely using masking tape.
Then line the inside with Press & Seal cling wrap—this is important for easy removal later.
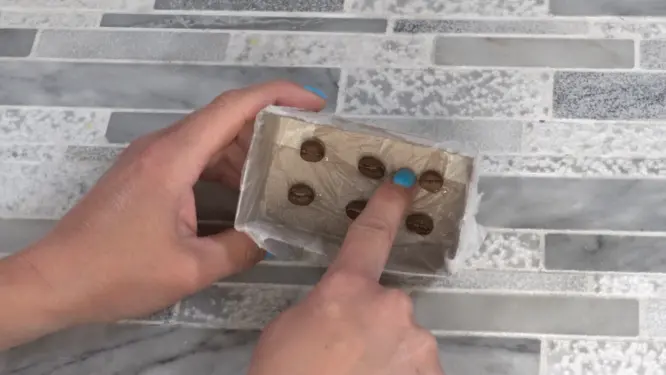
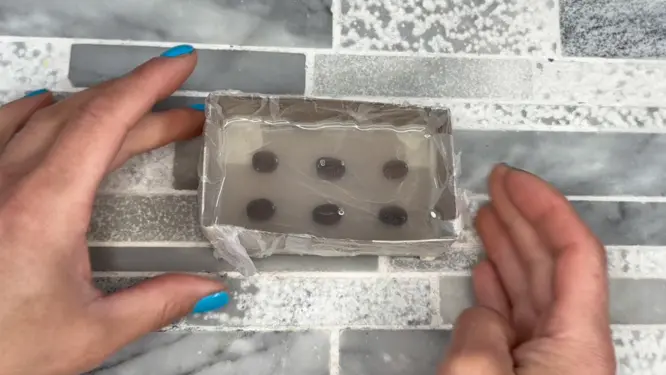
Step 2: Attach the Coffee Beans
- Add a small amount of hot glue to the flat side of each bean
- Press into the box
- Leave space between beans
The side facing up will become the top design of your mold
** Don’t overcrowd—this helps prevent tearing later.
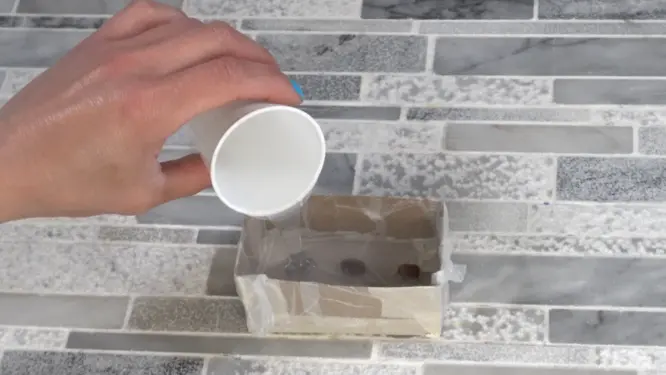
Step 3: Mix and Pour Silicone
Mix your silicone in a 1:1 ratio (Part A + Part B).
- Stir slowly to reduce bubbles
- Use a disposable cup for easy cleanup
Pour over the beans, making sure:
- All beans are fully covered
- There is at least ½ inch of silicone above them
This ensures your mold is durable and won’t break during use.
For my box, I used 37 grams of part A and 37 grams of part B silicone.
Step 4: Let It Cure
Leave the mold undisturbed overnight to fully cure.
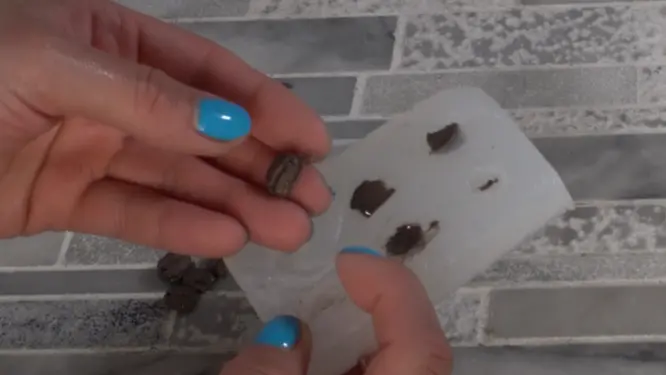
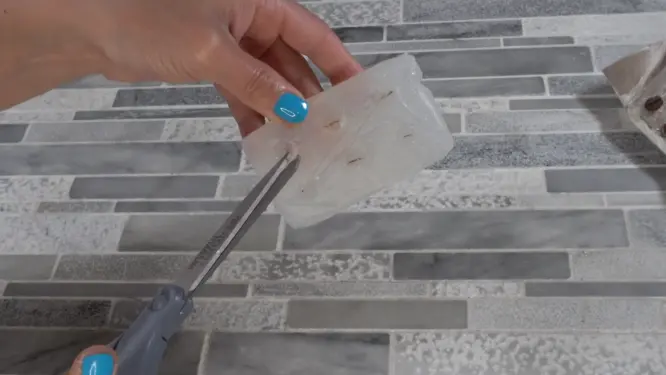
Step 5: Remove and Clean
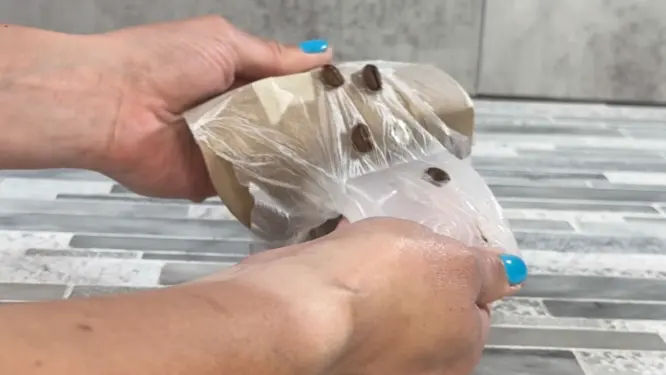
- Remove from the box
- Pop out coffee beans
- Trim the mold if you need to. I trim the sides and any spot where the silicone goes over the coffee bean top.
Wash with warm, soapy water before using.
Step 6: Test Your Mold
Test your mold using melt and pour soap to check:
- Detail quality
- Flexibility
- Release
You can follow my full DIY soap tutorial here
What Can You Use Silicone Molds For?
Once you learn how to make silicone molds, you can use them for:
- Soap making
- Wax melts
- Resin crafts
- Lotion bars
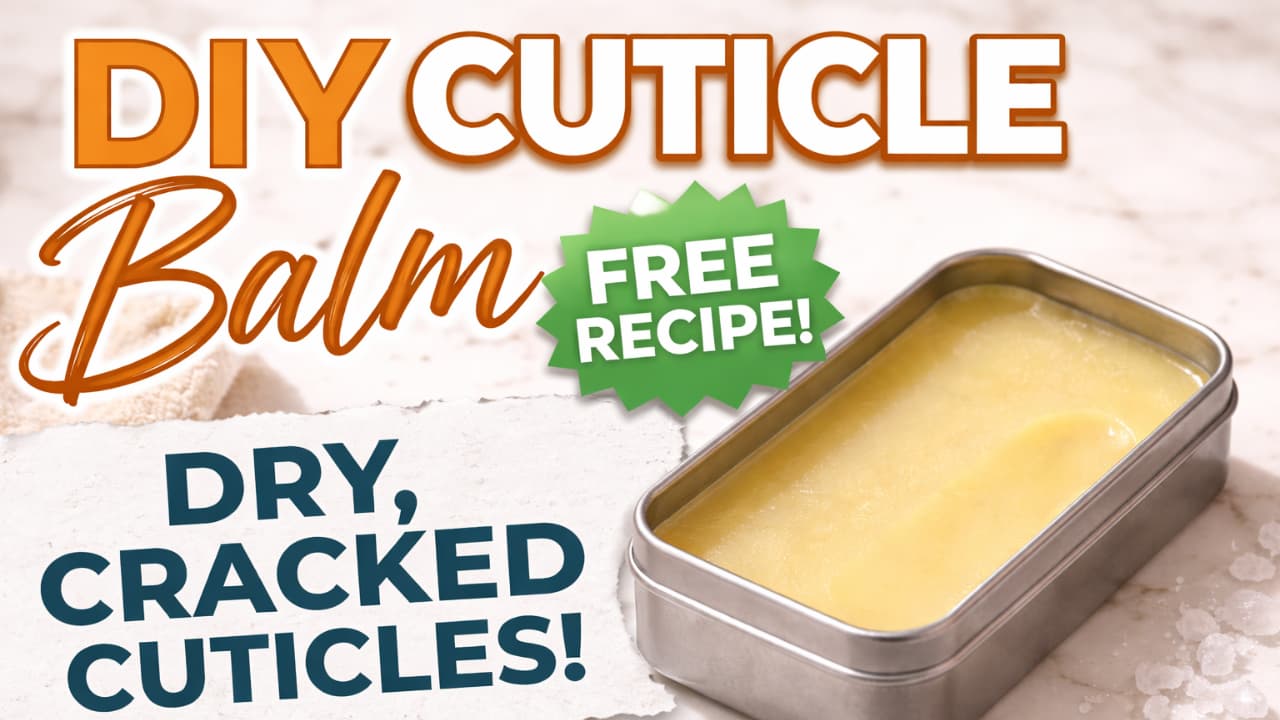
If you love DIY body care, check out my DIY body butter guide
Pro Tips for Better Silicone Molds
- Always use Press & Seal, not regular plastic wrap
- Leave space between objects, i like to use a finger width as a guide
- Ensure at least ½ inch thickness
- Mix thoroughly for proper curing
FAQ: Making Silicone Molds
How long does silicone take to cure?
Most silicone cures in 12–24 hours, depending on the brand. I like to leave my mold to cure overnight.
Can I use any object to make a mold?
Yes, as long as it’s solid and non-porous. Check out some of the other molds I have made including Cinnamon Sticks, Chocolate Chips, and Gummy Bears.
Why did my mold tear?
- Objects too close together. I always make sure that I have a finger width between the edges and the start of any item and in between them. This will ensure the silicone is thick enough.
- Silicone too thin – especially if you do not over pour. You need a good amount that covers the coffee beans.
Learning how to make your own silicone molds gives you complete creative control over your DIY projects. This coffee bean mold is a simple beginner project that delivers professional-looking results.
Once you try it, you’ll start seeing mold ideas everywhere.