
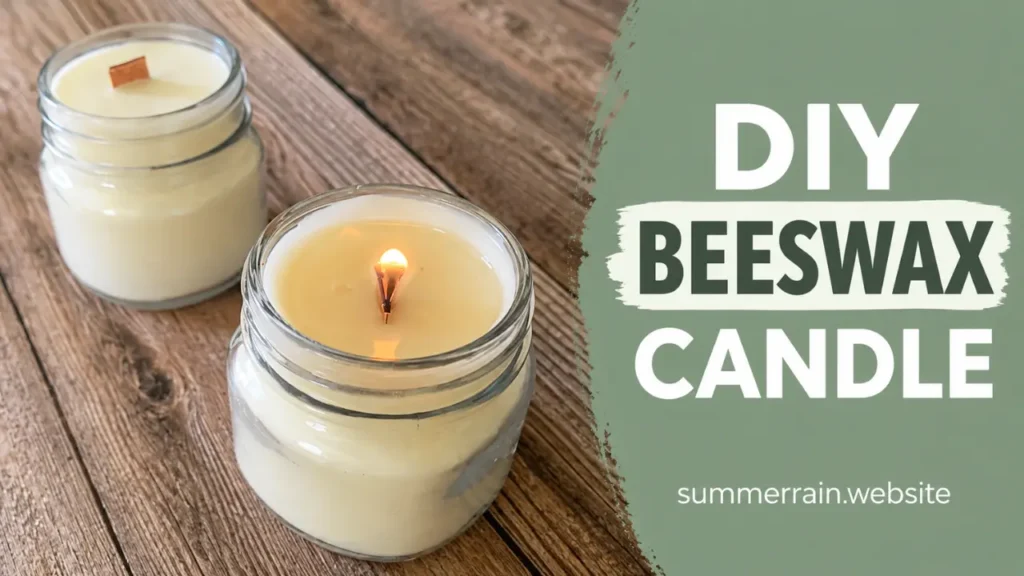
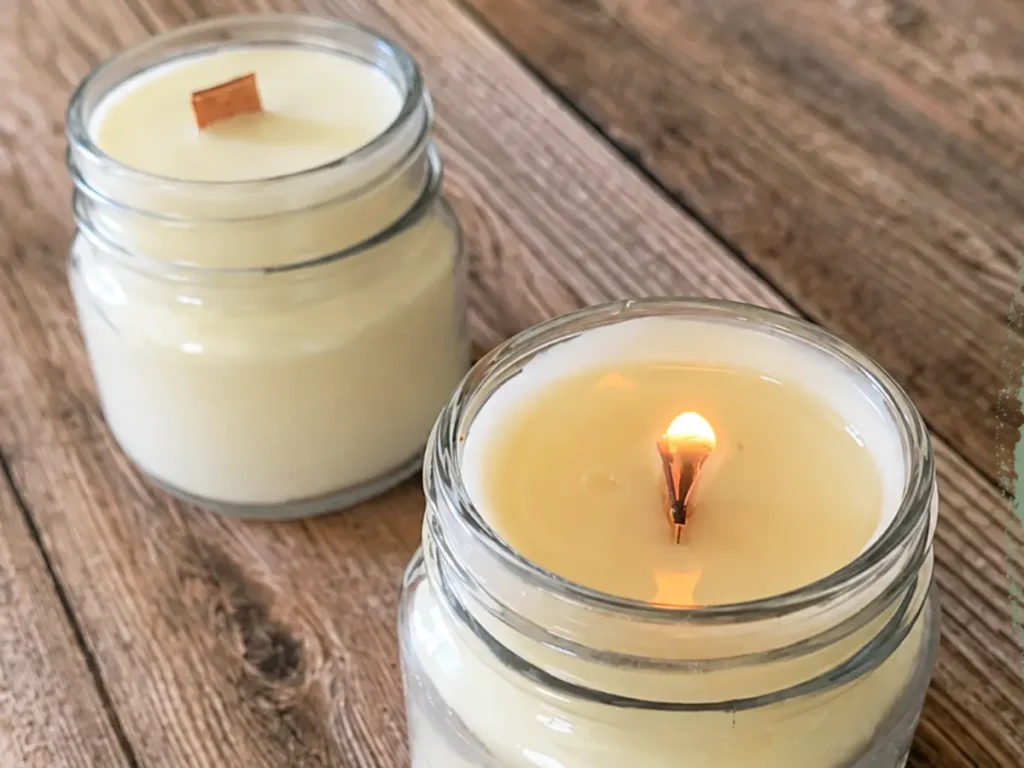
If you love the warm, natural look of beeswax candles, making your own at home is surprisingly simple.
Beeswax is a little different from the soy wax you may be used to seeing in candle-making recipes. It is a harder wax with a higher melting point, a naturally subtle honey-like aroma, and a beautiful color that can range from pale cream to golden yellow depending on the beeswax you use.
For this recipe, I’m combining beeswax with coconut oil to make the finished candle easier to burn evenly. I’m also adding eucalyptus essential oil for a fresh, clean scent.
The result is a simple beeswax container candle that is a great project if you’re ready to try something beyond basic soy wax candles.
And while the actual process is straightforward, there are a few things that make a big difference in how your candle burns—especially the wick, the container diameter, and the way you handle the first burn.
So let’s make one.
What You’ll Learn
In this tutorial, I’ll show you how to:
- Make a simple beeswax container candle
- Combine beeswax and coconut oil for the candle formula
- Add essential oil to the melted wax
- Properly position and center your wick
- Pour the candle
- Fix an imperfect candle surface
- Trim the wick
- Prepare the candle for its first burn
- Troubleshoot common beeswax candle problems
If you are completely new to candle making, you may also want to start with my Candle Making Supplies for Beginners guide. It covers the basic equipment you’ll need without making candle making feel more complicated than it needs to be.
Prefer to Watch the Video?
If you would rather see me make this beeswax candle instead of reading through the tutorial, you can watch the video tutorial.
Affiliate disclosure: This post may contain affiliate links. If you purchase something through one of these links, I may earn a small commission at no additional cost to you. These commissions help support Summer Rain and allow me to continue creating free tutorials and recipes.
Why Make Candles With Beeswax?
Beeswax is one of my favorite waxes to experiment with because it behaves differently from soy wax and has a character all its own.
It has a higher melting point than many common container waxes, which means it produces a firm candle that can burn for a long time.
Beeswax also has a naturally warm color and a subtle honey-like aroma. If you are using yellow beeswax, you may not even need to add color because the wax already has a beautiful natural color.
One thing to keep in mind is that beeswax can be more challenging to wick than some softer container waxes. Because of its higher melting point, the wick needs to generate enough heat to create an appropriate melt pool.
That’s one reason this recipe includes coconut oil.
Why Is Coconut Oil Added to Beeswax Candles?
Coconut oil helps soften the beeswax and changes the way the finished candle behaves while burning.
Pure beeswax is relatively hard and has a high melting point. Depending on your container and wick combination, a candle made from straight beeswax can have trouble creating a large enough melt pool.
Adding coconut oil makes the wax blend softer and can help the candle burn more evenly.
It also changes the texture of the finished candle, so you don’t want to simply substitute the coconut oil with another ingredient without testing the new formula.
Candle making is a little different from making a bath or body recipe. Changing even one ingredient can affect the way the candle burns, so any formula changes should be treated as a new candle that needs to be tested.
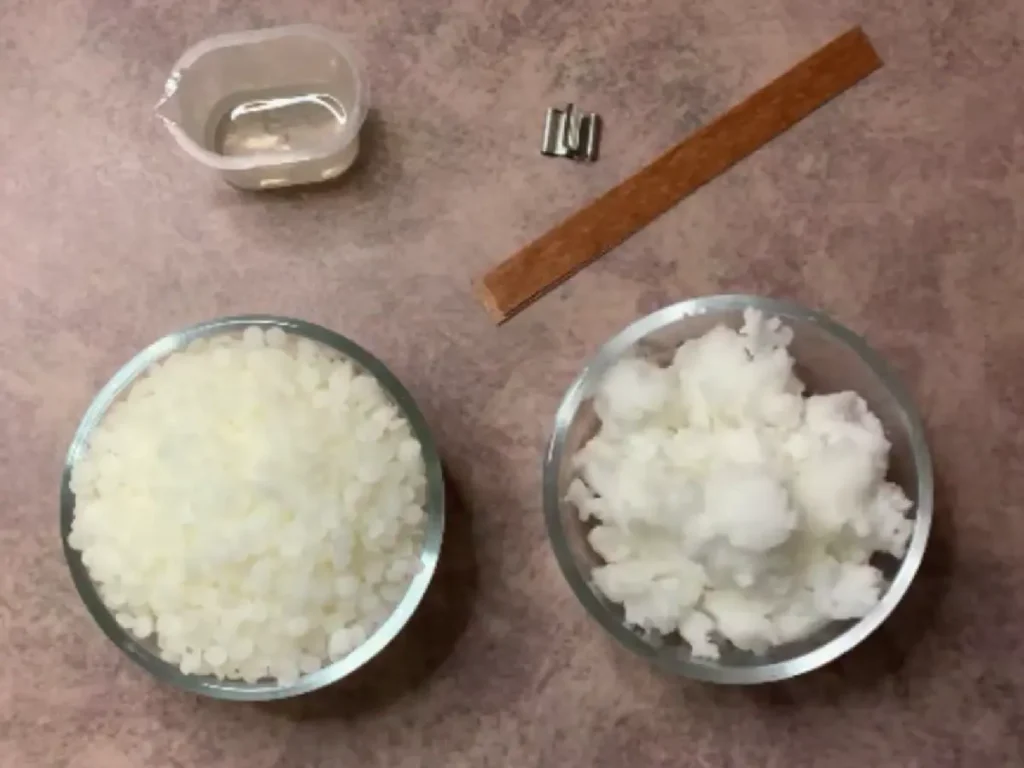
Beeswax Candle Formula
This recipe makes approximately 8 ounces of candle wax.
I recommend weighing your ingredients rather than measuring them by volume. A digital scale makes candle making much more consistent, especially when you’re working with percentages.
| Ingredient | Percentage | Amount for 8 oz |
|---|---|---|
| Beeswax | 60% | 4.80 oz |
| Coconut oil | 37% | 2.96 oz |
| Eucalyptus essential oil | 3% | 0.24 oz |
| Total | 100% | 8 oz |
A note about the essential oil
Essential oil is optional in this recipe.
You can leave it out if you want an unscented beeswax candle, or you can use a different essential oil if it is appropriate for candle making and the supplier provides a suitable usage recommendation.
You can also use a candle-safe fragrance oil instead.
Don’t assume that an essential oil or fragrance oil is automatically appropriate for candles just because it smells good. Always check the supplier’s recommended use and usage rate for candle applications.
What You Need
Equipment
- Digital scale
- Heat-safe pouring container
- Double boiler or suitable wax melter
- Thermometer
- Candle container
- Candle wick appropriate for your container diameter
- Wick holder, wick centering tool, or something similar to keep the wick centered
- Stirring utensil
- Scissors or wick trimmer
You don’t need a huge collection of equipment to make candles at home.
If you’re building your candle-making supplies from scratch, my Candle Making Supplies for Beginners guide walks through the equipment I use and why each item is useful.
Choosing the Right Candle Container
The container you choose matters more than you might think.
The most important measurement for wick selection is the inside diameter of the container.
A candle that is 2 inches wide needs to heat a much smaller area than a candle that is 4 inches wide. That means the same wick will not necessarily work in both containers.
Choose a container specifically designed for candle making or one that is made from a material suitable for the heat produced by a burning candle.
Avoid simply choosing a random decorative jar because you like the way it looks. A container needs to be able to safely handle the heat of a burning candle.
Choosing a Wick for Beeswax
This is one of the most important parts of the entire project.
Your candle can look absolutely perfect when you finish pouring it and still burn poorly because the wick isn’t right.
When choosing a wick, start with the wick manufacturer’s recommendations for the inside diameter of your container.
But don’t treat that recommendation as a guarantee.
Your wax blend, container, wick, and fragrance all work together. A wick that performs well in one candle may not perform the same way in another.
That’s why burn testing is such an important part of candle making.
If you’re having trouble with tunneling, I have a separate guide that explains How to Stop Candle Tunneling: Causes & Fixes.
Before You Start: Measure Everything
Before putting anything on the heat, weigh all of your ingredients.
For this recipe, you will need:
- 4.80 ounces beeswax
- 2.96 ounces coconut oil
- 0.24 ounces eucalyptus essential oil
Having everything measured before you begin makes the process much easier.
It also means you aren’t trying to weigh an ingredient while your wax is sitting on the heat.
How to Make Beeswax Candles
Step 1: Melt the Beeswax and Coconut Oil
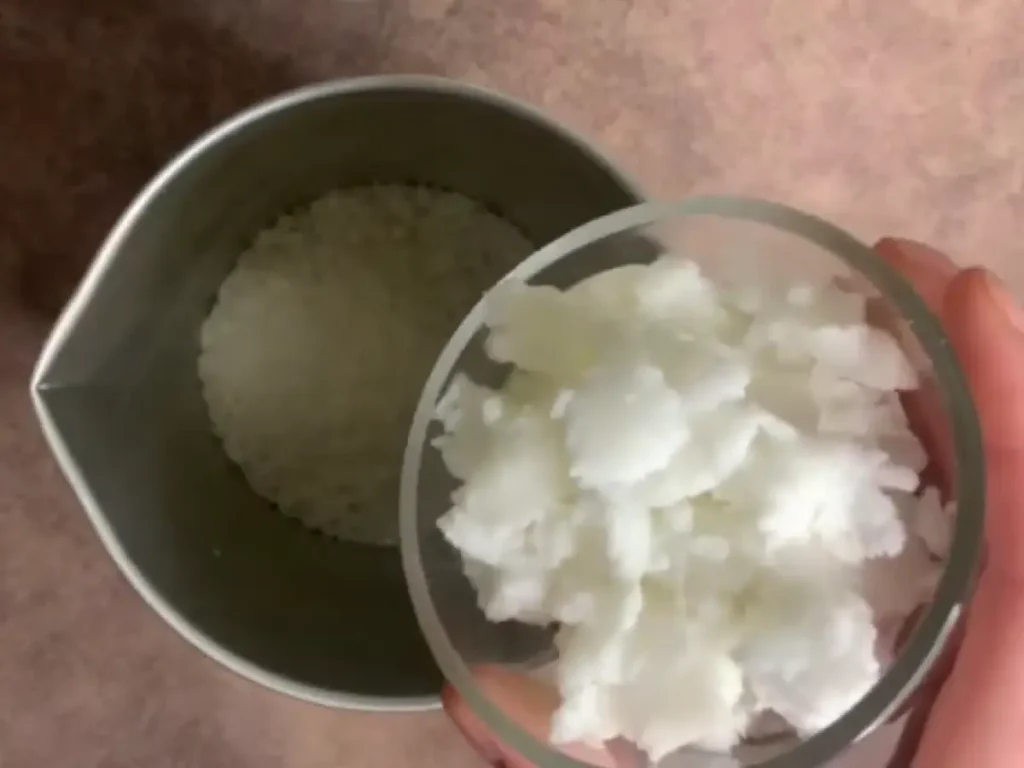
Place the beeswax and coconut oil into your heat-safe pouring container.
Set the container over a double boiler and gently heat until everything is completely melted.
Stir occasionally as the beeswax melts.
I prefer using a double boiler rather than putting beeswax directly over a burner because it gives you more control over the heat.
I also don’t recommend microwaving beeswax.
You want to heat the wax gradually and avoid unnecessarily high temperatures.
Once everything is completely melted, remove the container from the heat.
Step 2: Check the Temperature
Allow the melted wax to cool slightly before adding your essential oil.
The exact temperature you use for adding fragrance or essential oil can depend on the material you’re using, so follow the recommendations provided by your fragrance or essential-oil supplier.
Temperature can affect how the finished candle looks and can contribute to problems such as cracking, frosting, or an uneven surface.
Step 3: Add the Eucalyptus Essential Oil
Once the wax has cooled to an appropriate temperature, add the eucalyptus essential oil.
Stir thoroughly.
Don’t rush this step. Give the mixture a good, consistent stir so the essential oil is incorporated throughout the wax.
If you’re using a candle-safe fragrance oil instead, follow the fragrance supplier’s recommended usage rate and temperature.
Step 4: Prepare the Wick
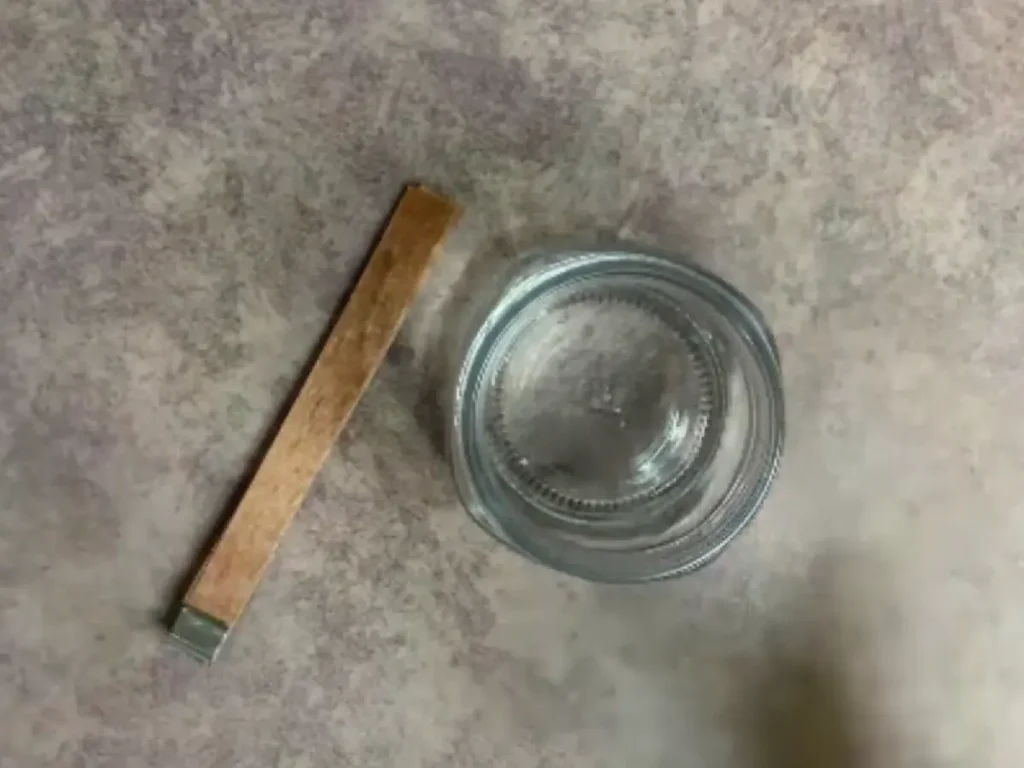
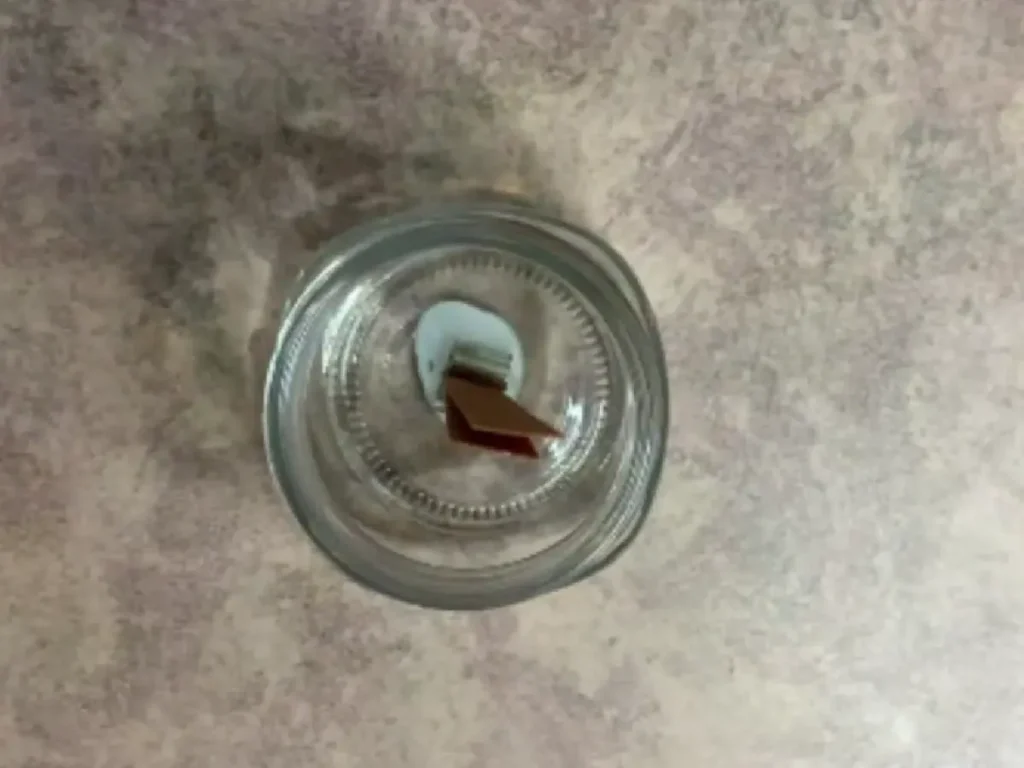
Before pouring the candle, make sure your wick is centered in the container.
You can use a small amount of hot glue or a candle wick adhesive to attach the wick tab to the bottom of the container. In used the beeswax to hold mine in place.
Place the wick as close to the center as you can.
Then use a wick centering tool, wick bar, or another suitable tool to keep the wick upright while you pour and while the candle cools.
Centering the wick is important because an off-center wick can cause the candle to burn unevenly.
Step 5: Pour the Beeswax
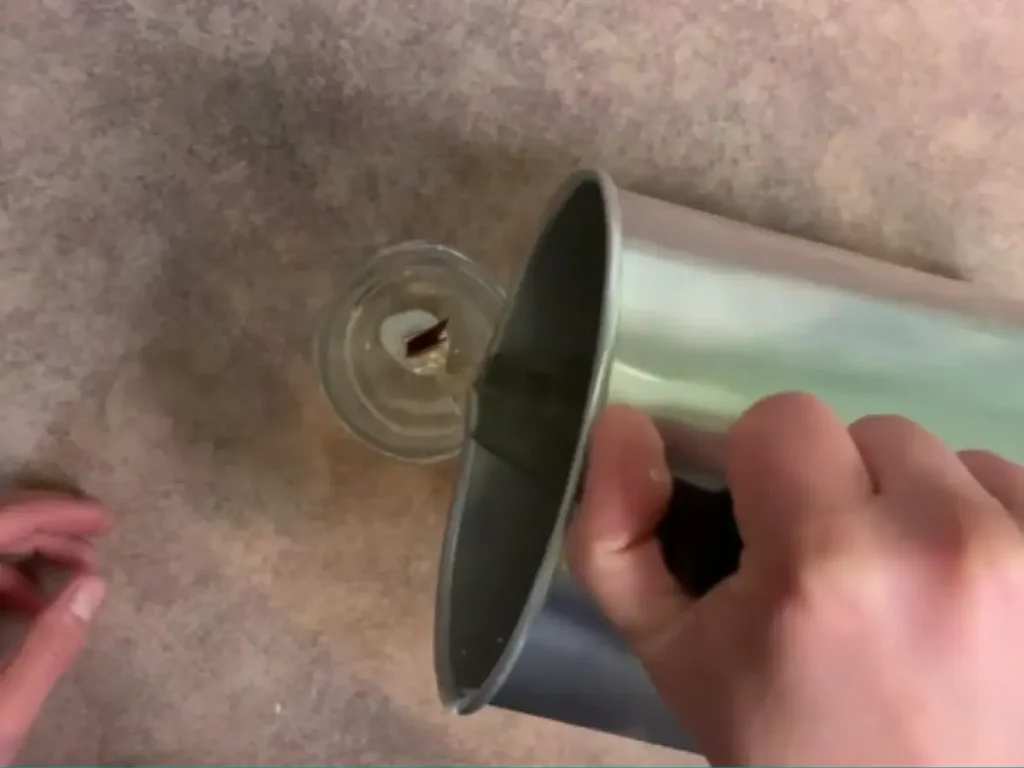
Slowly pour the melted beeswax mixture into your prepared candle container.
Try to pour steadily rather than quickly.
Leave the appropriate amount of space at the top of the container rather than filling it all the way to the rim.
Step 6: Let the Candle Cool
Set the candle somewhere safe and undisturbed while it cools.
This is one of those times when it is tempting to keep checking on your project.
Try not to.
Moving the candle while the wax is cooling can contribute to an uneven surface.
Depending on the size of your container and the temperature of your room, the candle may take several hours to cool completely.
Don’t judge the final appearance while the wax is still soft.
Step 7: Check the Candle Surface
Beeswax can develop an uneven or imperfect-looking surface as it cools.
That doesn’t necessarily mean you’ve done anything wrong.
If you have leftover wax from your pour, you can gently remelt it and use it to top off or smooth the surface if necessary.
If the top has a small depression, crack, or other cosmetic imperfection, a second pour can often improve the appearance.
The important thing is to make sure the wax is completely cooled before deciding whether it actually needs another pour.
Step 8: Trim the Wick
Once the candle is completely cool and the wax has hardened, trim the wick.
For this candle, trim the wick to approximately 1/4 inch before burning.
A wick that is too long can produce a larger flame than you want and may contribute to excessive soot or an overly hot burn.
Wick trimming is a small step, but it is an important part of candle care.
Does a Beeswax Candle Need to Cure?
You may hear candle makers talk about letting candles “cure” before burning them.
The amount of time needed depends on the wax and the formula you’re using.
For this beeswax blend, I recommend allowing the candle to sit for at least two days before evaluating it.
If you’re making candles specifically to evaluate their scent throw and burn performance, remember that you are really testing the entire formula—not just the wax.
The First Burn Is Important
Once your candle is ready to burn, don’t just light it for ten minutes and blow it out.
The first burn is an important part of determining how your candle will perform.
You want to give the candle enough time to establish an appropriate melt pool without leaving it burning unattended or for an excessive amount of time.
As a general starting point, many candle makers use approximately one hour of burn time per inch of container diameter.
For example:
| Container Diameter | Approximate First Burn |
|---|---|
| 2 inches | About 2 hours |
| 3 inches | About 3 hours |
| 4 inches | About 4 hours |
Always monitor a burning candle and follow appropriate candle safety practices.
For a deeper explanation of why the first burn matters and how tunneling develops, read How to Stop Candle Tunneling: Causes & Fixes.
What Should the Melt Pool Look Like?
The melt pool is the area of liquid wax that forms around the wick while the candle is burning.
You want the candle to heat the wax appropriately for the container rather than creating a tiny hole directly around the wick.
If your candle repeatedly burns straight down the middle while leaving a thick ring of wax around the sides, you may have a wick problem.
The wick may be too small for the container, or another part of the candle formula may be affecting its performance.
Don’t automatically assume that burning the candle longer will fix the problem.
A properly tested wick is important.
Why Is My Beeswax Candle Tunneling?
Tunneling happens when the candle burns downward around the wick instead of creating an appropriate melt pool across the container.
There are several things to check.
The wick may be too small
If the wick isn’t generating enough heat, it may only melt the wax directly around itself.
This leaves a ring of unmelted wax around the outside of the candle.
The wick may not be centered
An off-center wick can cause one side of the candle to melt more quickly than the other.
Make sure your wick is centered before the wax completely hardens.
The first burn may have been too short
If you extinguish the candle while only a small area around the wick has melted, the candle may continue to follow that narrow burn pattern.
Your formula may need testing
Beeswax behaves differently from soy wax, and adding coconut oil changes the characteristics of the wax blend.
That means the wick needs to be tested with this particular formula and container.
If your candle tunnels, don’t simply assume you need a dramatically larger wick.
Try an appropriate next wick size and test again.
What If My Beeswax Candle Cracks?
Cracks or an uneven surface can sometimes happen as the wax cools.
Temperature and cooling conditions can affect the final appearance of beeswax candles.
If you notice cracking, make a note of your pouring temperature and cooling conditions the next time you make the candle.
You can also use a second pour to improve a cosmetic surface problem.
But remember that a pretty surface doesn’t tell you whether the candle will burn correctly.
Burn testing is still necessary.
Why Does My Beeswax Candle Have a Weak Flame?
A weak flame can have several causes.
One possibility is that the wick isn’t appropriate for the candle.
Because beeswax is a relatively hard wax, the wick needs to generate enough heat to melt the wax around it.
If the wick is too small, the flame may struggle to create an adequate melt pool.
However, don’t automatically solve a weak flame by choosing the largest wick available.
An oversized wick can create a different set of problems, including an excessively large flame, excessive heat, soot, and an overly fast burn.
That’s why testing is so important.
Can I Use a Different Essential Oil?
You can use a different essential oil if it is appropriate for candle making.
Keep in mind that not every essential oil performs the same way in a candle.
Some have stronger aromas than others, and some may not provide the scent you’re expecting once the candle is burning.
Always check the supplier’s recommendations before adding an essential oil to a candle.
You can also use a candle-safe fragrance oil if you prefer.
If you’re looking for stronger scent throw, remember that fragrance isn’t the only factor. Wick selection, wax, container diameter, fragrance load, and cure time can all affect how much scent you notice when the candle is burning.
Can I Use Pure Beeswax Without Coconut Oil?
Yes, you can make candles using pure beeswax.
However, that would be a different formula from the one in this tutorial.
Beeswax has different burning characteristics from the beeswax-and-coconut-oil blend used here, so you would need to test the wick and burn performance again.
Don’t simply remove the coconut oil and assume everything else will work exactly the same.
Changing the formula changes the candle.
Why Is My Candle Not Very Strongly Scented?
Beeswax already has its own natural aroma, so the scent you add may not behave exactly like it does in a neutral wax.
Your choice of essential oil or fragrance, the amount used, the wick, container, and candle formula can all affect the final scent.
If you’re specifically interested in improving scent throw, take a look at my guide on How to Increase Hot Throw in Your Soy Candles.
Although that article focuses on soy wax, many of the factors it discusses—such as wick selection, fragrance, container size, and testing—are useful when troubleshooting candles in general.
Candle-Making Troubleshooting
| Problem | What to Check |
|---|---|
| Candle burns straight down the middle | Check the wick size and first burn |
| Thick ring of wax remains around the sides | Wick may not be producing enough heat |
| One side melts more than the other | Check whether the wick is centered |
| Flame is very large | Wick may be too large or need trimming |
| Weak flame | Check wick size and formula |
| Candle has an uneven top | Review pouring and cooling conditions |
| Candle has cracks | Check pouring temperature and cooling conditions |
| Candle doesn’t smell very strong | Check fragrance choice, usage rate, wick, and container |
| Candle burns too quickly | Wick may be too large |
| Candle produces excessive soot | Check wick size, wick length, and burn conditions |
A Few Tips for Better Beeswax Candles
Use a scale
Candle making is much easier when you work by weight.
It lets you repeat a formula accurately and makes it easier to troubleshoot when something doesn’t work.
Measure your container diameter
Don’t choose a wick based only on how much wax your candle contains.
The diameter of the container is one of the most important measurements when selecting a wick.
Test before making a large batch
If you’re making candles for gifts or to sell, make a test candle first.
Burn it.
Watch how the flame behaves.
Look at the melt pool.
Pay attention to soot, mushrooming, burn rate, and tunneling.
Then make adjustments if necessary.
Don’t change several things at once
If you change the wax, wick, container, and fragrance all at the same time, it becomes difficult to figure out what caused a change in performance.
When you’re troubleshooting, change one variable at a time whenever possible.
Keep notes
I highly recommend keeping notes when you’re testing candles.
Write down:
- Wax used
- Wax amount
- Container diameter
- Wick type and size
- Fragrance or essential oil
- Fragrance percentage
- Pouring temperature
- Cure time
- Burn observations
It may feel excessive when you’re making one candle.
Once you’ve made several candles, you’ll be glad you did.
Beeswax Candle FAQs
Are beeswax candles difficult to make?
No. The actual process is fairly simple. The part that requires the most attention is getting the wick, container, wax blend, and fragrance to work well together.
What is the best wick for beeswax candles?
There isn’t one wick that works for every beeswax candle. Wick selection depends on the container diameter, wax formula, fragrance, and other factors. Start with the wick manufacturer’s recommendations and then burn test your finished candle.
Why does beeswax candle wax have a yellow color?
Natural beeswax can range from pale cream to golden yellow. The final color depends on the beeswax you purchase and how it has been processed. If you want a lighter candle, look for filtered white beeswax.
Can I make an unscented beeswax candle?
Absolutely. Simply leave out the eucalyptus essential oil. Keep in mind that beeswax has its own natural aroma, so an unscented beeswax candle may still have a subtle honey-like scent.
How long should I let my beeswax candle cool?
The exact time depends on the size and shape of your container and the temperature of your room. Allow the candle to cool completely before moving it or trimming the wick.
How long should I wait before burning a beeswax candle?
For this recipe, I recommend waiting at least two days before burning it. If you change the formula or use a different wax, follow the recommendations for the materials you’re using.
Why is my beeswax candle tunneling?
The first things I would check are the wick size, wick position, and first-burn method. If the candle continues to tunnel, the wick may not be appropriate for your container and formula.
Can I use fragrance oil instead of essential oil?
Yes, as long as the fragrance oil is specifically suitable for candle making and you follow the manufacturer’s recommended usage rate.
Can I use yellow beeswax instead of white beeswax?
Yes. The recipe will work with either. The main difference will be the appearance and natural aroma of the finished candle.
Final Thoughts
Making beeswax candles at home doesn’t have to be complicated.
Once you understand the basic relationship between the wax, wick, container, and fragrance, you can start experimenting with different combinations and create candles that are completely your own.
For this recipe, the beeswax provides the structure and character of the candle, while the coconut oil helps create a softer wax blend that can burn more evenly.
The eucalyptus essential oil gives the candle a fresh scent, but you can leave it unscented or experiment with another candle-safe scent.
Just remember that the candle isn’t finished simply because the wax has hardened.
The real test happens when you light it.
Pay attention to the flame, melt pool, burn rate, and overall performance. If something isn’t working, use what you learn from that test to make the next candle better.
That’s one of my favorite things about candle making.
You aren’t just following a recipe.
You’re learning how all of the pieces work together.
More Candle-Making Projects
If you’re enjoying candle making, here are a few more Summer Rain projects and guides to try next:
New to candle making? Start with Candle Making Supplies for Beginners.
Want to learn the basics? Read How to Make Your First Candle: Beginner Guide.
Having trouble with tunneling? Read How to Stop Candle Tunneling: Causes & Fixes.
Want to experiment with wax shapes? Try How to Make Wax Crumbles for Candles.
Want to try something decorative? Check out How to Make an Ombre Layered Candle.
Printable recipe here!

How To Make Candles With Beeswax
Equipment
- Pouring pot
- Scale
- Double boiler
Ingredients
- 4.80 ounce | 60% Beeswax
- 2.96 ounce | 37% Coconut oil
- 0.24 ounce | 3% Eucalyptus essential oil
Instructions
- Put your beeswax and coconut oil in your melting pot and place on a double boiler. Stir regularly until the wax in completely melted.
- Add eucalyptus essential oils and give it a good stir. I mean a good stir, like 1-2 minutes. You need to do this to really get the essential oils to bond with the beeswax molecules.
- Pour a small amount of melted wax in the bottom center of your container. Place the wood wick directly on top to secure it in place.
- Slowly pour the melted beeswax into your container.
- Allow your candle to cool completely before moving it. Once it is cooled, usually a few hours (depending on the size of the candle).
- If you candle top is not perfect, reheat the remaining wax and re-pour the top of the candle. Allow to cool.
- Carefully trim the wick to ¼ inch.
- For best results, allow your candle to ‘cure’ for at least two days after you make it.