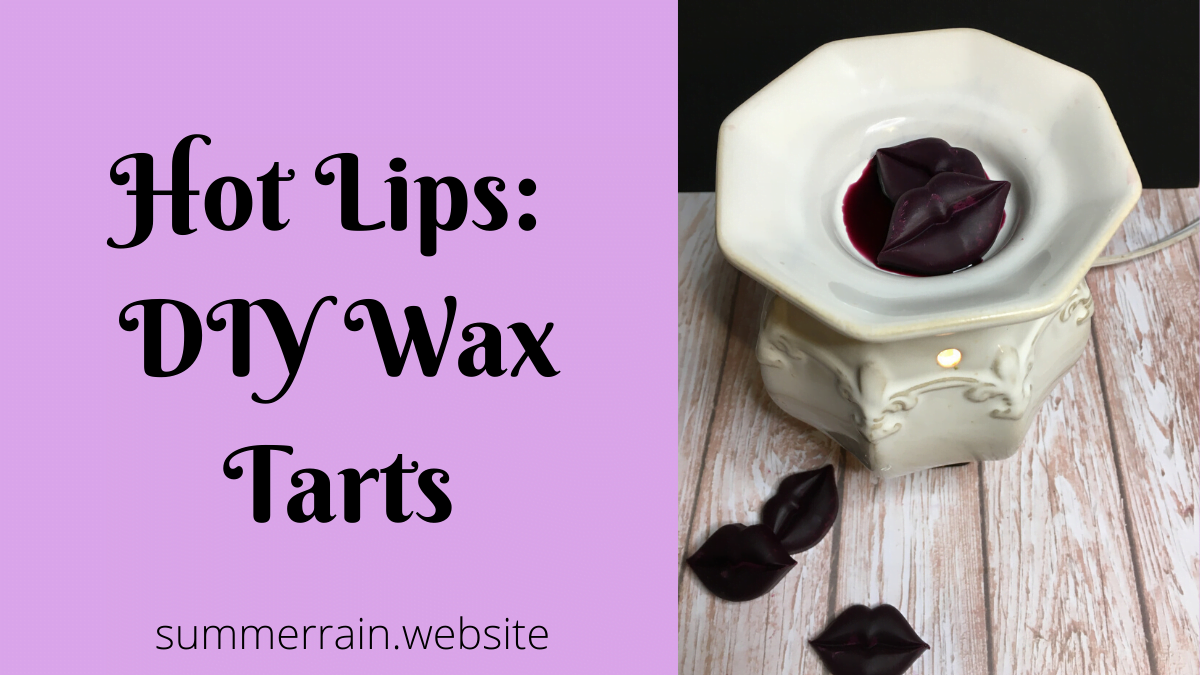
Learn how to make you own DIY wax tarts right at home. You will love how easy these are to make and how they fill your house with a delightful aroma. And, just in time for Valentines Day! Also, if you haven’t already check out the massage oil candles!
Prefer to watch this project instead of reading it?
Some links are affiliate links because I am an affiliate and earn a small commission.
What is a wax tart?
A wax tart (also called a wax melt) is pretty much a flameless candle. The pool of wax is used to deliver the fragrance throughout the house. You simply place the diy wax tarts on the warmer and wait. Within a few minutes they will start to melt and release the fragrance.
Wax tart melters
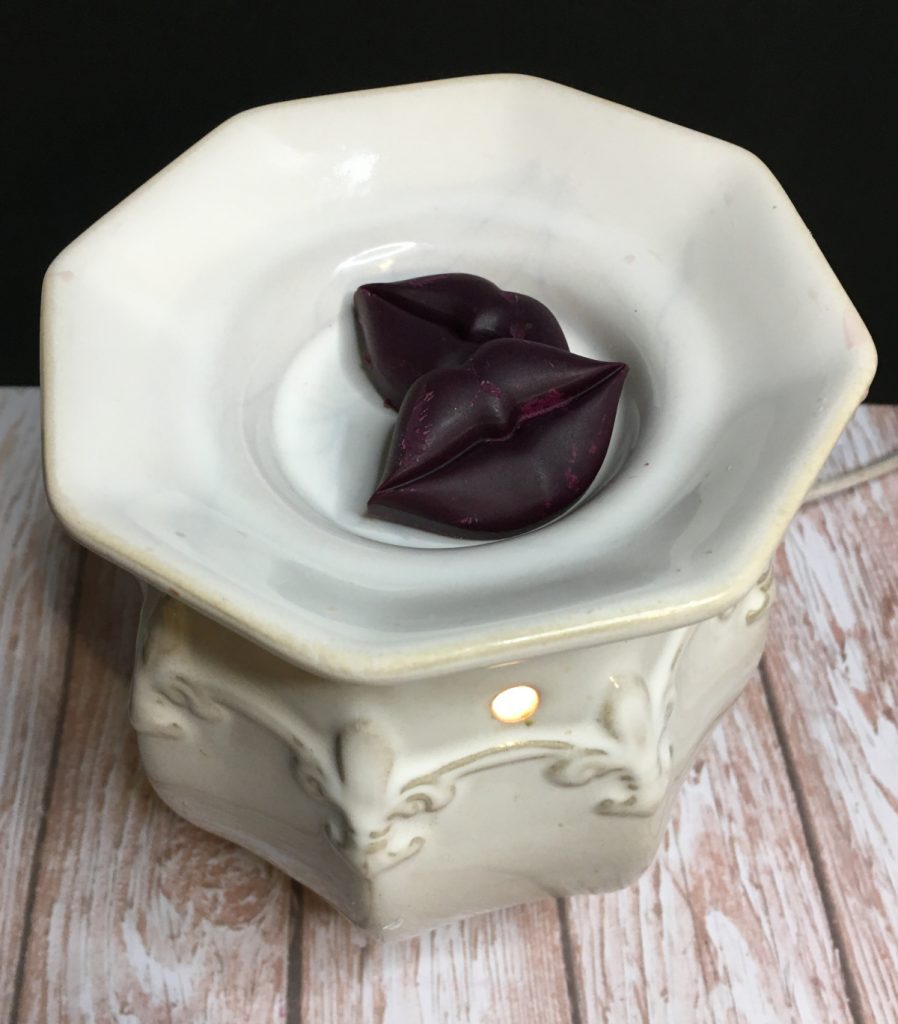

There are the tart melters that plug into the wall and there are the type that use a tea light candle. This is completely up to you which type you would like to use.
I prefer to use the ones that plug into the wall. The wax is heated with the bulb inside the candle tart melter. It kind of reminds of the easy bake oven that I had as a kid, because I am pretty sure it uses the same light bulb.
When to swap out the diy wax tarts?
You know it is time to swap out your old wax tarts when you no longer smell the fragrance when the warmer is on.
Cold and hot throw
There are two different types of scent that a wax tart gives off:
- Cold Scent Throw
- Hot Scent Throw
The cold scent throw is the smell that that wax tarts give off before they are heated. Think about when you are smelling a candle in the store, this is the cold throw.
The hot scent throw is the smell that the wax tarts give off then they are heated.
The amount of burn time you will get will vary based on how warm your wax heater gets. For example: the hotter it is, the stronger the scent, but it will not last as long. The opposite is true also, a slightly colder wax melt will have a milder scent throw but will last longer.
Approximating the amount of wax needed
Until you have made soy wax tarts in a mold, it can be a little difficult to calculate how much wax you will need.
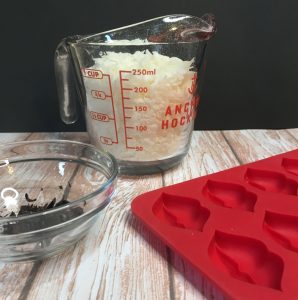
The best way to estimate the wax needed, is to put the silicone mold on the scale and tare it. Then fill the mold with water and weigh it. The weight that is displayed on your scale will be the total weight of the wax and fragrance oil you will need.
This is sometimes off a little bit, but I find it to be the most accurate the first time.
Fragrance oil to wax ratio:
Soy wax can hold up to 10%. However, always check the manufacturer’s recommendation. For example, the particular soy wax that I am using can hold 6-8%. The reason why we can only add up to the 8%, is that the wax is only capable of binding to so much fragrance. In this recipe, I am using a love spell type fragrance oil. (Smells amazing!).
Color Block
It is completely fine if you do not want to use any color in these wax tarts. The color is only cosmetic. I am using a red violet color block. To use these color blocks, you just shave off a little bit and add it into you melting wax.
Hot Lips – Learn How to Make These DIY Wax Tarts
Equipment
- Double boiler
- Lips Silicone Mold
- Infrared thermometer
- Spatula
- Scale
Ingredients
- 1.84 ounces | 92% Soy Wax
- 0.16 ounce | 8% Love Spell Type Fragrance Oil
- Red Violet Color Block
Instructions
- Weight out all your ingredients.
- Cut shavings off of your color block, until you have the desired amount.
- Put your wax and block color shavings in a heat safe container or a pouring pot. Place on double boiler until melted.
- Remove from heat and add your fragrance oil.
- Stir well.
- Pour into silicone mold.
- Allow to sit until the wax is fully cooled.
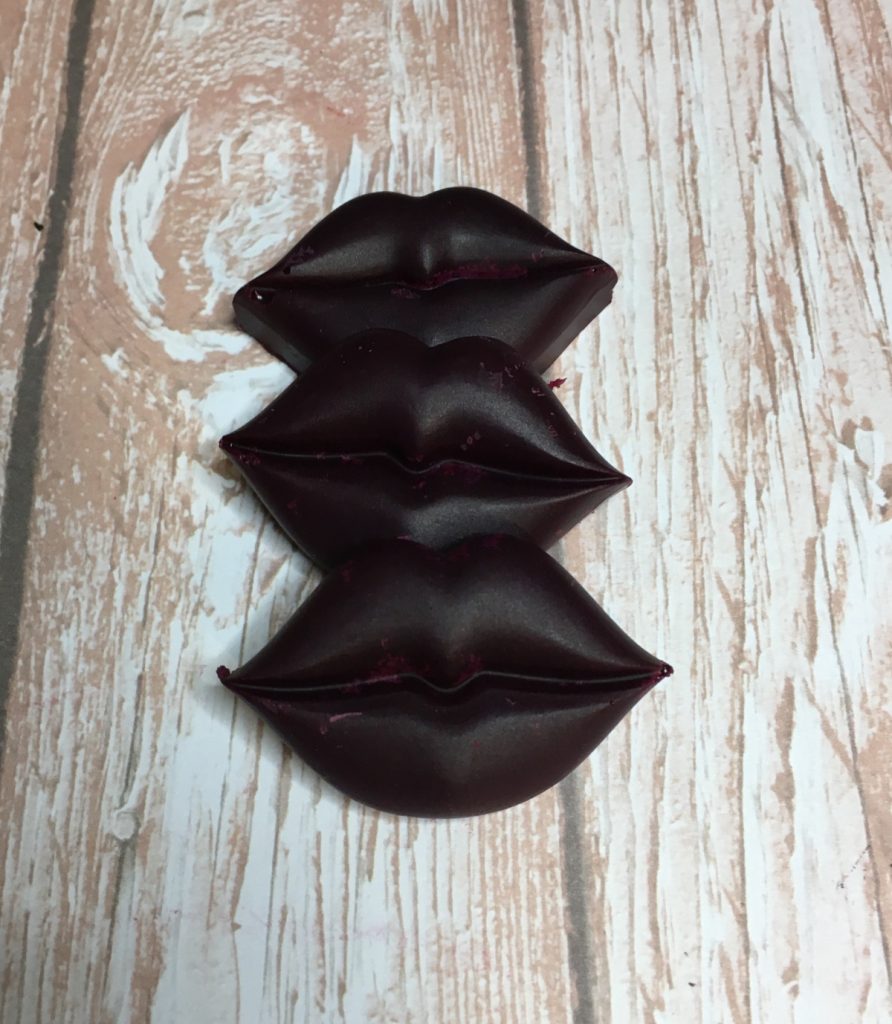
- Once cooled all the way, remove from the mold.
- Enjoy!
Notes
Some links are “affiliate links,” because I am an Amazon Associate and I earn from qualifying purchases. There is no additional cost to you, the price of the item is the same whether it is an affiliate link or not.


