

Yes, you really can make a candle that melts into massage oil. Massage oil candles look like a regular candle sitting in a small jar or tin. You light the wick, the surface melts, and instead of ending up with the thick, hot wax you would expect from a candle, you get a warm, silky oil that can be used for a massage.
That is what makes massage oil candles so interesting.
They are not simply regular candles with a different fragrance. The entire formula has to be designed differently because the finished product needs to do two things:
- Burn like a candle.
- Melt into an oil that is suitable for use on skin.
That means the wax, butters, oils, fragrance, wick, and container all matter.
In this tutorial, I’ll show you how to make a massage oil candle, explain why each ingredient is in the formula, how to use it, how to choose your wick and container, and what to watch for when you’re testing your finished candle.
What Is a Massage Oil Candle?
A massage oil candle is essentially a solid massage oil with a wick.
When the candle is sitting at room temperature, the wax and butters keep the formula solid enough to behave like a candle.
When you light it, a small amount of the formula melts around the wick.
Once the flame is extinguished, that melted mixture can be poured into your hand and used as a massage oil.
And yes, that means you are actually using the melted portion of the candle on your skin.
The important part is that the candle has been formulated specifically for that purpose.
A traditional candle is formulated primarily for burning performance. A massage oil candle needs a different balance of wax, butters, and liquid oil so that the finished product has the right firmness when solid but creates a warm, spreadable oil when melted.
That is why I wouldn’t recommend simply taking your favorite candle recipe and calling it a massage candle.
The formula matters.
Prefer to watch this project instead of reading it?
Affiliate Disclosure: This post may contain affiliate links. If you purchase something through one of my links, I may earn a small commission at no additional cost to you.
How Does a Massage Oil Candle Work?
This is where the fun part comes in.
A candle needs something solid enough to hold the wick and maintain its shape, but a massage oil needs to be fluid enough to spread easily over the skin.
So we use a combination of ingredients with different jobs.
The soy wax gives the candle structure.
The cocoa butter and shea butter add firmness while also contributing to the feel of the melted oil.
The castor oil adds a liquid oil component and helps give the melted formula some slip.
When those ingredients are combined in the right proportions, you get something that is solid enough to sit in a container but melts into a much more fluid mixture when heated.
That balance is really the whole idea behind a massage candle.
It’s not just about finding ingredients that melt.
It’s about finding the right combination of ingredients so the candle has a useful texture both before and after melting.
I go way more in depth in my How Much Oil Goes into a Massage Candle post.
Does a Massage Oil Candle Get Hot?
This is probably the first question most people ask.
The answer is: it can get hot, so you should never assume that the melted oil is automatically safe to pour directly onto someone’s skin.
The formula is designed around lower-melting ingredients than you would typically associate with a traditional candle, but the actual temperature of the melted oil depends on several things:
- The formula
- The wick
- The size and shape of the container
- How long the candle has been burning
- How large the melt pool becomes
- The surrounding room temperature
Because of that, temperature needs to be treated as something you test rather than something you assume.
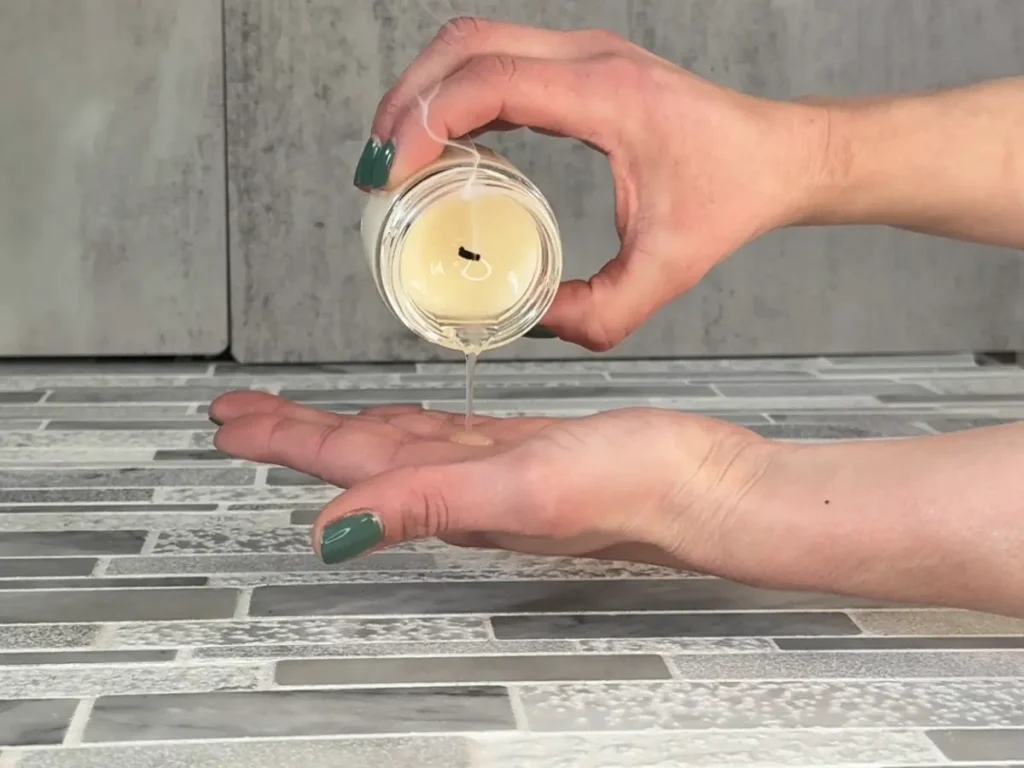
How to safely use the melted oil
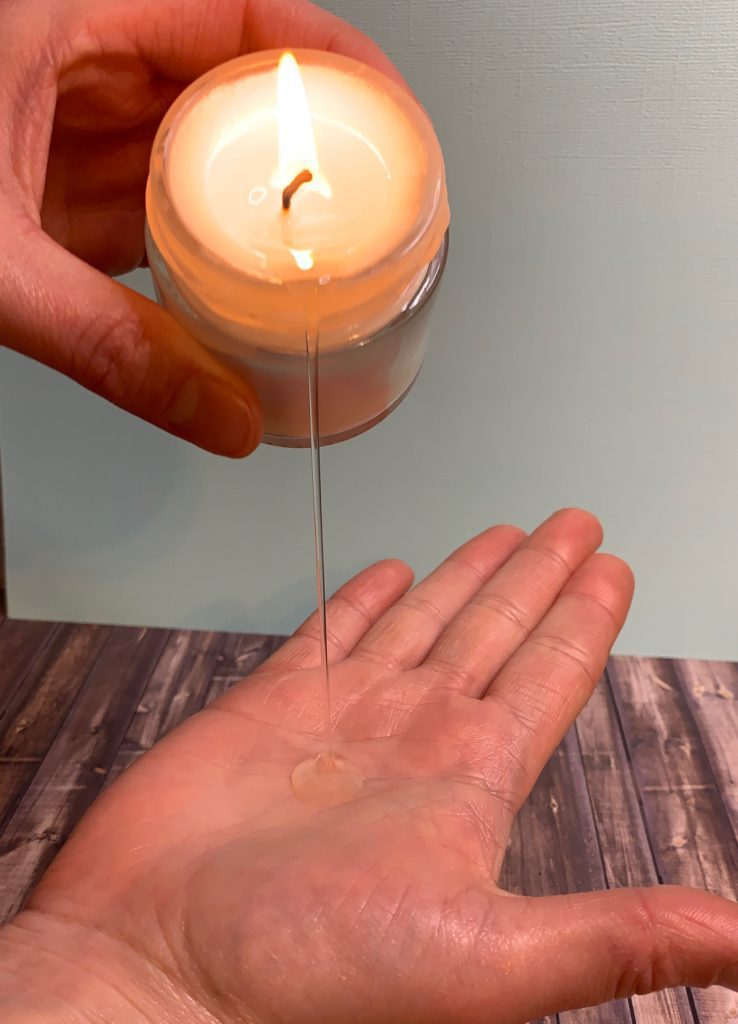
After the candle has created a small pool of melted oil, extinguish the flame.
Give the oil a moment to cool.
Then pour a small amount into your own hand and check the temperature before using it for a massage.
Never pour the melted oil directly from the candle onto someone’s body.
Testing it in your hand (or better yet with an infrared thermometer) gives you much more control over the amount and temperature.
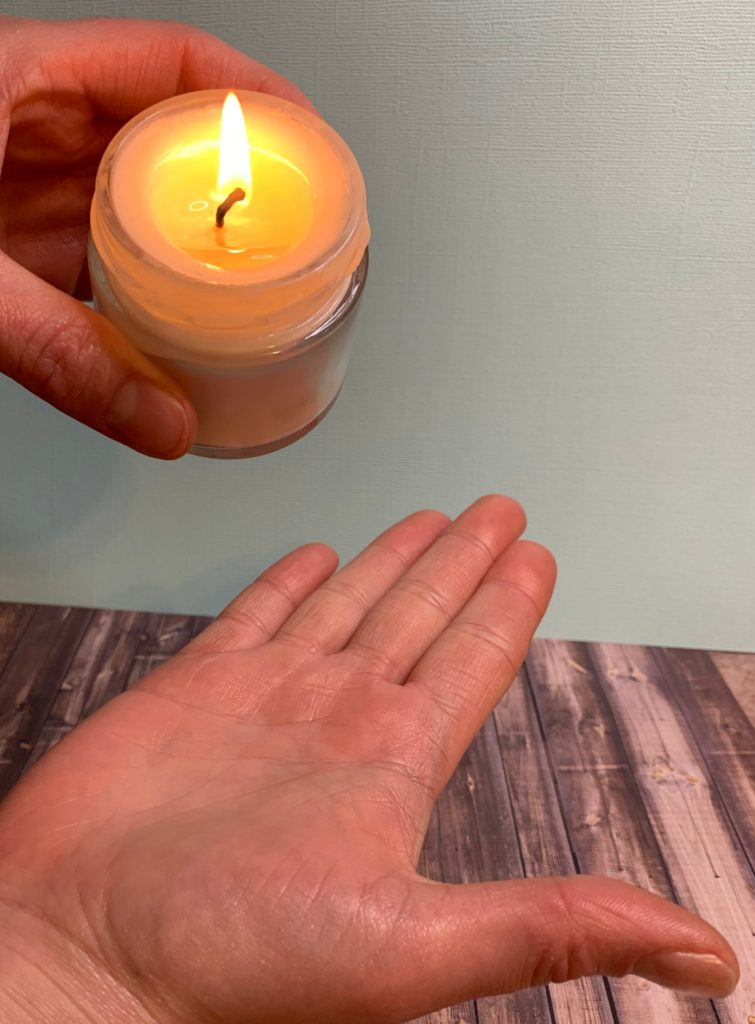
Why Can’t I Just Use Regular Candle Wax?
Because a massage candle isn’t trying to do the same job as a traditional candle.
Many traditional candle formulas are designed around a wax that provides good hardness, scent throw, appearance, and burning performance.
A massage candle needs to prioritize something else: creating a warm, spreadable oil that can be used on skin.
For this recipe, I’m using a skin-appropriate soy wax as part of the formula.
And that distinction matters.
Not every soy wax is automatically appropriate for use on skin.
Always check the manufacturer’s information for the specific wax you are using. You also need to consider the manufacturer’s recommended use level for your intended application.
I would not assume that a wax being labeled “soy wax” automatically makes it suitable for a massage candle.
What Makes This Formula Different From a Regular Candle?
Look at the ingredient list.
A traditional candle is mostly wax.
This formula contains a much larger proportion of butters and liquid oil.
That changes both the texture and the way the finished candle behaves.
The formula
| Ingredient | Percentage | What it does |
|---|---|---|
| Skin-appropriate soy wax | 28% | Provides structure so the mixture can function as a candle |
| Unrefined cocoa butter | 31% | Adds firmness, richness, and body to the melted oil |
| Refined shea butter | 32% | Adds softness, richness, and a luxurious skin feel |
| Castor oil | 5% | Adds liquid oil and helps provide massage slip |
| Skin-safe and candle-safe fragrance oil | 4% | Adds fragrance; follow the supplier’s skin-use guidance |
| Total | 100% |
This is also why I recommend making this recipe by weight.
If you want to change the batch size later, the percentage formula makes that much easier.
If you’re new to working with percentages, my guide to percentages vs. grams in skincare formulation walks through exactly how to convert a percentage formula into grams and scale it to different batch sizes.
What Each Ingredient Does
Understanding why the ingredients are there is more useful than simply memorizing the recipe.
Once you understand the role each ingredient plays, you can start making informed changes instead of guessing.
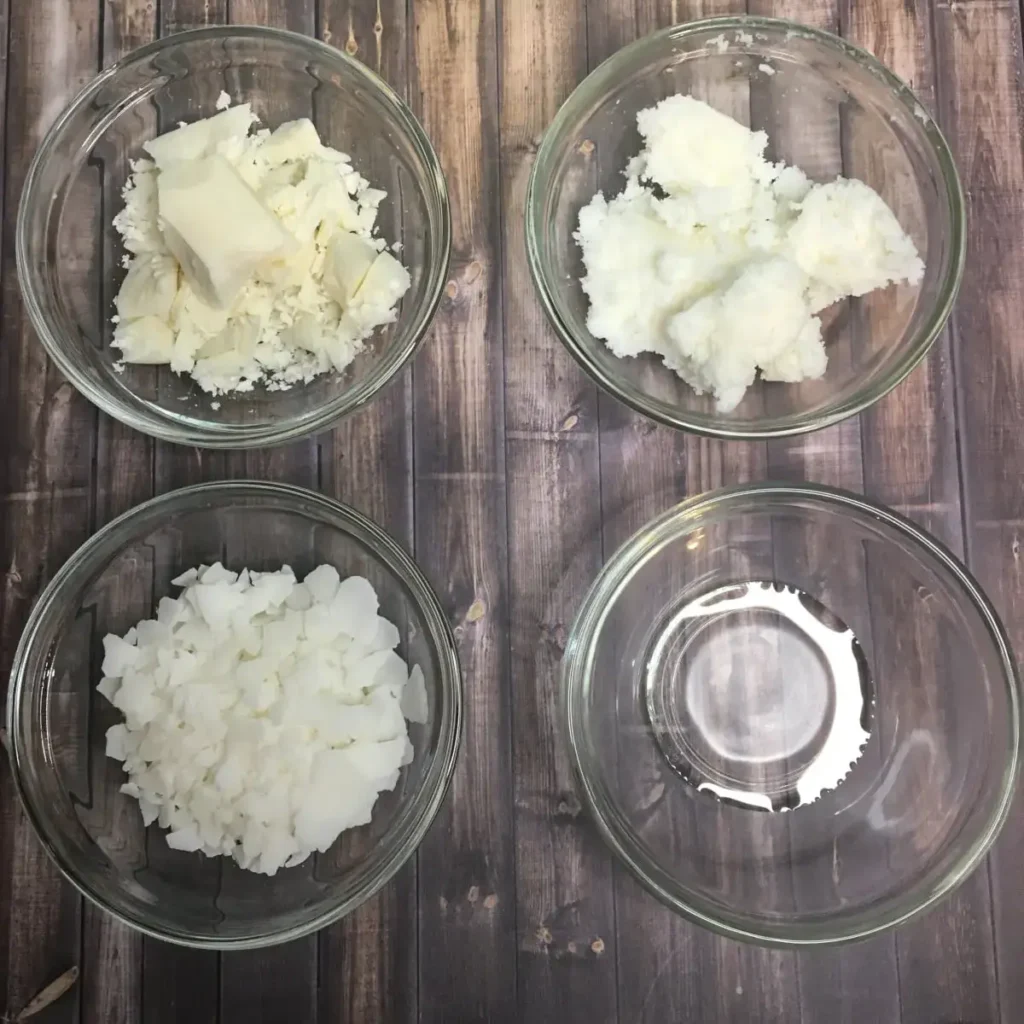
Soy Wax
The soy wax provides the structure.
Without it, the combination of butters and oil would be much too soft to behave like a candle.
But you don’t want the formula to become so wax-heavy that you end up with a traditional candle-like product.
And you do not want a draggy feeling when giving a massage.
That’s why the wax is only part of the formula.
When you’re choosing your wax, check the manufacturer’s information carefully and make sure the specific wax is appropriate for your intended use.
Cocoa Butter
Cocoa butter is one of the ingredients that gives this candle its body.
It’s solid at room temperature but melts when heated, making it useful in a product that needs to transition from solid to oil.
I use deodorized cocoa butter here because it has a much more neutral scent.
Natural cocoa butter has that unmistakable chocolate aroma, which can be lovely, but it can also interfere with the fragrance you’re trying to create.
Cocoa butter also contributes to the richer feel of the melted massage oil.
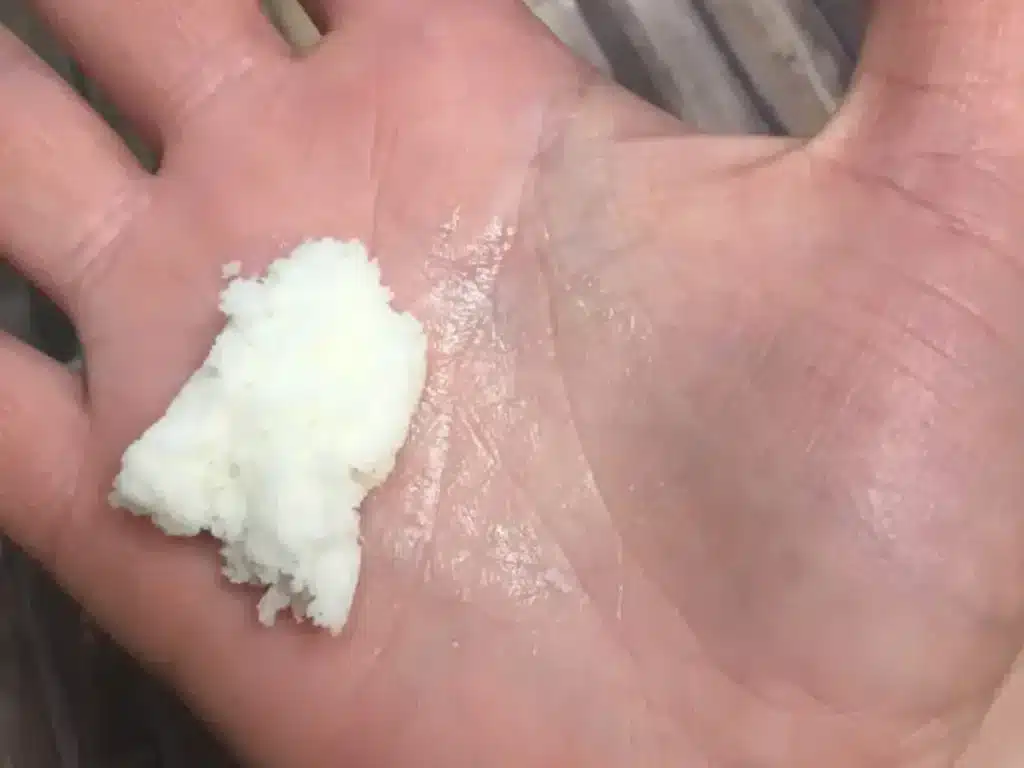
Shea Butter
Shea butter adds another rich, softening butter to the formula.
It helps create a more luxurious feel once the candle melts and also contributes to the finished candle’s structure.
I use refined shea butter because it has a much more neutral scent.
If you’re interested in understanding how ingredients like shea butter and cocoa butter function in skincare formulas, my guide to what each ingredient does in skincare formulation goes much deeper into ingredient roles.
Castor Oil
Castor oil is the liquid oil in this formula.
It is thicker than many common carrier oils, which makes it useful here because we don’t want the melted massage oil to feel extremely thin and disappear immediately into the skin.
For a massage, you want some slip.
You want your hands to be able to glide over the skin rather than having the oil disappear after a few seconds.
That is one reason I chose castor oil instead of using a very lightweight carrier oil.
If you want more information check out my How to Choose the Right Carrier Oil for Your Skin post.
Fragrance Oil
The fragrance is what gives the candle its scent, but this is one ingredient where you need to pay close attention to the supplier’s recommendations.
A fragrance oil being safe for candles does not automatically mean it is appropriate for use on skin. And vice versa.
Look for a fragrance that the supplier specifically approves for your intended body-care application and follow the manufacturer’s recommended skin-use rate.
Don’t choose the fragrance percentage based on what you normally use when making candles.
The finished product is going on skin, so the skin-use information is what matters.
Why Add the Shea Butter After Heating?
This is one of those little formulation details that can make a difference.
For this recipe, the soy wax and cocoa butter are melted first.
The shea butter is added after the heated mixture has been removed from the heat.
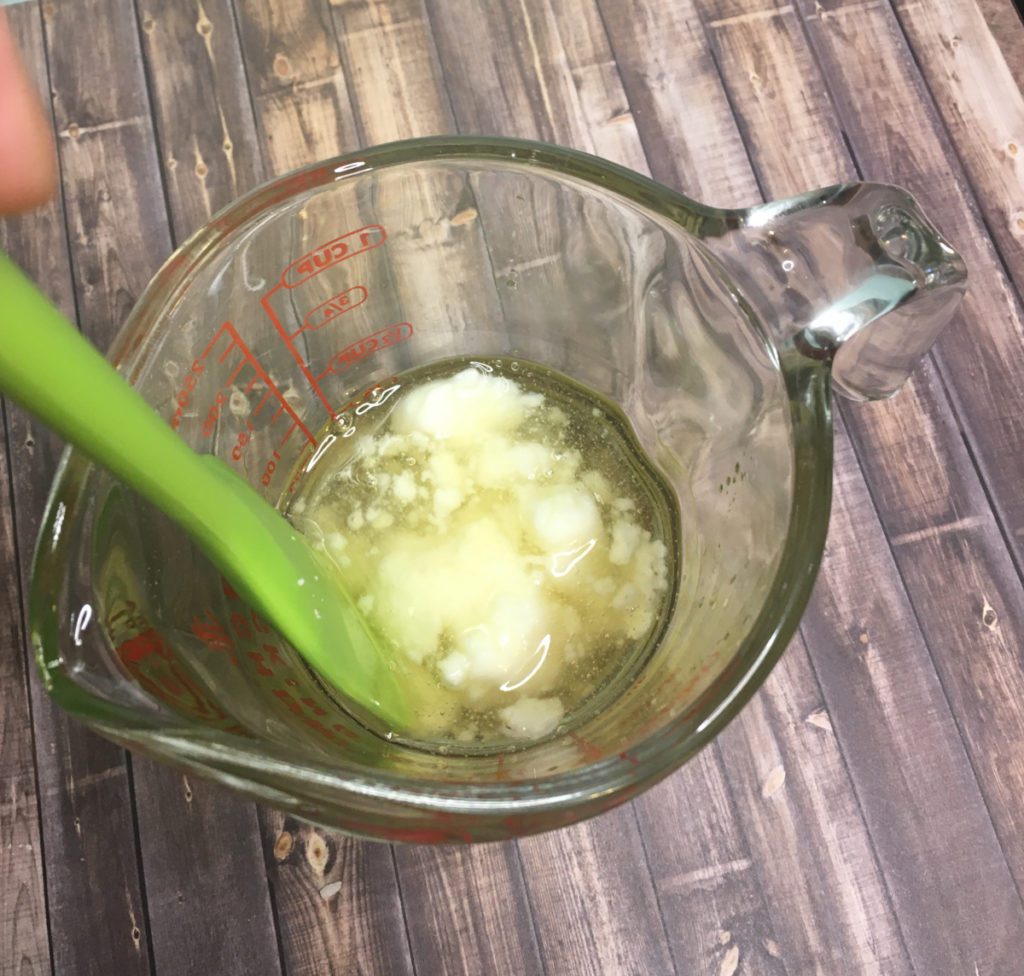
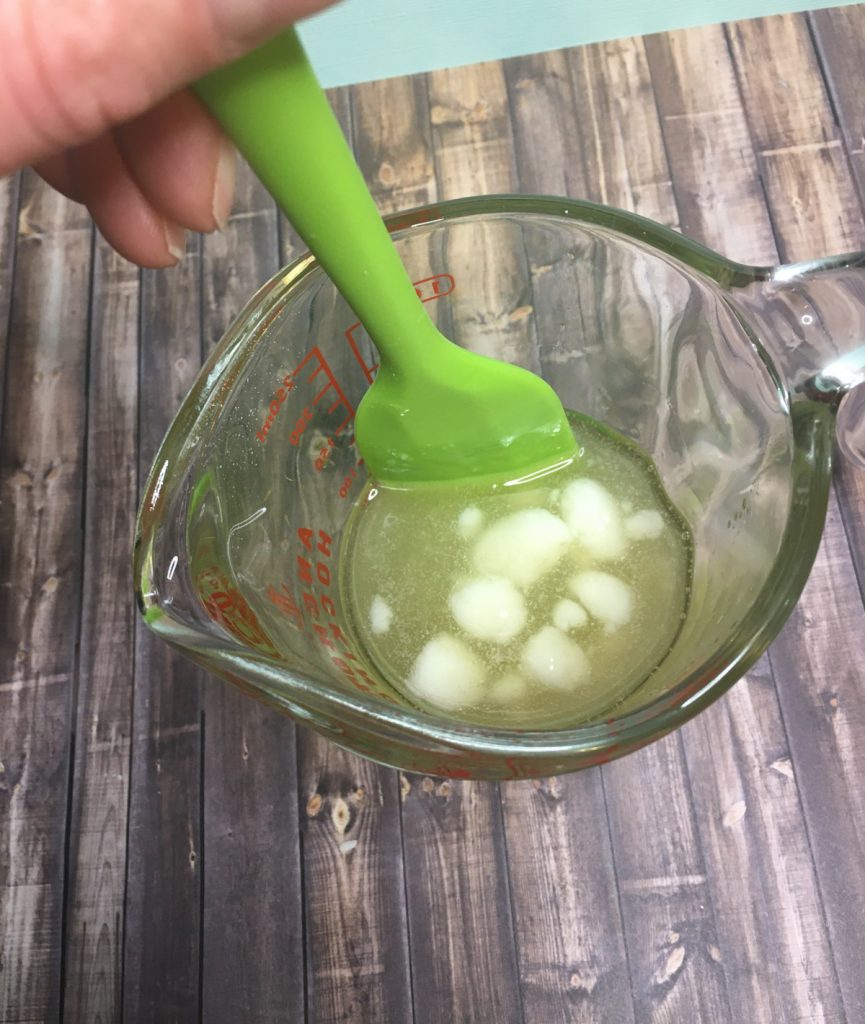
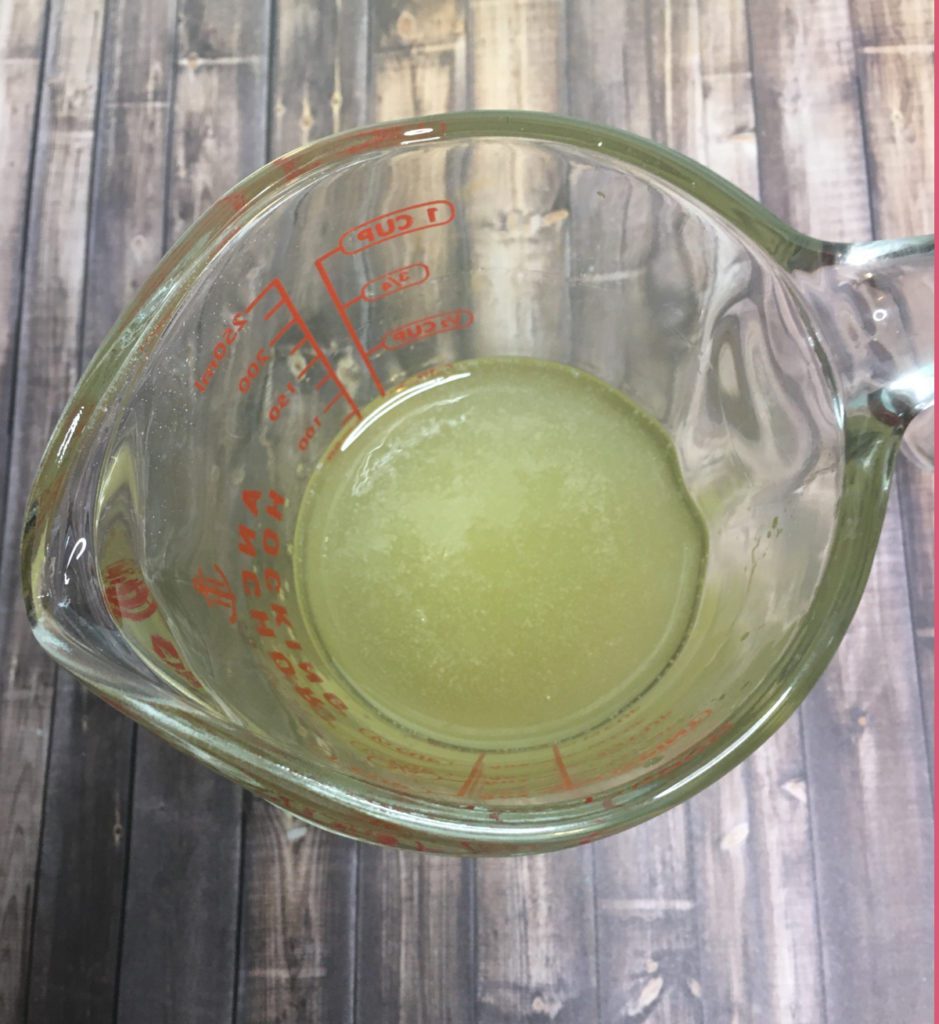
Why?
Shea butter contains a mixture of fatty acids that can crystallize in different ways as the butter cools. Poor heating and cooling can sometimes contribute to a grainy texture.
Adding the shea butter after removing the other ingredients from the heat means you’re not unnecessarily exposing it to prolonged high heat.
It also helps bring the temperature of the mixture down before you pour it.
This is similar to the way you might handle shea butter in other body-care formulations: how you heat and cool the ingredient can affect the finished texture.
How to Choose a Wick
The wick is just as important here as it is in a traditional candle.
In fact, it may be even more important because the goal isn’t simply to make the largest possible melt pool.
You want a controlled melt pool that gives you enough warm massage oil without causing the candle to burn too aggressively.
Your wick needs to be matched to:
- The container diameter
- The wax
- The amount of oil and butter in the formula
- The finished candle
Don’t assume that a wick that works perfectly in your favorite soy candle will automatically work in this formula.
It needs to be tested.
If the wick is too small, you may get a tiny melt pool and struggle to collect enough melted oil.
If it is too large, the candle can burn too aggressively and create a larger, hotter melt pool than you want.
Test the finished candle
Wick testing is part of making a candle.
Make a small batch, burn it, observe the flame and melt pool, and make adjustments if necessary.
This is particularly important if you change the container or wax.
Choosing a Container for a Massage Candle
I prefer a relatively short, wide container for massage candles.
Think about how you’re going to use the product.
You need to be able to access the melted oil easily, and you don’t want to have to have a large hole down the center of the candle while the sides go to waste.
A shallow container also makes more sense for a candle where you’re intentionally creating a small pool of melted oil.
A small candle tin with a lid can work especially well.
Whatever container you choose, it needs to be designed and tested for candle use.
Don’t use a random decorative jar simply because you like the way it looks.
The container is part of the candle system and needs to be able to withstand the heat generated during burning.
Why I Don’t Add Color
You can add color if you want to, but I usually leave massage candles uncolored.
The natural color of the soy wax, cocoa butter, and shea butter is perfectly attractive on its own.
And because this is a product that will be used on skin, I don’t see much benefit in adding another ingredient unless you’re trying to achieve a specific appearance.
If you do add color, make sure the colorant is appropriate for both the candle application and skin use.
Massage Oil Candle Recipe
This recipe makes approximately one 2.5-ounce massage oil candle.
Ingredients
| Ingredient | Percentage | 2.5 oz Batch |
|---|---|---|
| Skin-appropriate soy wax | 28% | 19.9 g |
| Deodorized cocoa butter | 31% | 22.0 g |
| Refined shea butter | 32% | 22.7 g |
| Castor oil | 5% | 3.6 g |
| Skin-safe fragrance oil | 4% | 2.8 g |
| Total | 100% | 71.0 g |
You will also need:
- 1 wick appropriate for your container
- 1 candle-safe container
- Digital scale
- Pouring Pot
- Double boiler
- Spatula
- Wick adhesive or hot glue
- Wick holder
- Wick Cutter
I strongly recommend using a scale rather than measuring these ingredients by volume.
Before You Start
Make sure every ingredient that will come into contact with the skin is appropriate for that use.
That includes:
- The wax
- Fragrance
- Colorant, if used
- Any carrier oils or butters
This is not just a candle.
The finished melted product is being used on skin, so your ingredient choices need to reflect that.
How to Make a Massage Oil Candle
Step 1: Attach the Wick
Attach the wick tab to the center of the bottom of your container.
You can use a wick sticker or a small amount of hot glue.
Make sure the wick is centered.
Step 2: Weigh the Ingredients
Weigh the soy wax, cocoa butter, shea butter, castor oil, and fragrance separately.
Don’t estimate the amounts.
The ratio between wax, butter, and oil is what gives this formula its finished texture.
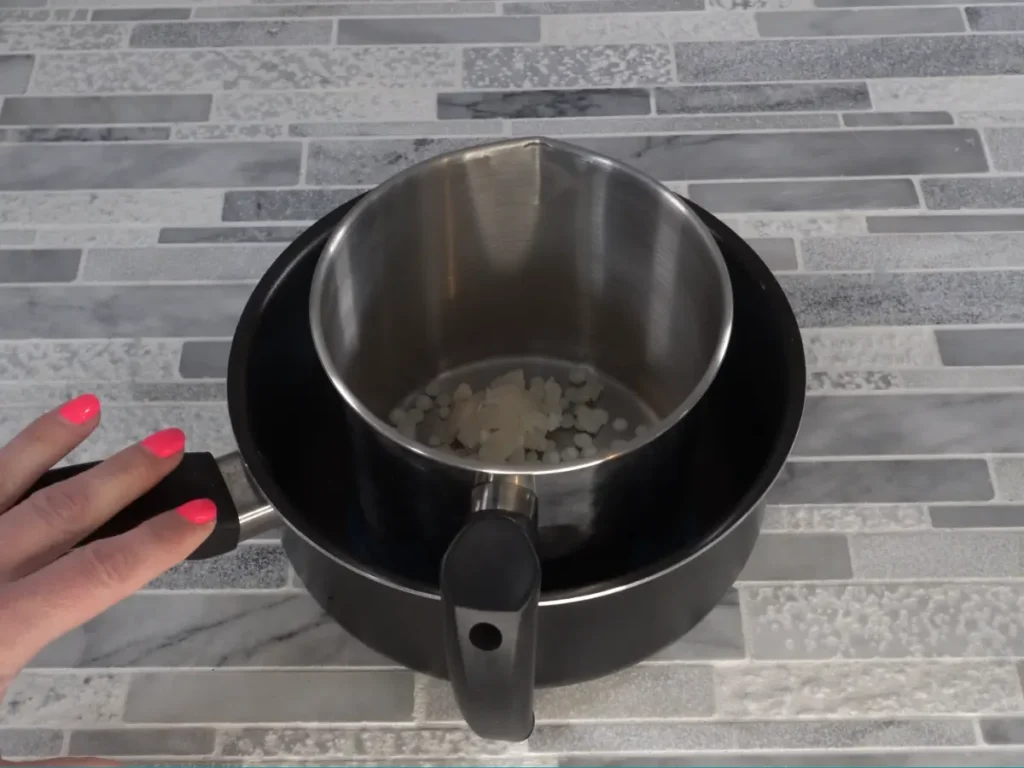
Step 3: Melt the Soy Wax and Cocoa Butter
Add the soy wax and cocoa butter to a heat-safe melting container.
Place it over a double boiler and gently heat until both ingredients are completely melted.
Stir occasionally.
There is no reason to aggressively heat the mixture. You simply need to melt the solid ingredients.
Step 4: Remove From the Heat
Once the soy wax and cocoa butter have melted completely, remove the container from the heat.
Step 5: Add the Shea Butter
Add the shea butter and stir until it has completely melted.
The residual heat from the melted mixture should be enough to melt the shea butter without requiring prolonged direct heating.
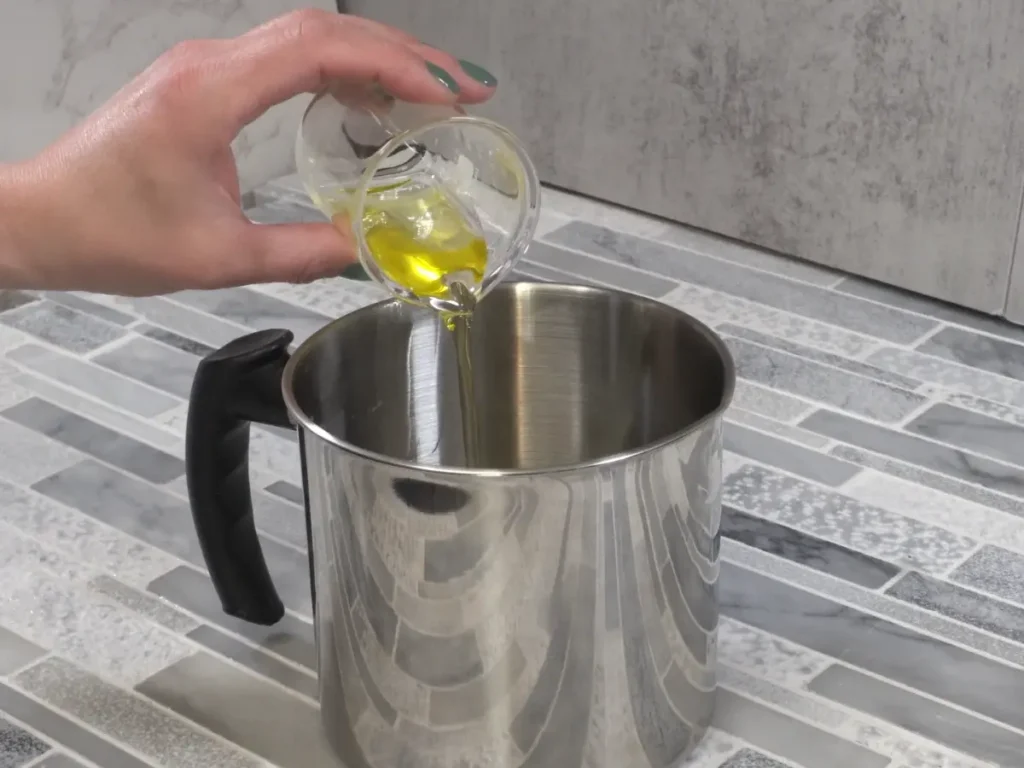
Step 6: Add the Castor Oil
Add the castor oil and stir until the mixture is completely uniform.
At this point, everything should be smooth and liquid.
Step 7: Add the Fragrance
Allow the mixture to cool according to the fragrance manufacturer’s recommended addition temperature.
Add your skin-safe fragrance and stir thoroughly.
Don’t increase the fragrance just because you want a stronger-smelling candle.
For a product being used on skin, the manufacturer’s recommended skin-use rate takes priority over the fragrance strength you want.
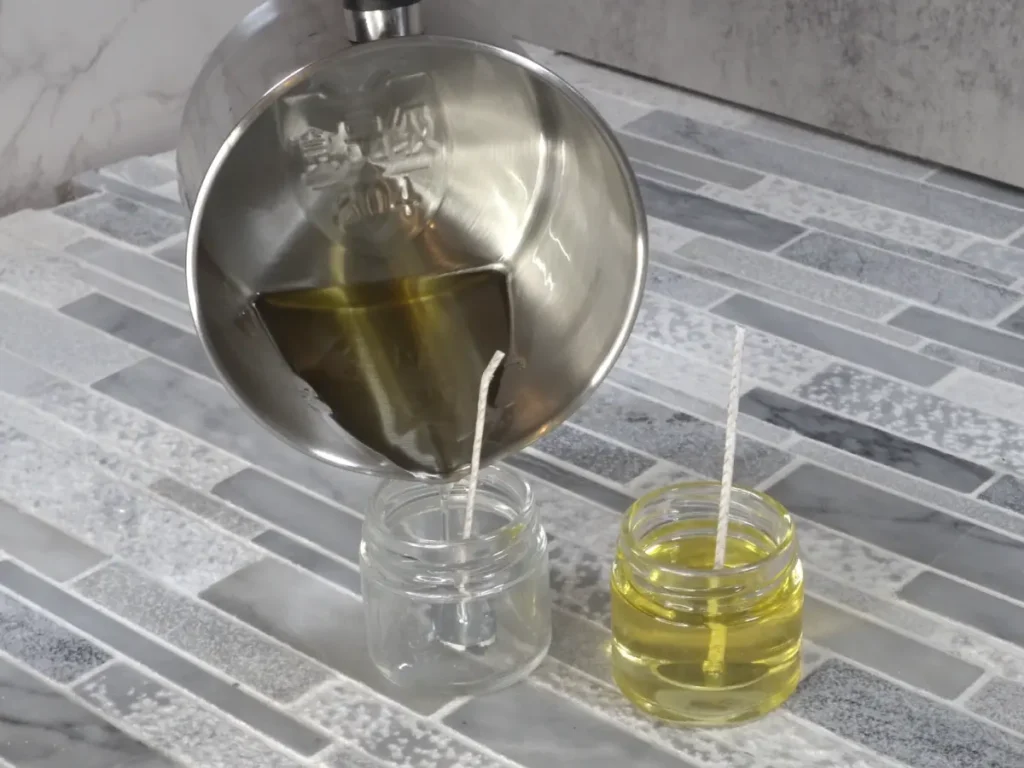
Step 8: Pour Into the Container
Carefully pour the mixture into your prepared container.
Try not to move the wick.
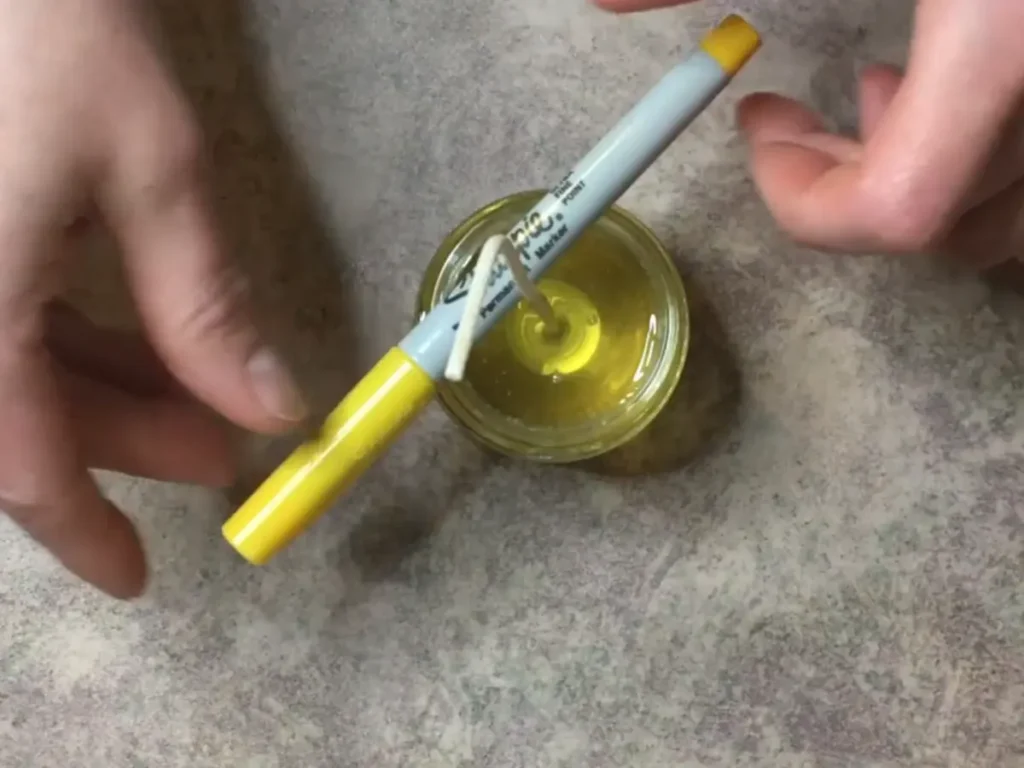
Place a wick holder (or a Sharpie) across the top of the container to keep the wick centered while the candle cools.
Step 9: Allow the Candle to Cool
Leave the candle completely undisturbed while it cools.
Don’t move it around or try to speed up the process.
Once the candle is fully solid, trim the wick to approximately 1/4 inch.
Your massage candle is now ready for testing.
How to Use a Massage Oil Candle
Using the finished candle is surprisingly simple.
1. Place the candle on a stable surface
Keep it away from anything that could catch fire and make sure the container is sitting securely.
2. Light the wick
Allow a small amount of the surface to melt.
You do not need the entire candle to become liquid.
3. Extinguish the flame
Once you have enough melted oil, blow out the flame.
Never pour massage oil while the candle is still burning.
4. Let the oil cool slightly
Give the melted oil a moment before using it.
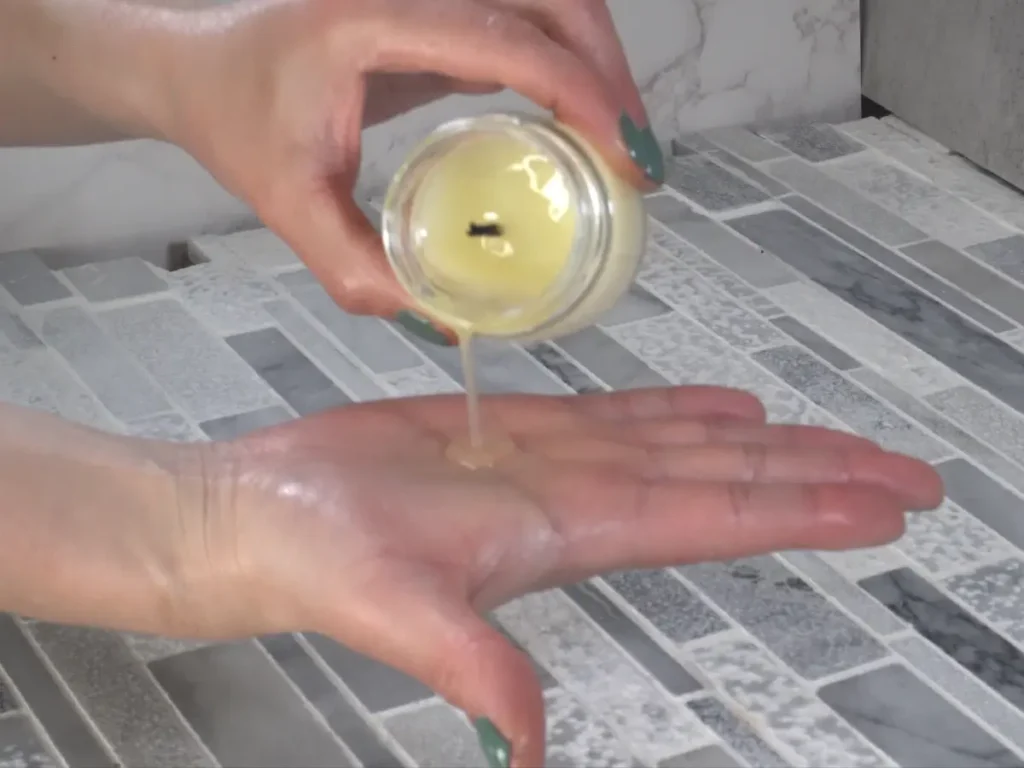
5. Pour it into your hand
Pour a small amount into your palm.
6. Check the temperature
Always test the temperature before applying the oil to someone else.
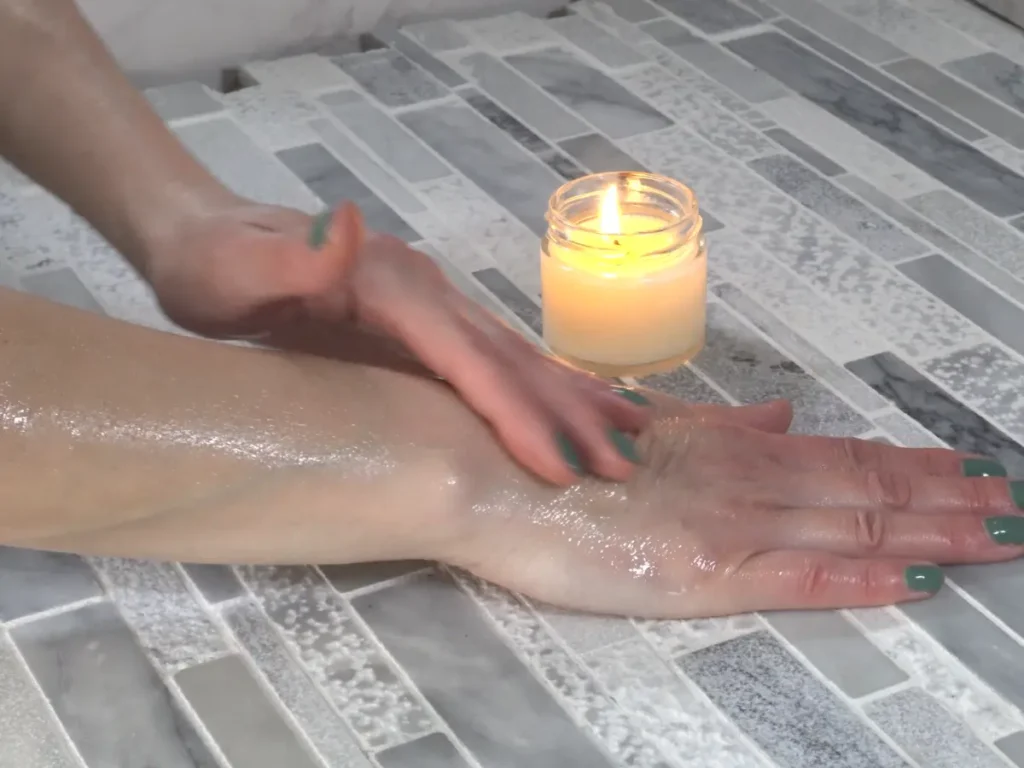
7. Massage
Once you’ve confirmed the temperature is comfortable, use the warm oil for your massage.
How Long Should You Burn a Massage Oil Candle?
You don’t need to burn a massage candle for the same amount of time you might burn a traditional candle.
You’re not trying to create a full melt pool from edge to edge.
You’re simply trying to create enough melted oil to use.
The amount of time this takes will depend on your container, wick, formula, and room temperature.
Start with a short burn and observe what happens.
If the candle creates a very large melt pool or the flame becomes unusually large, extinguish it and reassess your wick.
Can You Pour the Oil Directly Onto Skin?
I don’t recommend it.
Even though this formula is designed to create a warm massage oil, the melted product can be warmer than you expect.
Instead, pour a small amount into your hand first.
This gives you control over both the temperature and the amount of oil you’re using.
It’s also much easier to spread the oil evenly from your hands during a massage.
Can You Reuse a Massage Oil Candle?
Yes.
Once the melted oil cools, it will solidify again.
You can relight the candle the next time you want to use it.
Before doing so:
- Trim the wick if necessary.
- Remove any debris from the candle.
- Check that the container is still in good condition.
- Make sure the wick is centered and burning normally.
If the candle begins behaving differently during subsequent burns, stop and troubleshoot it rather than continuing to use it.
Why Is My Massage Candle Too Hard?
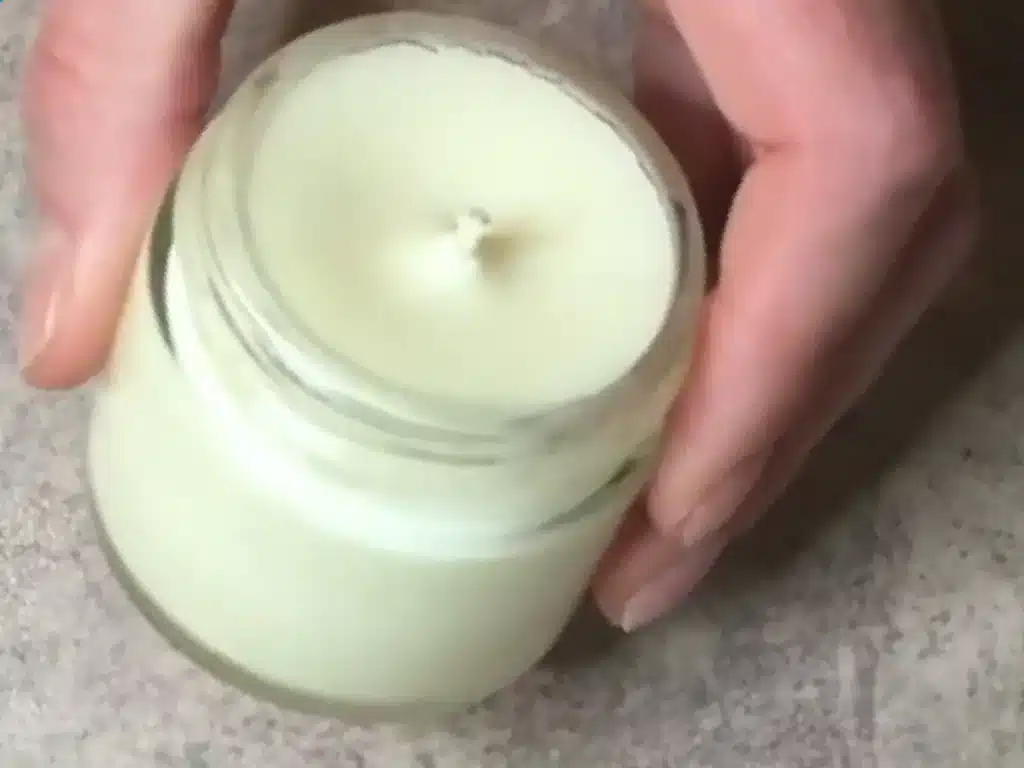
If your finished candle feels more like a traditional candle than a soft massage oil, the balance of the formula may be too firm for your particular conditions.
Remember that the soy wax and butters are providing structure.
Increasing the amount of wax will generally make the candle firmer.
Increasing softer oils or butters can make the finished product softer.
But don’t make large changes without recalculating the entire formula.
If you’re learning formulation, this is exactly where working in percentages becomes useful. You can see how changing one ingredient affects the rest of the formula instead of randomly adding more oil. More details can be found on How Much Oil Goes into a Massage Candle.
Why Is My Massage Candle Too Soft?
If the candle is soft or oily at room temperature, you may not have enough structure for your particular environment.
Before changing anything, check your measurements.
If the formula was made correctly, consider whether your room temperature is unusually warm.
Then make small, controlled changes rather than completely changing the formula.
Keep notes.
That way you can compare each test and actually learn from the changes you’re making.
Why Did My Massage Candle Get Grainy?
Graininess can sometimes occur when butters crystallize as they cool.
Shea butter is particularly worth paying attention to because of its fatty-acid composition and crystallization behavior.
That’s one reason I prefer adding the shea butter after removing the melted wax and cocoa butter from the heat.
The way a butter is heated, cooled, and allowed to crystallize can affect its final texture.
If your candle develops a grainy appearance, don’t immediately assume the recipe is wrong.
Look at your heating and cooling process first.
What If My Candle Doesn’t Create Enough Melted Oil?
This is where the wick becomes important.
A wick that is too small may not create enough heat to produce the melt pool you need.
But don’t immediately jump to a much larger wick.
A larger wick also means more heat and a potentially larger, hotter melt pool.
Make one change at a time and test.
If you’ve changed the container, wax, fragrance, or formula, you may need to retest your wick.
What If My Candle Burns Too Fast?
A candle that burns extremely quickly may be using too large a wick for the container and formula.
Watch the flame.
If it is excessively large, flickering aggressively, producing significant soot, or creating an unnecessarily large melt pool, extinguish the candle and reassess your wick.
Wick testing is not optional if you are changing the formula or making these candles for other people.
Can I Make an Unscented Massage Candle?
Absolutely.
An unscented massage candle can be a great option if you prefer a completely neutral product or don’t want to choose a fragrance.
Just remember that removing the fragrance changes the total formula.
Don’t simply remove the fragrance and leave the formula at 96%.
Recalculate the formula so that your finished formula still totals 100%.
This is another reason percentages are so useful when you’re formulating.
Can I Use Essential Oils?
Essential oils need to be treated differently from fragrance oils.
If you choose to use essential oils, check the supplier’s current safety information and recommended skin-use levels for the specific oil.
Don’t assume that because an essential oil smells pleasant it can be used at the same concentration as a candle fragrance.
For beginners, a fragrance oil that is specifically approved for body use can be easier to work with because the supplier’s intended application and usage information is usually clearer.
Can I Change the Carrier Oil?
You can experiment with different oils, but changing the oil will change the finished product.
Castor oil is relatively thick and contributes to the slip of this formula.
A lighter oil could create a thinner, faster-absorbing massage oil.
A richer oil could make the formula feel heavier.
If you want to experiment, change one ingredient at a time and keep the formula at 100%.
This is where understanding ingredient function becomes much more useful than simply following recipes.
Can I Make a Larger Batch?
Yes.
This is one of the advantages of writing the recipe as a percentage formula.
For example, here’s what a 500 g batch would look like:
| Ingredient | Percentage | 500 g Batch |
|---|---|---|
| Skin-appropriate soy wax | 28% | 140 g |
| Deodorized cocoa butter | 31% | 155 g |
| Refined shea butter | 32% | 160 g |
| Castor oil | 5% | 25 g |
| Skin-safe fragrance oil | 4% | 20 g |
| Total | 100% | 500 g |
The math is simple:
Batch size × percentage = ingredient weight
For example:
500 g × 0.28 = 140 g soy wax
If you’re unfamiliar with this kind of formulation math, my Percentages vs. Grams in Skincare Formulation guide walks through scaling formulas step by step.
A Note About Making These
If you’re making a massage candle just for yourself, you’re able to test and adjust the formula as you learn.
You’re making a product that:
- Is burned
- Gets hot
- Is applied to skin
- Contains fragrance
- Uses a wick and container
That means you need to test the complete finished product rather than assuming the individual ingredients make it safe.
Test the actual formula with the actual wick and actual container.
And make sure all ingredients are appropriate for the intended use.
Why I Love This DIY
There is something really satisfying about this project because the finished product feels almost like a magic trick.
You start with a handful of solid ingredients.
The wax and butters melt together with the oil.
You pour that mixture into a little container, add a wick, and let it solidify.
Then you light it.
The solid candle becomes a warm, silky oil that you can actually use for a massage.
And unlike a regular massage oil sitting on your nightstand, the candle can warm the oil right when you need it.
That’s the part that makes massage candles so much more interesting than simply making another bottle of body oil.
Final Thoughts
Massage oil candles are a great example of why I enjoy formulation so much.
The recipe isn’t simply a list of ingredients.
Every ingredient is doing something.
The soy wax gives the candle structure.
The cocoa butter and shea butter help create the rich, solid texture while contributing to the feel of the melted oil.
The castor oil adds liquid oil and massage slip.
The fragrance gives you the scent you want, provided it is appropriate for use on skin.
And the wick determines how the whole thing behaves when you light it.
Once you understand those jobs, you can start looking at the formula differently.
Instead of thinking, “What can I substitute?”
you can ask:
“What does this ingredient need to do, and what other ingredient could perform that job?”
That is the difference between simply following a DIY recipe and beginning to understand formulation.
If you’re ready to learn more about how ingredients work together, start with my Skincare Formulation for Beginners guide. You can also learn what each ingredient does in skincare formulation and then practice working with percentages using my Percentages vs. Grams guide.
Printable Massage Candle Recipe
Massage Oil Candle
Equipment
- Heat Safe Container
- Pan to boil water in
- Spatula
- Scale
- Marker (to hold wick straight)
- Scissors
- Glue gun
- Container for candle
Ingredients
- 0.70 ounce | 28% Soy Wax
- 0.78 ounce | 31% Cocoa Butter Deodorized (unless you are going for a cocoa scent!)
- 0.80 ounce | 32% Shea Butter Refined
- 0.13 ounce | 5% Caster Oil
- 0.10 ounce | 4% Love Spell Fragrance Oil **Follow manufacturer's recommendation for use rate
- 1 Wick
- 1 Candle Container
Instructions
- Adhere the wick to the bottom of the candle jar with a small amount of hot glue on the bottom of the wick tab.
- You want to be sure to place the wick in the center of the candle.
- Weight out all of your ingredients
Heated Phase
- Add soy wax to your heat safe container
- Also add in your cocoa butter.
- Place on a double boiler until the soy wax and cocoa butter are fully melted. Be sure to stir it while on the double boiler, so the oils don't get too hot.
Cool Down Phase
- Add in the shea butter to the melted oils. Stir until the shea butter is fully melted.
- Add caster oil and fragrance oil.
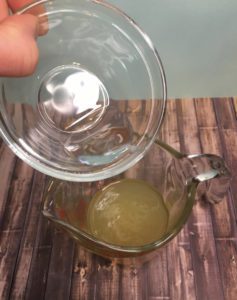
- Stir well.
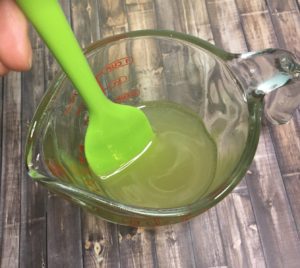
- Pour the hot massage oil into the candle container.
- Use a marker to hold the wick in the center of the candle.
- Allow the candle to fully cool.
- Trim the wick to 1/4 inch.
Some links are “affiliate links,” because I am an Amazon Associate and I earn from qualifying purchases. There is no additional cost to you, the price of the item is the same whether it is an affiliate link or not.
hello,
is the love spell fragrance oil required?
can you make it your self?
thank you
You can use any fragrance oil that you would like, just be sure to follow the manufactures recommendations.