
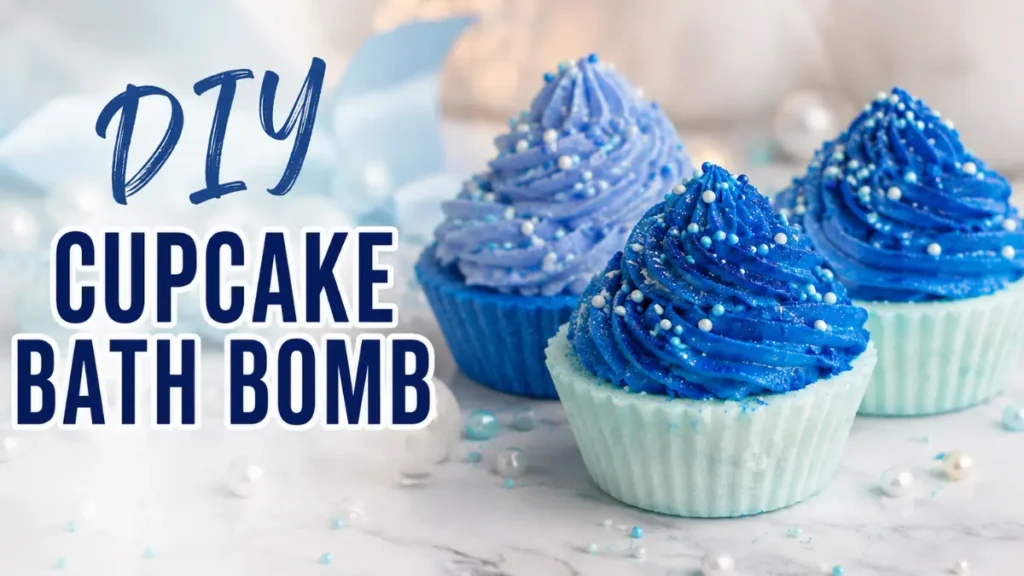
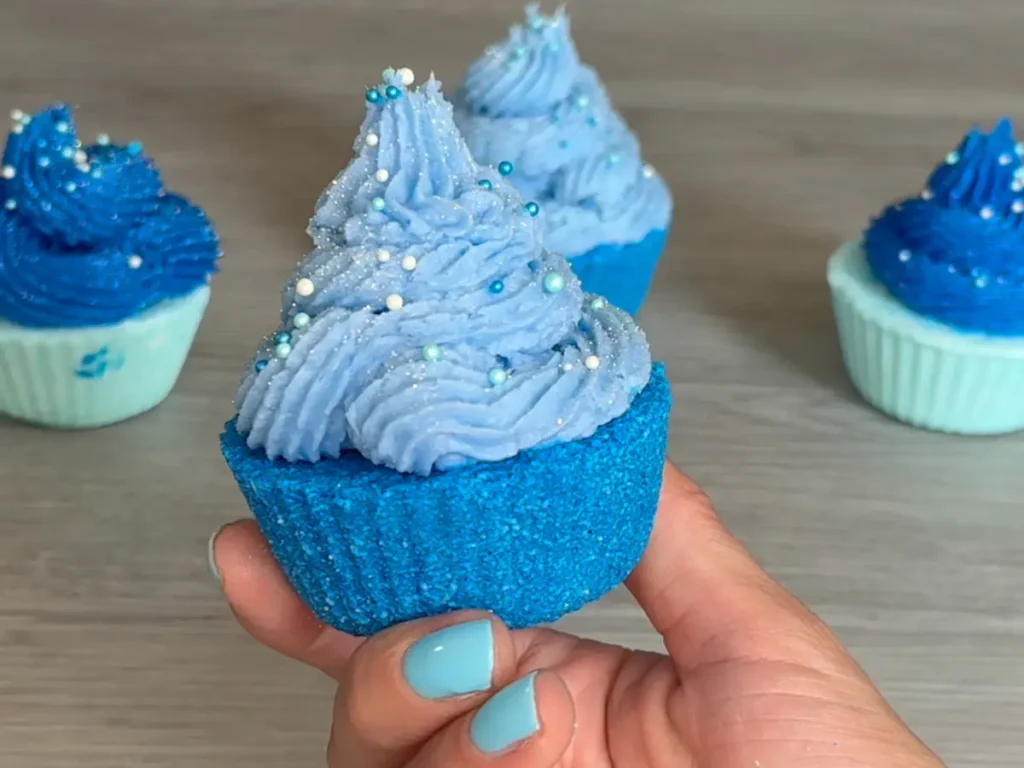
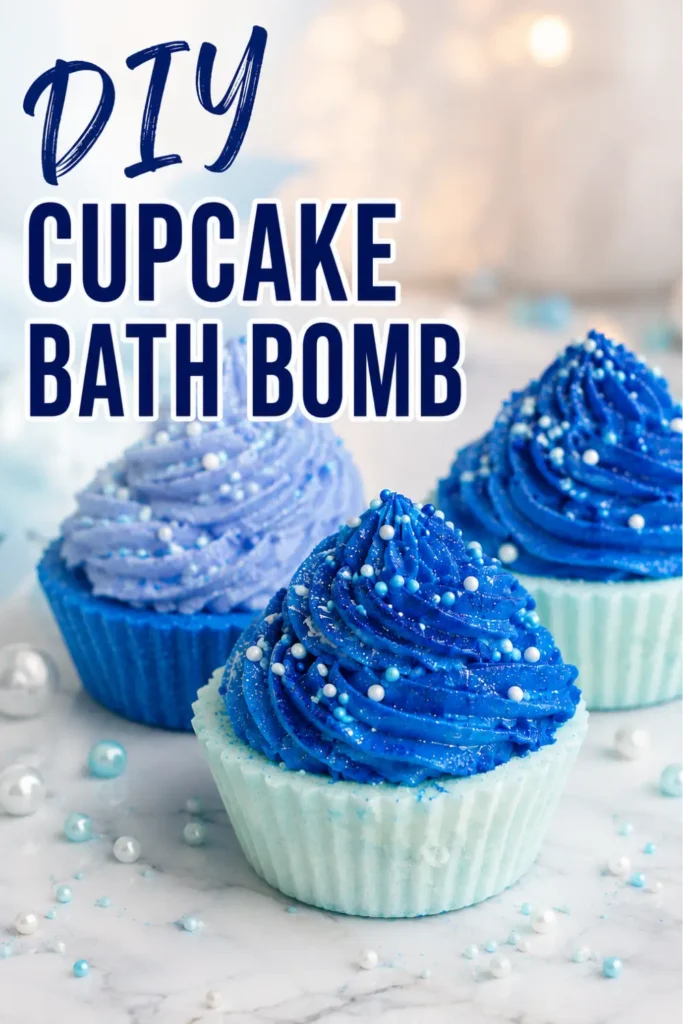
I’ve made a lot of bath bombs, but these are the ones that get the biggest reaction when I pull them out — because at first glance, they genuinely look like cupcakes. A fizzy “cake” base with a swirl of soft, foaming “frosting” on top, right down to the sprinkles. They’re a little more involved than a basic round bath bomb, but nothing here is hard — it’s mostly just a couple of steps that feel weird the first time you do them (looking at you, wet sand and gooey frosting) and then click once you know what you’re aiming for.
Below is the full breakdown: both formulas, every step, and the answers to the questions people ask me most about this recipe — plus why I use the ingredients I use, so you’re not just following steps blindly.
Why I Love This Project
There’s just something about a bath bomb dressed up like dessert. They photograph beautifully, they make really fun gifts, and honestly, packing the mixture into a cupcake pan instead of a round mold is a lot more satisfying than you’d expect. This batch makes 4 bath bomb cupcakes, which is a good size for trying out a new color or fragrance combo without committing a huge amount of product to it — but still enough to gift a set or keep a couple for yourself.
If you’ve made a basic bath bomb before, you’re ready for this. You can also check out my more in-depth bath bomb tutorial. If you haven’t, don’t worry, I’m going to walk through every step in detail, including the two parts that trip people up the first time: getting the base to that “wet sand” texture, and pushing through the moment the frosting looks like a mistake before it turns into something pipeable.
Watch the full video below, or scroll down for the complete written tutorial.
Affiliate Disclosure: This post may contain affiliate links. If you click through and make a purchase, I may earn a small commission at no extra cost to you. Thank you for supporting Summer Rain!
Bath Bomb Base Formula (Makes 4 Cupcakes — 450g Total)
| Ingredient | Percentage | Grams |
|---|---|---|
| Baking soda | 62% | 279 g |
| Citric acid | 30% | 135 g |
| Cocoa butter | 4% | 18 g |
| Polysorbate 80 | 2% | 9 g |
| Smell the Rainbow Fragrance oil | 2% | 9 g |
| Total | 100% | 450 g |
Want a bigger or smaller batch? Since this is written as a percentage formula, you can scale it to whatever total weight you need — just multiply each percentage by your new total. Want 900g instead of 450g? Double every gram amount. If you want the full explanation of how and why that works, I put together a free download for it: Turn a Recipe Into a Formula (and Resizing a Recipe) Template.
Step-by-Step: Making the Bath Bomb Base
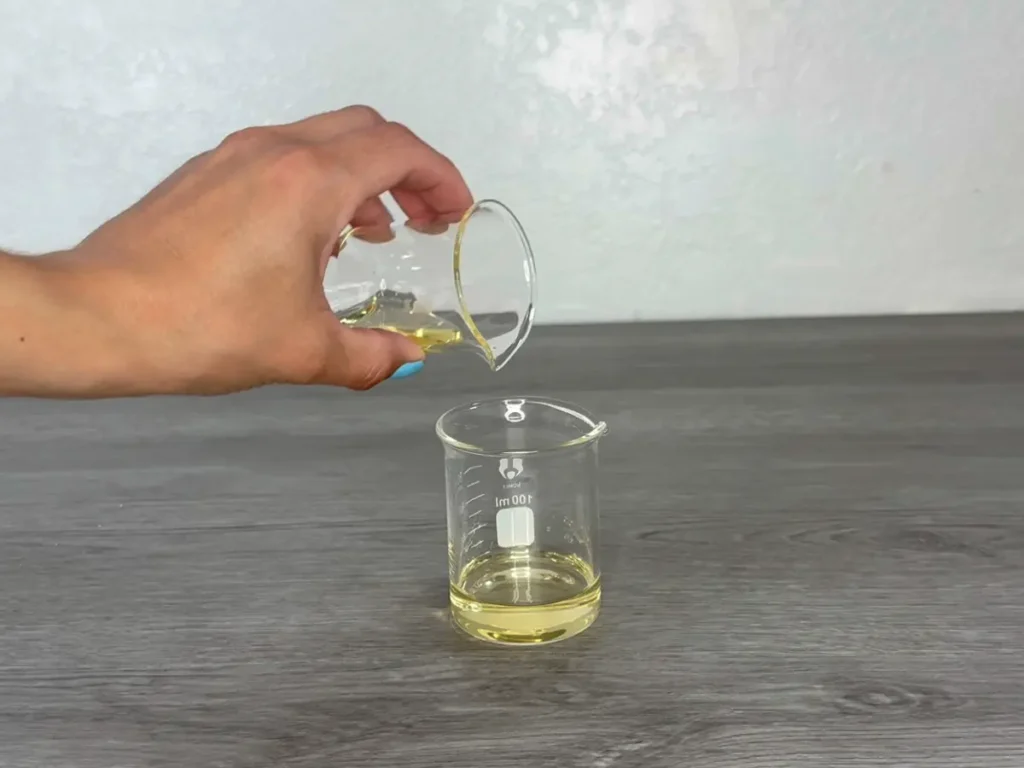
Melt the cocoa butter. Set up a double boiler and melt your 18g of cocoa butter completely, stirring it occasionally while it’s on the heat so it melts evenly. Keep the heat low and gentle — you just need it liquid, not hot.
Add the wet ingredients. Once it’s melted, take it off the heat and stir in the polysorbate 80 and fragrance oil. Mix until it’s fully combined. This little liquid mixture is what’s going to bind your dry powders together and help disperse the oils evenly instead of leaving oil spots.
Combine the dry ingredients. In a separate mixing container, whisk together your baking soda and citric acid until they’re evenly blended with no clumps.
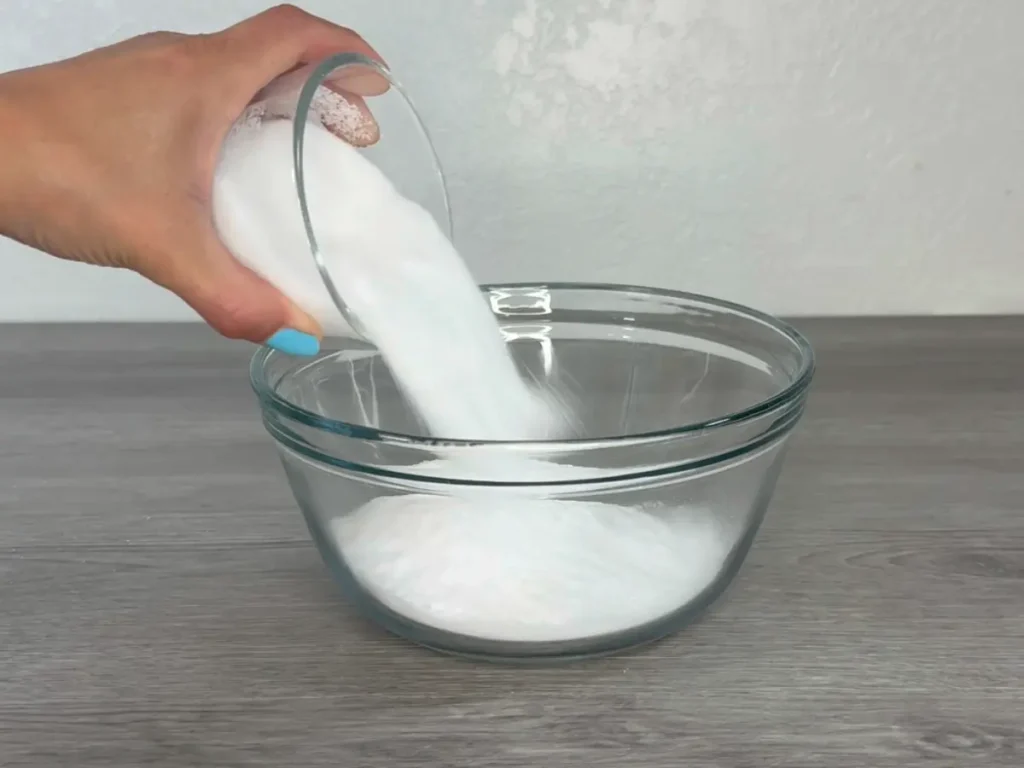
Bring it together. Pour the melted cocoa butter mixture into the dry ingredients. Add your lake dye at this point, then mix thoroughly — I like using gloved hands here to really work out any streaks of color and make sure everything’s evenly coated.

Add witch hazel to bind. This is the step that scares people the most, so I’ll go into more detail on it below. Working in small amounts, spray in witch hazel with a spray bottle while mixing, checking your consistency as you go, until the mixture holds together when you squeeze it — that’s your “wet sand” stage.
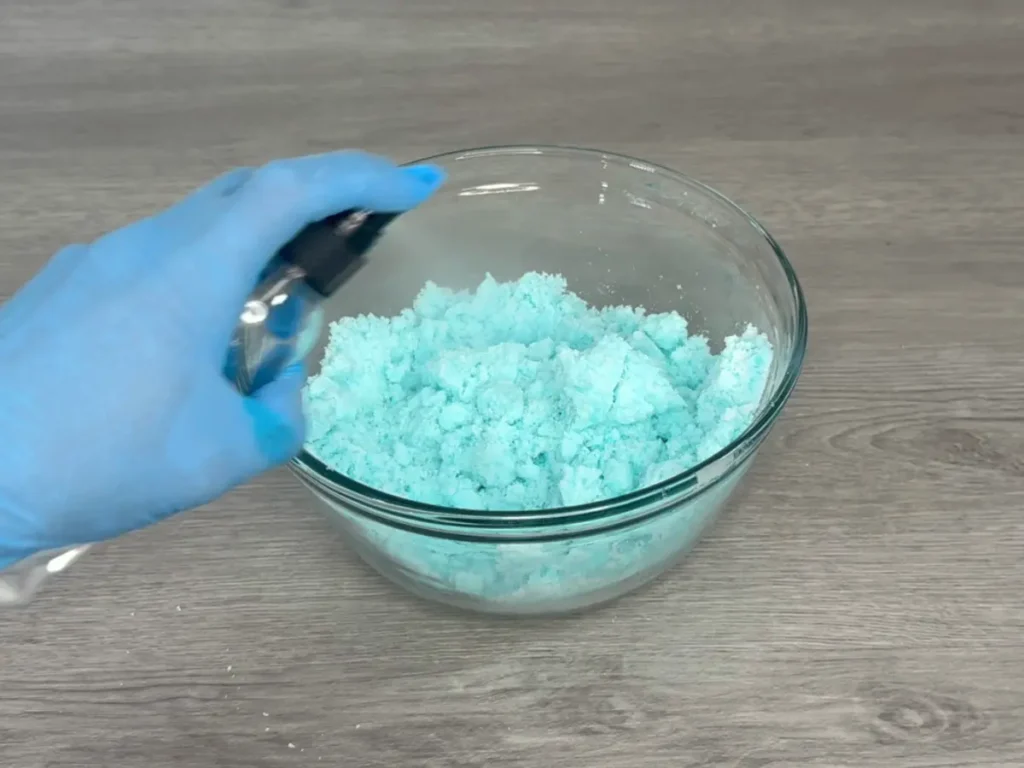
⚠️ Common Mistake: Crumbly Mixture That Won’t Hold Together This is almost always a witch hazel issue — you just need a bit more. Keep spraying in small amounts, mixing, and re-testing with the squeeze test until it holds its shape. It’s a lot easier to add more than it is to fix a mixture that’s gotten too wet, so take your time here.
Pack the molds. Line a standard cupcake pan with silicone liners. Pack the mixture into each liner firmly — press it in harder than you think you need to, this matters more than people expect. You’re dividing this batch across 4 bath bomb cupcakes, so figure roughly 112–113g per cavity.
Let it set. Leave the pan undisturbed for 24 hours. I know it’s tempting to peek, but resist — the setting time is what gives them their structure.
⚠️ Common Mistake: Bombs Crack or Expand Overnight This usually means there was too much moisture in the mix — either too much witch hazel or humidity in your workspace — which kicks off a slow fizzing reaction inside the mold while they sit. If this happens to you, try a little less witch hazel next time and see if working in a lower-humidity space helps.
Unmold. After 24 hours, gently press the bombs out of the liners and out of the pan.
Why Use Lake Dye? (And Not Mica Powder)
If you’ve shopped for bath bomb colorants before, you’ve probably come across both “lake dye” and “mica powder” and wondered why a recipe would call for one over the other. They’re both powdered colorants, but they behave really differently once they hit water.
Lake dyes are dyes that have been bonded to an insoluble base, which means they don’t dissolve in water — they disperse instead, tinting the whole bath evenly. Mica powder is a mineral-based colorant that’s popular in bath bombs for its shimmer, but it doesn’t disperse the same way — it tends to float on the surface or cling to the tub in patches instead of actually tinting the water. Micas are great when you want shimmer on the outside of a bath bomb, but they’re not the right tool when your goal is even color throughout the water.
A few other reasons I reach for lake dye specifically for tinting bathwater:
- It tints evenly instead of leaving streaky, patchy color the way mica can
- It’s more color-stable in the presence of oils and butters, so the color holds instead of shifting or fading
- A little goes a long way, so you have a lot of control over how saturated the final color is
- It mixes beautifully with oils, which is handy since we’re already using cocoa butter as our binder here
One thing to watch for: lake dyes can occasionally leave a slight ring around the tub, especially in lighter-colored tubs. A quick rinse after your bath takes care of it. If tub staining is a concern for you, look for a lake dye labeled “low staining,” or just do a small test batch first.
And if you want shimmer and color, you can use both — mica dusted on the outside for sparkle, lake dye mixed into the base for the tint.
Witch Hazel as a Binder: Getting to “Wet Sand”
This is the step that makes or breaks a bath bomb, so let’s slow down here.
Witch hazel is a plant-derived astringent, and it’s the go-to binding liquid in bath bomb making instead of plain water. Here’s why: water activates the fizzing reaction between citric acid and baking soda almost instantly, so if you use water to bind your mixture, it can start fizzing away in the bowl before you even get it into the mold. Witch hazel has a small amount of alcohol in it, which evaporates quickly and doesn’t set off the same reaction, so it lets you bind your mixture without losing the fizz before bath time.
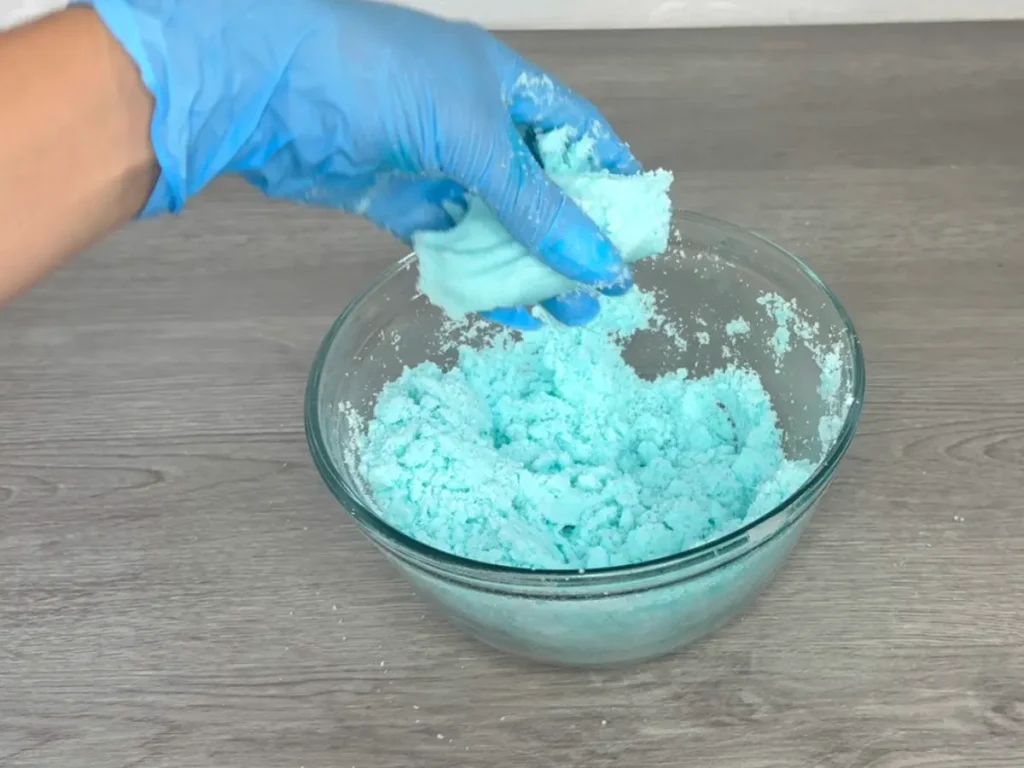
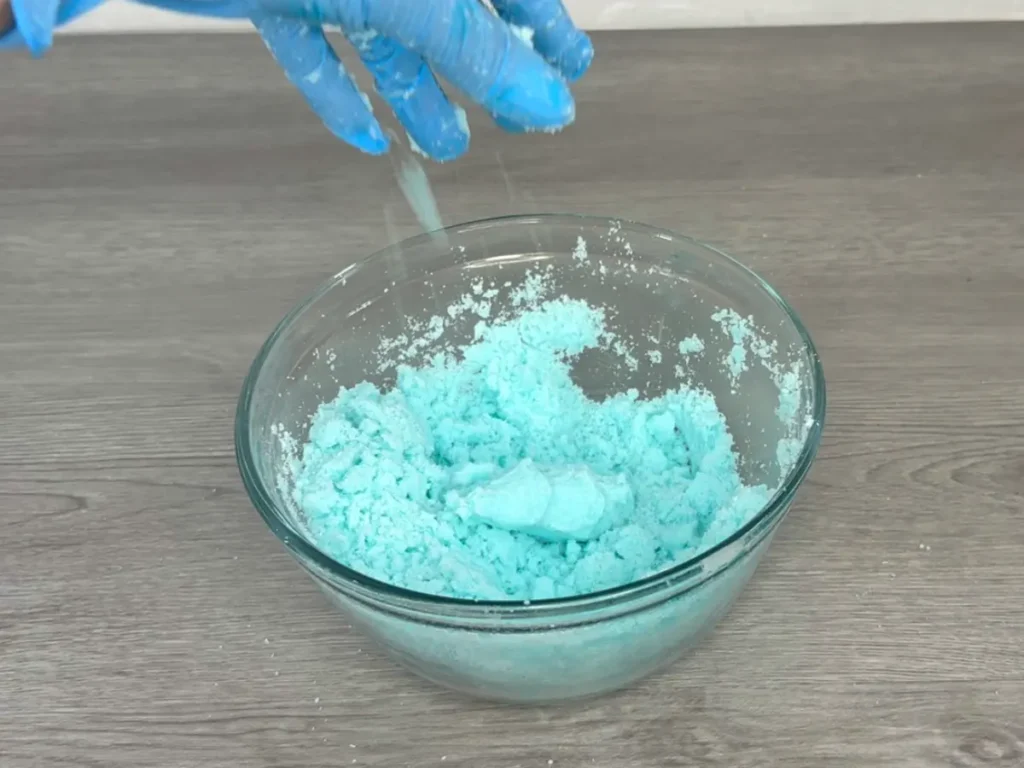
“Wet sand consistency” is the texture you’re aiming for — think of packing sand at the beach to build a sandcastle. When you squeeze a handful of the mixture:
- It should hold its shape once you let go
- It shouldn’t feel wet, sticky, or drippy
- It shouldn’t crumble apart into loose powder either
- If you press it and it holds together but still looks a little sandy and matte, not shiny or damp, you’re there
Go slow with this part. A spray bottle is genuinely one of the best tools for it, because it lets you mist small amounts evenly across the mixture instead of dumping liquid in one spot, which can cause localized fizzing. Spritz, mix, squeeze-test, repeat. It’s a lot easier to add more witch hazel than it is to fix a mixture that’s gotten too wet.
If yours does end up too wet and starts fizzing on you, don’t panic — just add a bit more of your dry baking soda and citric acid blend, mixed at the same 62:30 ratio, to bring it back into balance.
Frosting Formula (270g Batch)
The “frosting” on these bath bomb cupcakes isn’t a bath bomb at all — it’s a foaming, pipeable topping made from melt and pour soap combined with foaming bath butter. If you’ve never made foaming bath butter before, I have a full recipe and tutorial on that How to Make Foaming Bath Butter — it’s worth a read before you dive into this step, especially the first time around.
| Ingredient | Percentage | Grams |
|---|---|---|
| Melt and pour soap base | 68% | 183.6 g |
| Foaming bath butter | 30% | 81 g |
| Smell the Rainbow Fragrance oil | 2% | 5.4 g |
| Total | 100% | 270 g |
Just like the bath bomb base, this is a percentage-based formula, so you can scale it up if you want to frost more cupcakes or pipe a taller swirl (more on that in a minute).
Why Foaming Bath Butter Instead of Just More Melt and Pour?
You might be wondering why this frosting isn’t just melted soap base on its own — melt and pour is easy to work with and holds color beautifully. The short answer is texture and function.
Melt and pour soap on its own sets up hard and glassy, like a bar of soap. Great for washing with, terrible for piping — it wouldn’t hold a swirl shape at all, and by the time it cooled enough to be pipeable, it would already be firming up in the bag. Foaming bath butter solves that. It’s whipped to a light, fluffy consistency on its own, and when you combine it with the melted soap base, it changes the whole texture of the mixture — instead of hardening straight into a solid, it goes pliable and creamy, closer to a stiff buttercream than a bar of soap. That’s what actually lets you pipe a clean swirl and have it hold.
It’s also what gives the “frosting” its foaming, lathering quality once it’s in use. A plain melt and pour topping would just be a firm, lower-lather chunk of soap sitting on your bath bomb. The foaming bath butter is what lets it billow up into that light, bubbly lather when you use it, which is really the whole point of frosting a bath bomb in the first place.
If you want to go deeper on how foaming bath butter is made and why it behaves the way it does, my full foaming bath butter post breaks that down — it’s worth making a batch of it on its own first, just to get a feel for the texture before you use it here.
Step-by-Step: Making the Frosting
Whip the foaming bath butter. Using a hand mixer, whip your foaming bath butter until it’s light and fluffy, similar to whipping buttercream. Set it aside.
Melt the soap base. Cut your melt and pour soap into chunks and microwave in 15-second intervals, stirring between each one, until it’s fully melted. Going low and slow here keeps it from scorching or getting rubbery.
Add color. Once it’s melted, stir your colorant directly into the liquid soap.
Combine. Pour the melted, colored soap into the bowl with your whipped foaming bath butter, and add your fragrance oil.
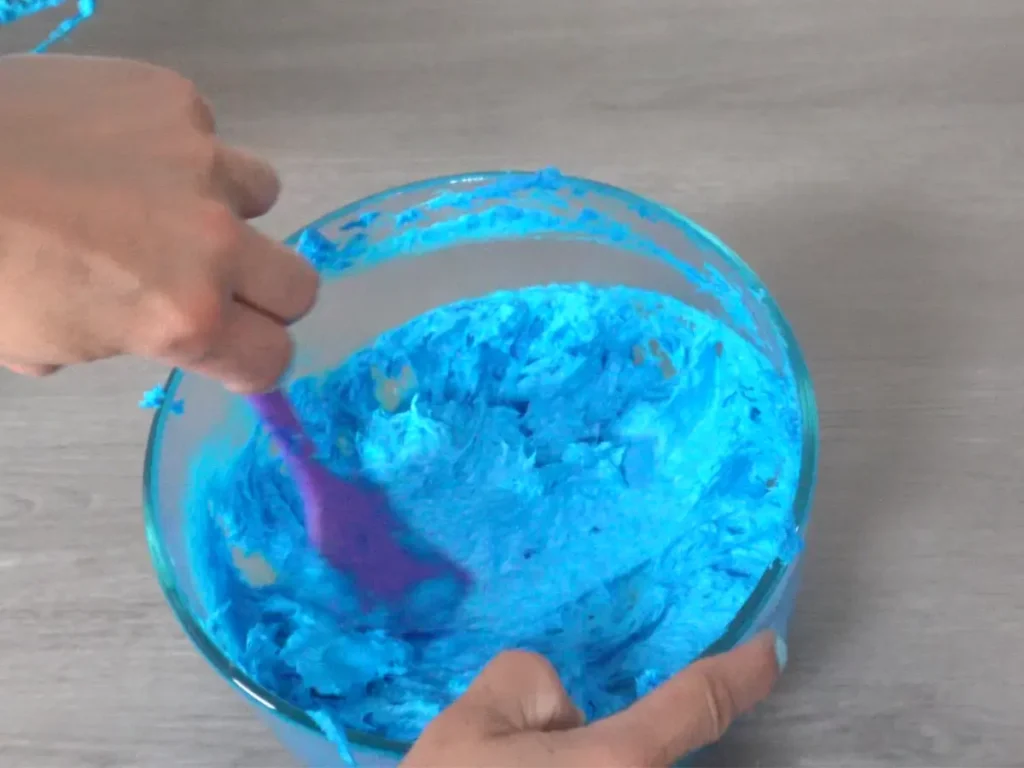
Mix. Using the hand mixer, beat everything together. Fair warning: it’s going to look wrong. The mixture turns gooey and goopy and generally unappealing for a solid stretch of mixing — that’s completely normal, so don’t stop and don’t panic.
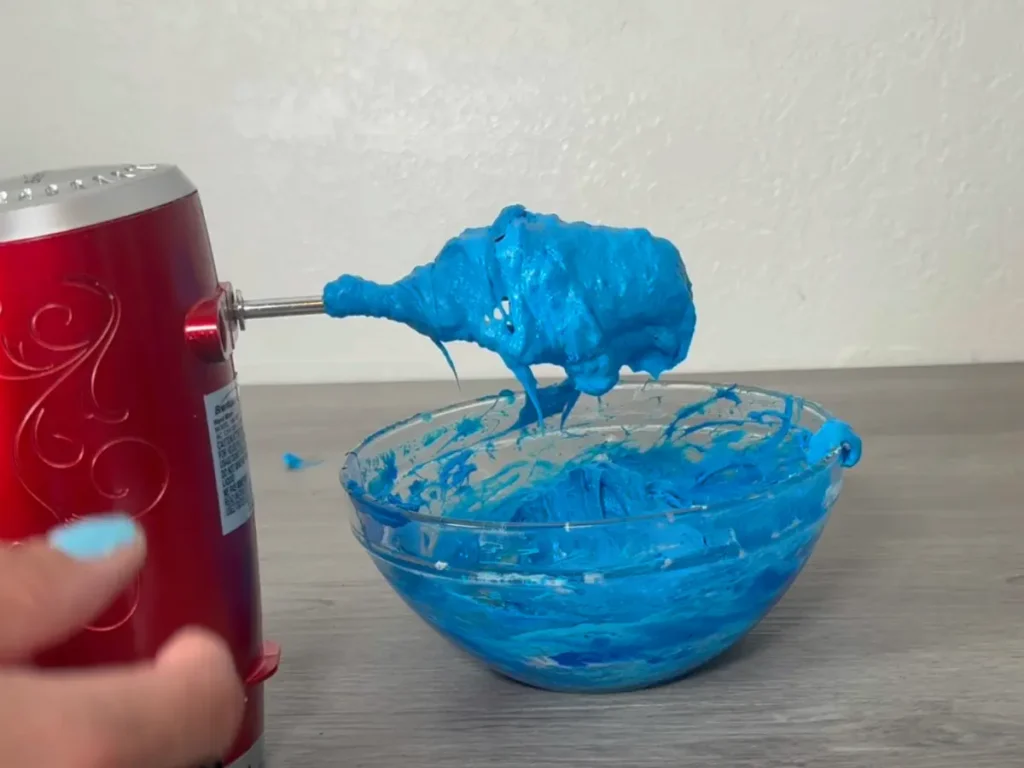
Keep going. As you keep mixing, the texture shifts from gooey to something pliable, creamy, and thick enough to hold its shape — similar to a stiff frosting or a thick whipped cream. That’s your cue that it’s ready to pipe.
Piping and Decorating
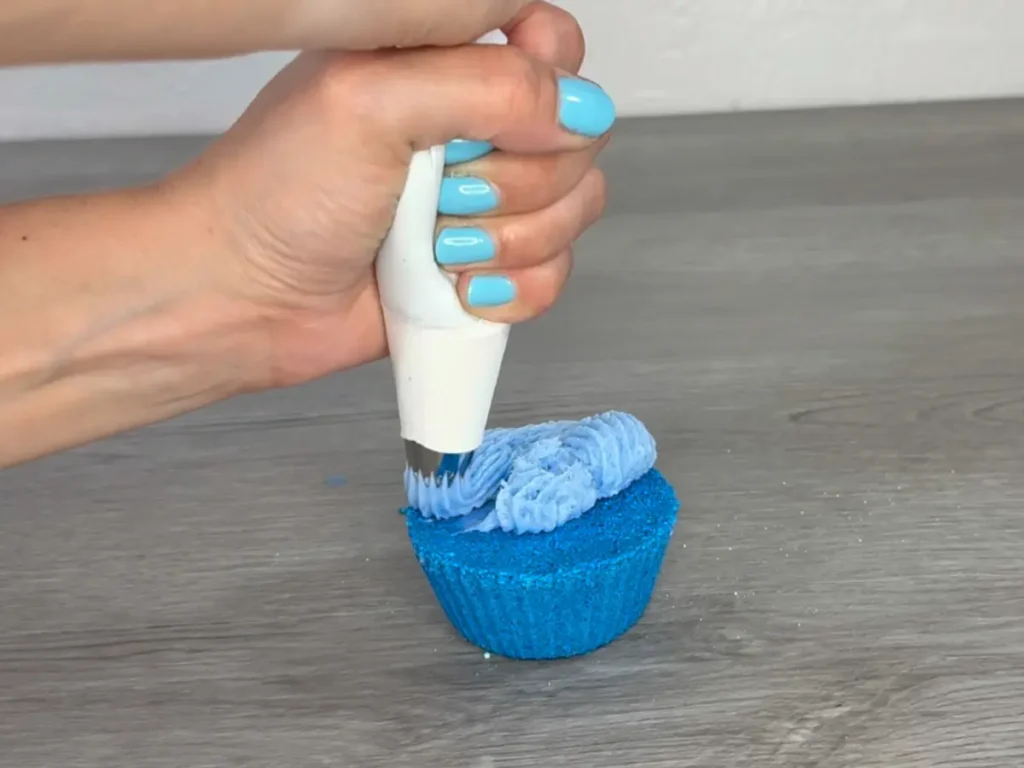
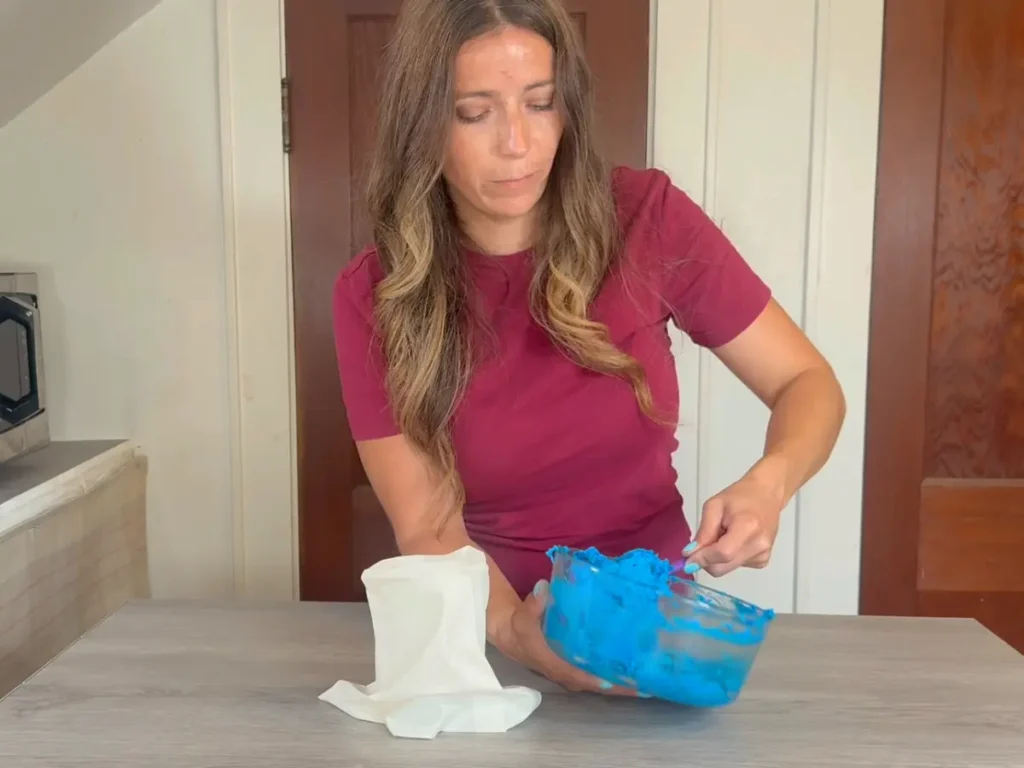
Fit a piping bag with your favorite frosting tip — I used a Wilton 6B for that classic bakery-style swirl.
Fill the bag with your finished “frosting.”
Pipe a dollop right in the center of each bath bomb cupcake first, then build outward and upward in a swirl, just like frosting a real cupcake.
Finish with a sprinkle of biodegradable glitter over the top while the frosting’s still soft enough for it to stick.
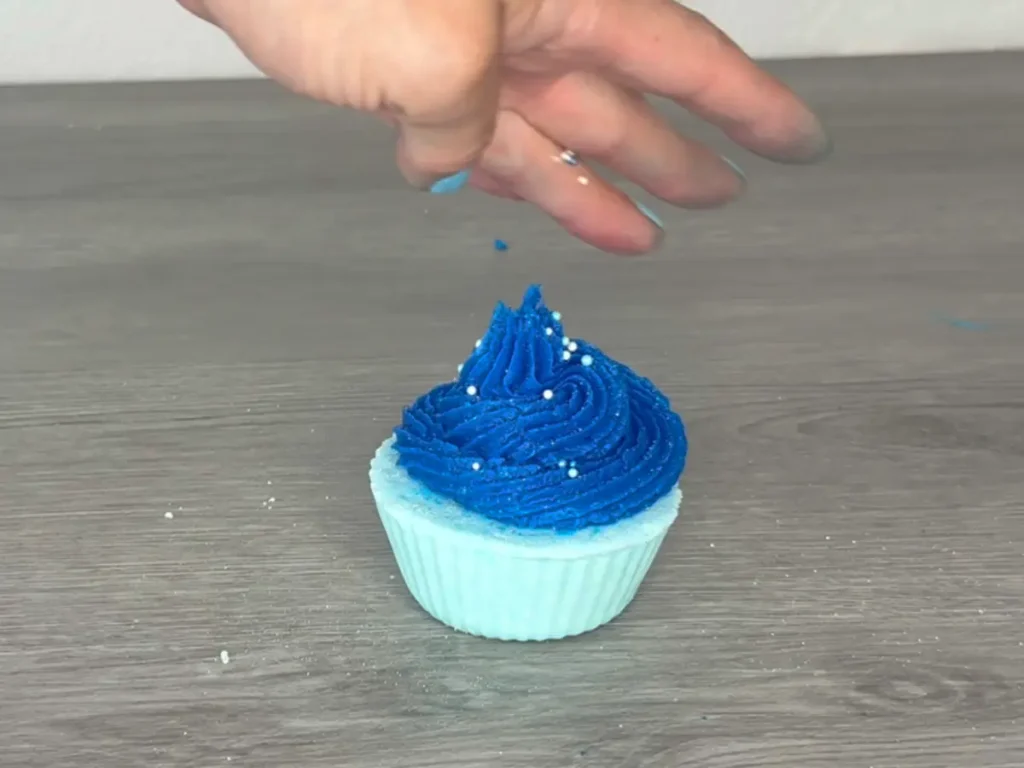
Don’t stress if your first swirl doesn’t come out right — if you mess up while piping, just scrape the frosting back off, put it back in the piping bag, and try again. The texture’s forgiving at this stage, so you can redo a swirl as many times as you need to get it looking right.
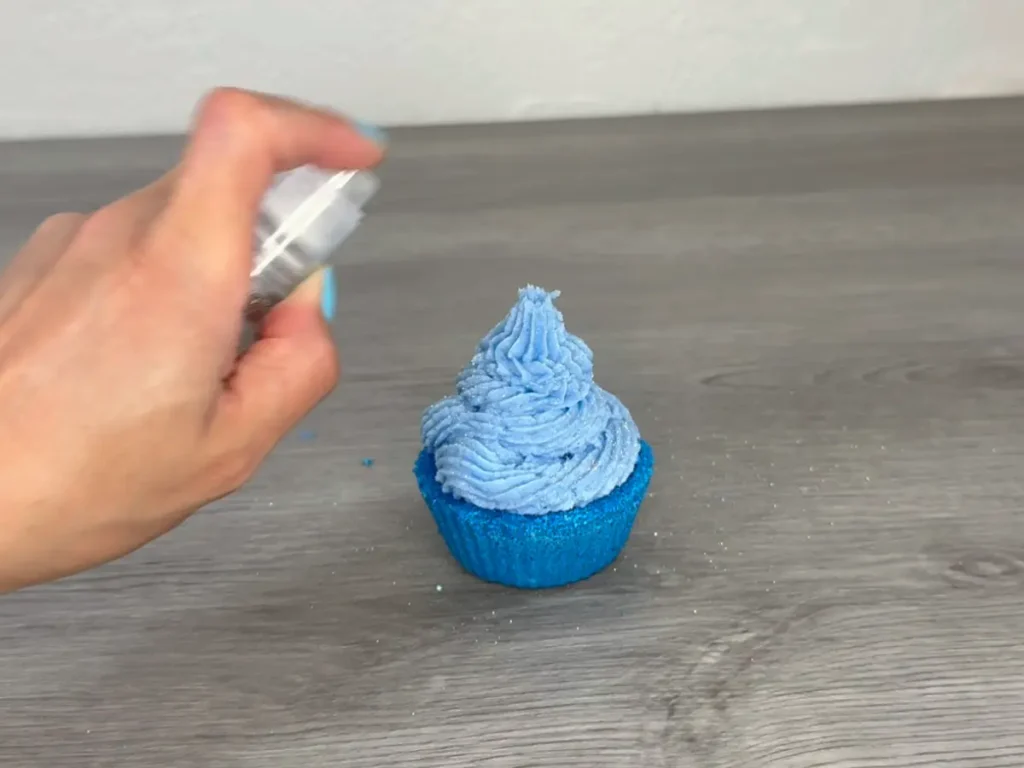
Note: if you want a taller, more dramatic swirl, you’ll use more product per cupcake. Which is exactly why this recipe is written as a formula instead of fixed amounts. Just scale the total batch weight up, say to 350g or 400g, using the same percentages, and you’ll get proportionally more frosting without throwing off the ratio.
Packaging as Gifts
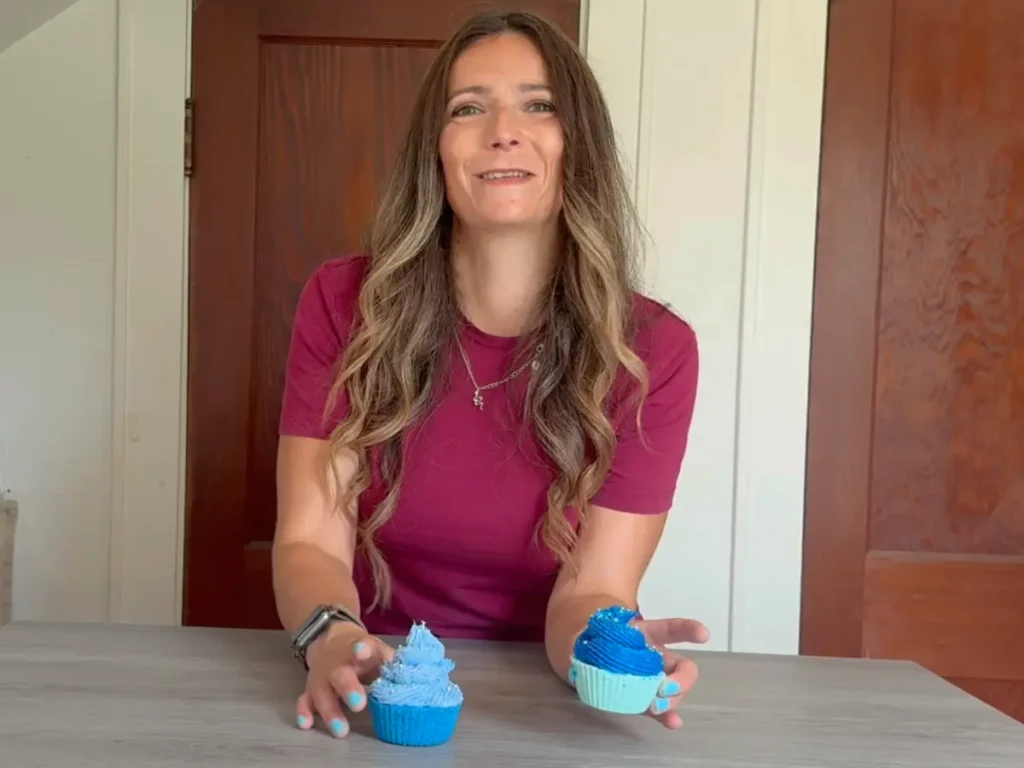
Because these look so much like the real thing, they make really good gifts — but they do need to be wrapped, both to protect that frosting swirl and to keep the scent from fading before they’re used. My go-to method is shrink wrap and a heat gun: slide each cupcake bath bomb into a shrink wrap bag, then use the heat gun to shrink the wrap tightly around it. It gives you that clean, bakery-case look, seals in the fragrance, and protects the piped frosting from getting knocked around.
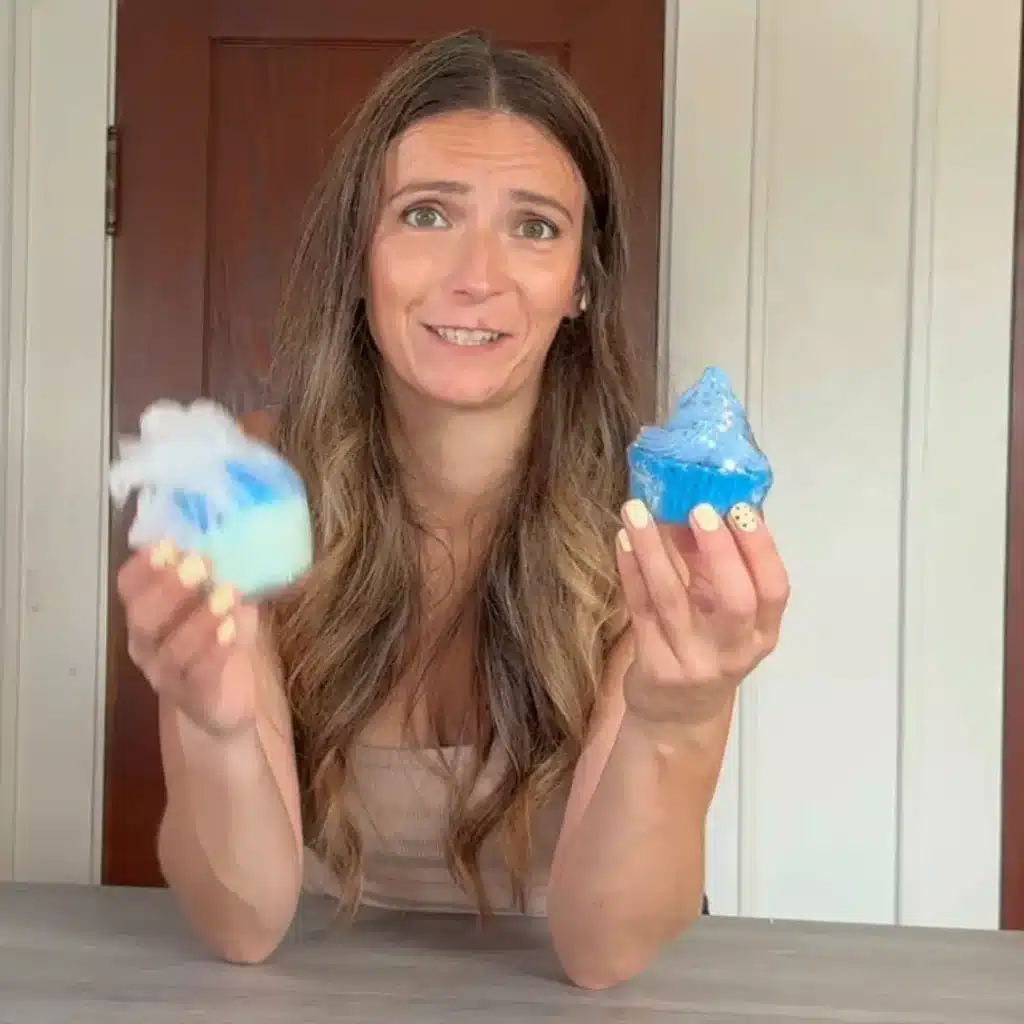
If you’ve never used a heat gun for shrink wrapping before, the video below walks through the basics and will get you comfortable with it fast. It’s a quick technique to pick up, and one you’ll end up reusing for pretty much any bath product you want to gift or sell.
A few tips for this step:
- Let the bath bomb cupcakes fully set and firm up before wrapping — wrapping too early can smash the frosting
- Keep the heat gun moving instead of holding it in one spot. You don’t want to melt the frosting or scorch the wrap
- A small round gift tag with the fragrance name tied around the base is a nice finishing touch if you’re gifting a set
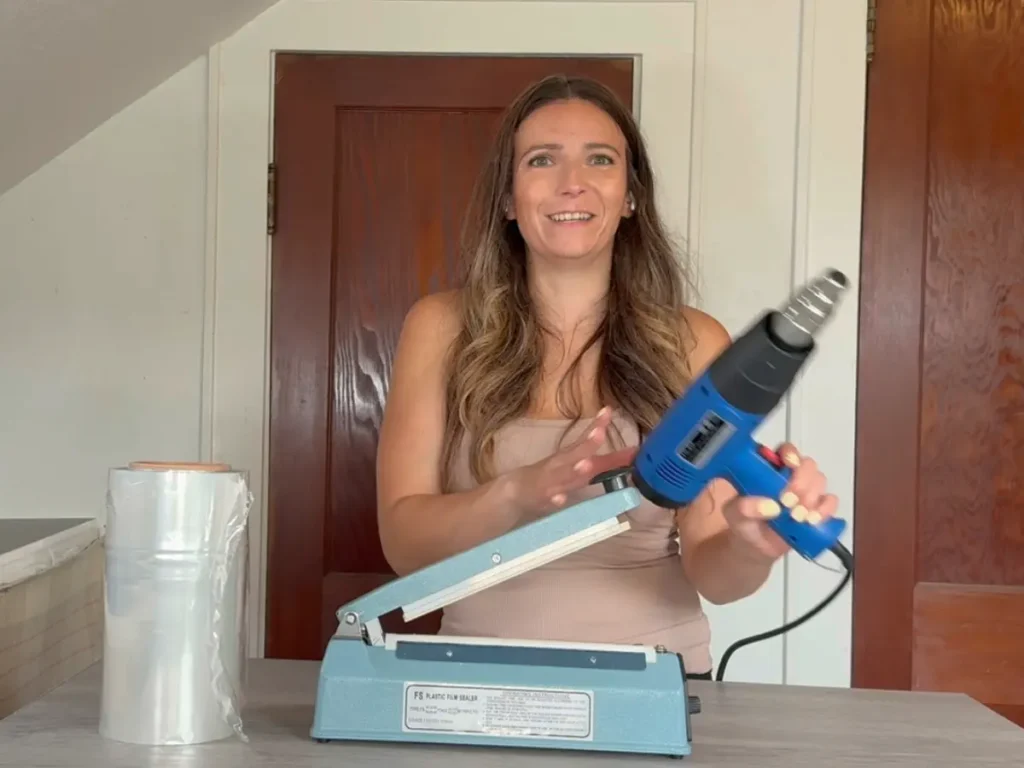
Don’t have a heat gun? A simpler option is to sit each finished cupcake bath bomb into a fresh mini cupcake liner (a clean one, layered on top of the one it set in) for that true bakery presentation, then wrap it loosely in a square of clear cellophane and gather it at the base with a twist tie or ribbon. It won’t seal as tightly as shrink wrap, so it’s best for gifts that’ll get used within a week or two, but it’s fast, needs no tools, and still looks adorable in a gift box. Either way, finish with a small tag noting the fragrance — it’s a nice touch, and it tells the recipient what they’re smelling before they even open it.
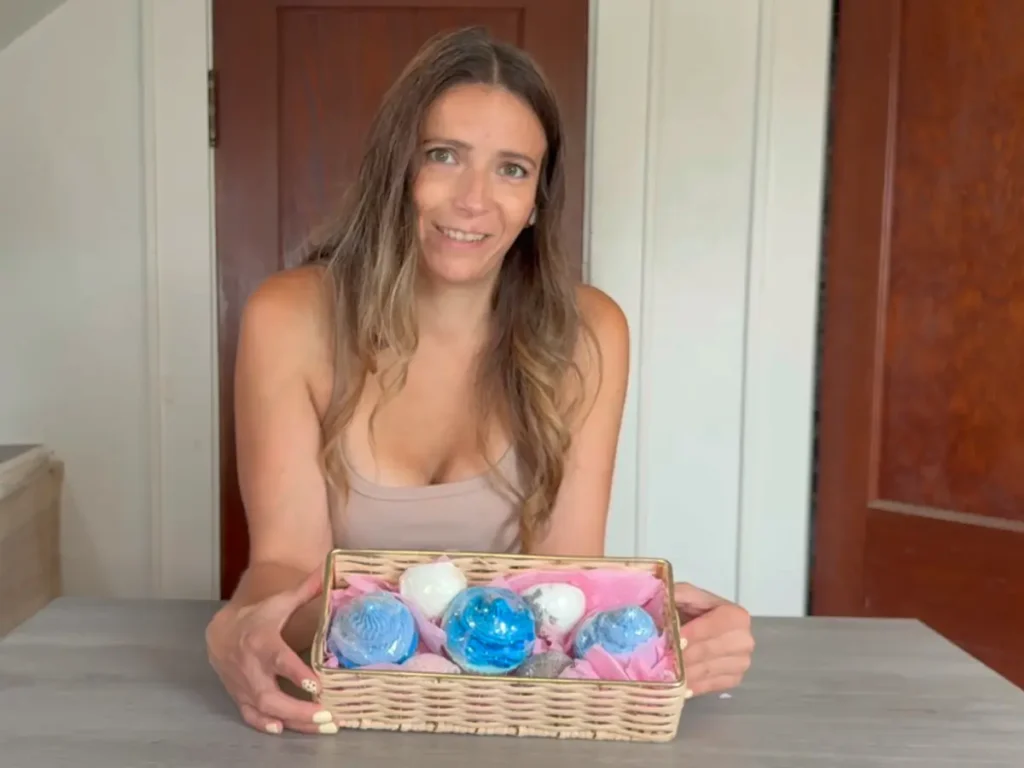
How Long Do Cupcake Bath Bombs Last?
This is one of the most common questions I get on any bath bomb recipe, so it’s worth its own section.
The bath bomb base holds up well for several months when it’s stored in an airtight container away from humidity. Moisture is the enemy here — even a little ambient humidity can slowly kick off the fizzing reaction, so keep them somewhere cool and dry, not in a steamy bathroom.
The frosting sets up solid, just like a melt and pour soap, so it holds its shape well over time too. Store finished, frosted bath bombs the same way — airtight, away from humidity — and they’ll stay looking good for months rather than days.
If you’re gifting these, the shrink wrap or cellophane covered above does double duty: it looks polished, and it protects the bath bomb from humidity in transit so it arrives looking as good as the day you made it.
Frequently Asked Questions
Do I have to use a cupcake pan? No — you can use round bath bomb molds and skip the cupcake shape entirely. But the cupcake pan and silicone liner combo makes this project pretty low-effort as far as molds go, and you probably already have one in your kitchen.
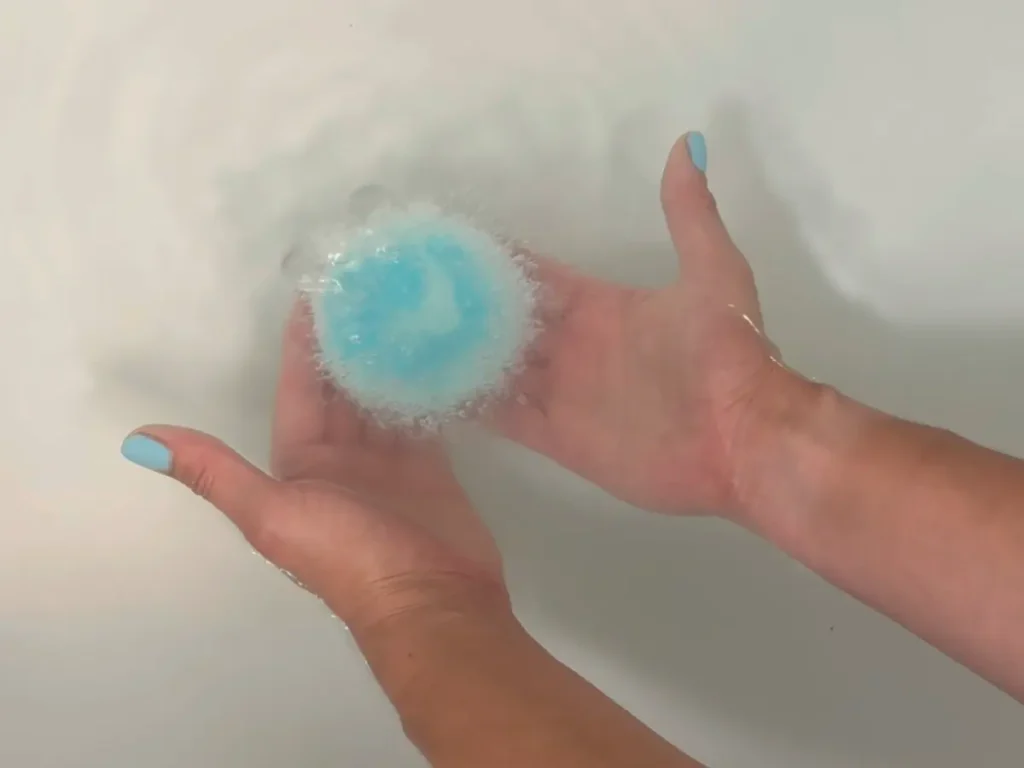
Does the frosting dissolve in the tub along with the bath bomb? No — because it’s built on a melt and pour soap base, it sets up solid and stays solid, just like a bar of soap. It doesn’t fizz or dissolve away with the base underneath it. Instead, you use it the way you’d use any melt and pour soap: work it against a washcloth or your hands while you’re in the tub, and it’ll lather and foam thanks to the foaming bath butter mixed in.
Printable Recipe
Cupcake Bath Bomb Recipe
Ingredients
Bath Bomb
- 279 grams Baking soda
- 135 grams Citric acid
- 18 grams Cocoa butter
- 9 grams Polysorbate 80
- 9 grams Smell the Rainbow Fragrance oil
- Lake dye
Frosting
- 183.6 grams Melt and pour soap base
- 81 grams Foaming bath butter
- 5.4 grams Smell the Rainbow Fragrance oil
Instructions
Cupcake Bath Bomb
- Melt the cocoa butter. Set up a double boiler and melt your 18g of cocoa butter completely, stirring it occasionally while it's on the heat so it melts evenly. Keep the heat low and gentle — you just need it liquid, not hot.
- Add the wet ingredients. Once it's melted, take it off the heat and stir in the polysorbate 80 and fragrance oil. Mix until it's fully combined. This little liquid mixture is what's going to bind your dry powders together and help disperse the oils evenly instead of leaving oil spots.
- Combine the dry ingredients. In a separate mixing container, whisk together your baking soda and citric acid until they're evenly blended with no clumps.
- Bring it together. Pour the melted cocoa butter mixture into the dry ingredients. Add your lake dye at this point, then mix thoroughly I like using gloved hands here to really work out any streaks of color and make sure everything's evenly coated.
- Add witch hazel to bind. Spray only as much as you need to get to a "wet sand" consistency.
- Pack the molds. Line a standard cupcake pan with silicone liners. Pack the mixture into each liner firmly — press it in harder than you think you need to, this matters more than people expect. You're dividing this batch across 4 bath bomb cupcakes, so figure roughly 112–113g per cavity.
- Let it set. Leave the pan undisturbed for 24 hours. I know it's tempting to peek, but resist — the setting time is what gives them their structure.
- Unmold. After 24 hours, gently press the bombs out of the liners and out of the pan.
Bath Bomb Frosting
- Whip the foaming bath butter. Using a hand mixer, whip your foaming bath butter until it's light and fluffy, similar to whipping buttercream. Set it aside.
- Melt the soap base. Cut your melt and pour soap into chunks and microwave in 15-second intervals, stirring between each one, until it's fully melted. Going low and slow here keeps it from scorching or getting rubbery.
- Add color. Once it's melted, stir your colorant directly into the liquid soap.
- Combine. Pour the melted, colored soap into the bowl with your whipped foaming bath butter, and add your fragrance oil.
- Mix. Using the hand mixer, beat everything together. Fair warning: it's going to look wrong. The mixture turns gooey and goopy and generally unappealing for a solid stretch of mixing — that's completely normal, so don't stop and don't panic.
- Keep going. As you keep mixing, the texture shifts from gooey to something pliable, creamy, and thick enough to hold its shape — similar to a stiff frosting or a thick whipped cream. That's your cue that it's ready to pipe.
Piping and Decorating
- Fit a piping bag with your favorite frosting tip — I used a Wilton 6B for that classic bakery-style swirl.
- Fill the bag with your finished "frosting."
- Pipe a dollop right in the center of each bath bomb cupcake first, then build outward and upward in a swirl, just like frosting a real cupcake.
- Finish with a sprinkle of biodegradable glitter over the top while the frosting's still soft enough for it to stick.
- Don't stress if your first swirl doesn't come out right — if you mess up while piping, just scrape the frosting back off, put it back in the piping bag, and try again. The texture's forgiving at this stage, so you can redo a swirl as many times as you need to get it looking right.
Video
Made a batch of these? I’d love to see them — tag me or drop a comment below with your fragrance and color combo. Happy soaping!