
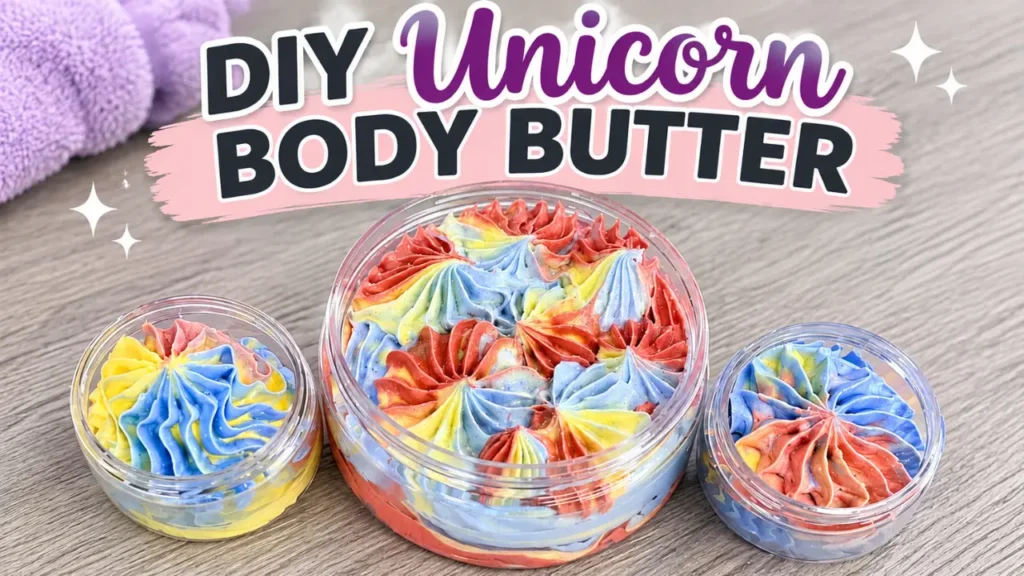
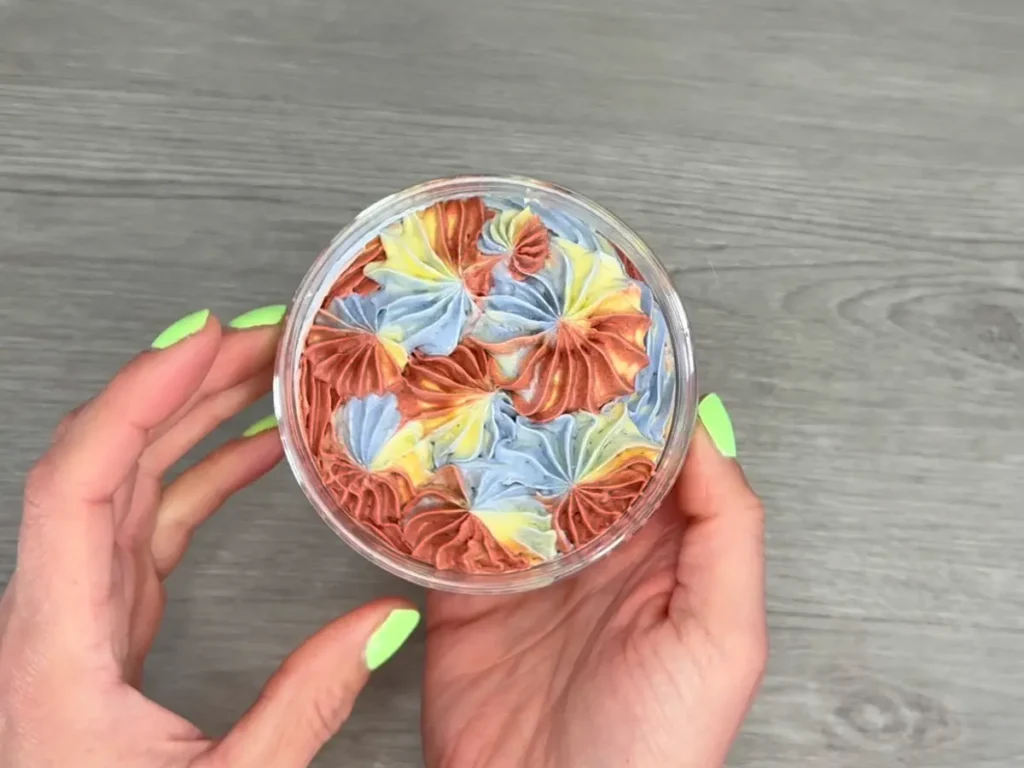
If you love homemade body butter but want to make something a little more fun, this swirled unicorn body butter is a beautiful way to customize a homemade skincare project.
The technique uses three different colors of whipped body butter arranged in plastic wrap and transferred into a piping bag. As you pipe the mixture into your containers, the colors come together to create a pretty multicolored swirl.
The best part is that you don’t need professional decorating equipment or complicated techniques. With a little plastic wrap, a piping bag, and cosmetic-grade mica powders, you can create this colorful design at home.
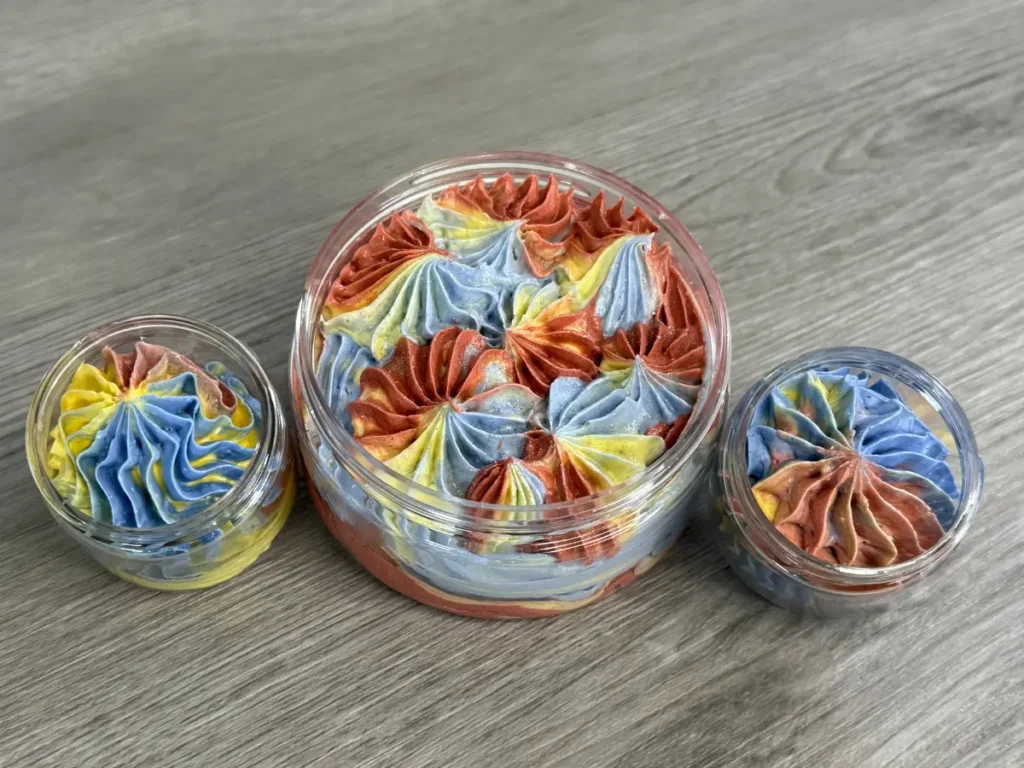
For this project, I’m using red, blue, and yellow to create a unicorn-inspired appearance. You can use the same technique with almost any combination of colors.
What Is Unicorn Body Butter?
Unicorn body butter is simply whipped body butter that has been divided into separate portions, colored, and piped together to create a multicolored appearance.
The actual body butter is made using a traditional anhydrous (water-free) formula. The difference is in how the finished mixture is decorated and packaged.
Rather than mixing all the colors together, each portion is colored separately. The colors are then arranged in plastic wrap and rolled into a tube before being transferred to a piping bag.
This technique allows you to pipe several colors at once without having to fill the piping bag with each color individually.
Watch Video Tutorial on Swirled Unicorn Body Butter
Some links on this website are affiliate links, meaning I may earn a small commission if you click and make a purchase. This comes at no additional cost to you.
Body Butter Recipe
For this project, I’m using my whipped body butter formula made with shea butter, kokum butter, and hazelnut oil.
The combination creates a rich, creamy body butter that can be whipped and piped into containers. Kokum butter helps give the formula structure, while the liquid oil helps balance the firmness of the butters.
The finished consistency is important for this project. You want a body butter that’s soft enough to pipe but firm enough to hold its shape once it’s in the container.
Unicorn Body Butter Recipe
| Ingredient | Percentage | Weight |
|---|---|---|
| Shea butter | 35% | 70 g |
| Kokum butter | 33% | 66 g |
| Hazelnut oil | 28% | 56 g |
| BTMS-25 | 2% | 4 g |
| Fragrance oil | 1.5% | 3 g |
| Tapioca starch | 0.5% | 1 g |
| Total | 100% | 200 g |
Why These Ingredients Work
- Shea butter: Provides a rich, creamy base and contributes to the moisturizing feel of the finished body butter.
- Kokum butter: A firmer butter that helps the finished product hold its structure. This is particularly helpful when piping.
- Hazelnut oil: Adds a liquid oil component that makes the body butter easier to spread and helps balance the firmer butters.
- BTMS-25: A conditioning emulsifying ingredient that contributes to a smoother, creamier skin feel. Although it’s commonly used in conditioners and emulsified products, it can also be incorporated into anhydrous formulations.
- Fragrance oil: Gives the body butter its scent. Always follow the supplier’s maximum usage rate for leave-on products.
- Tapioca starch: Helps reduce some of the oily feeling that can come with rich body butters.
If you’d like to learn more about how different cosmetic ingredients work, take a look at my guides to mango butter and cocoa butter as well as my article about emulsions and how they work.
Supplies You’ll Need
In addition to the body butter ingredients, you’ll need a few supplies to create the multicolored design.
- Red cosmetic-grade mica powder
- Blue cosmetic-grade mica powder
- Yellow cosmetic-grade mica powder
- Plastic wrap (press n seal)
- Piping bag
- Large piping tip (Wilton 6B)
- Three small mixing containers
- Hand mixer
- Silicone spatula
- Body butter containers
Choose mica powders that are suitable for leave-on cosmetic products.
How to Make Swirled Unicorn Body Butter
Before creating the swirl, you’ll need to prepare the whipped body butter. The most important thing is getting the consistency right. If the mixture is too warm, it won’t hold its shape. If it’s too firm, it will be difficult to pipe.
Step 1: Melt the Ingredients
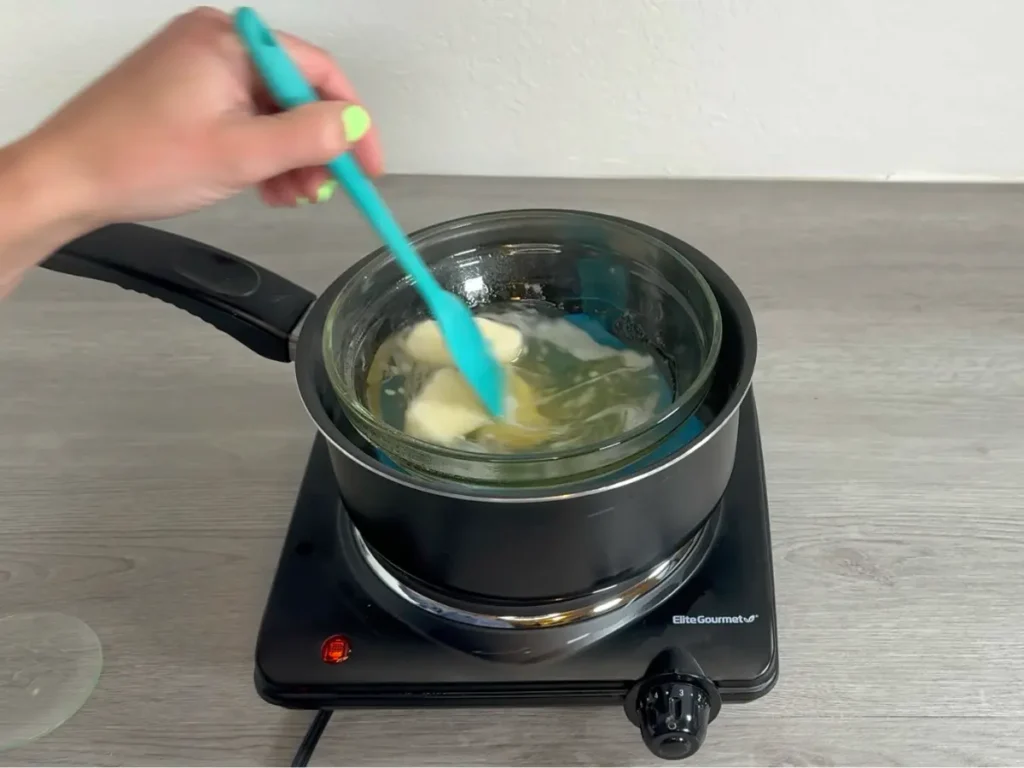
Weigh the kokum butter, shea butter, hazelnut oil and BTMS-25 into a heat-safe container.
Place the container in a double boiler and heat gently until the ingredients have completely melted.
Remove the container from the heat.
Step 2: Cool the Mixture
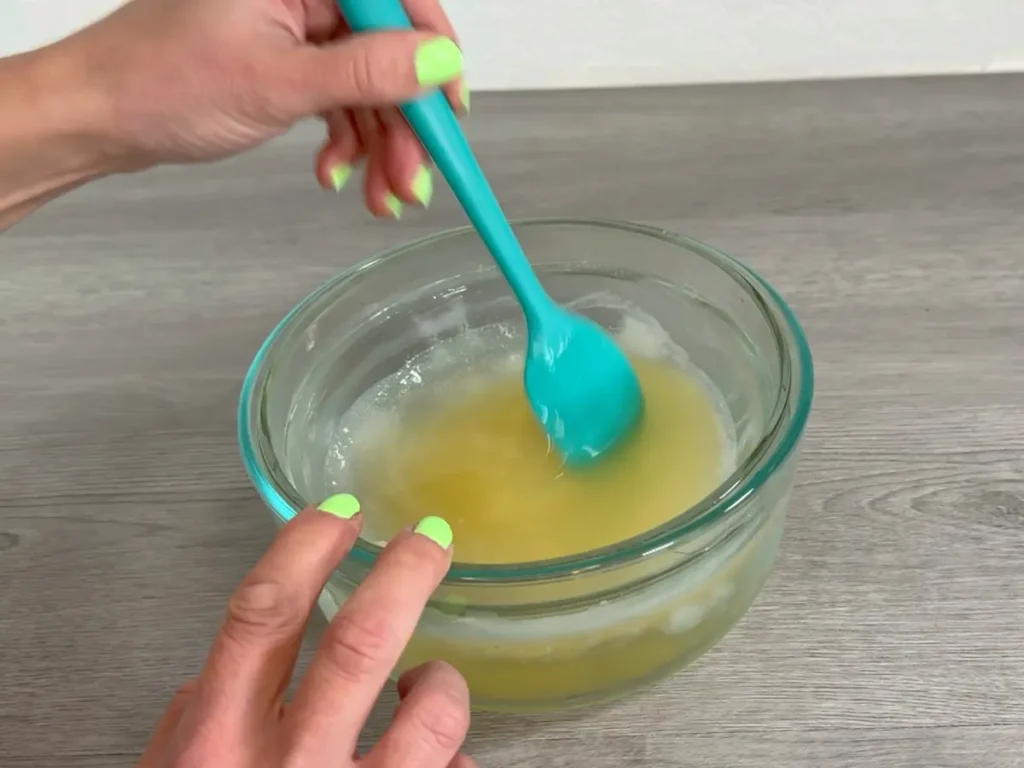
Add the fragrance oil and tapioca starch and mix well.
Place the container into an ice bath to speed up the cooling process.
Stir occasionally and scraping the sides of the bowl as the mixture cools. You want it to become thicker, slightly opaque color.
Step 3: Whip the Body Butter
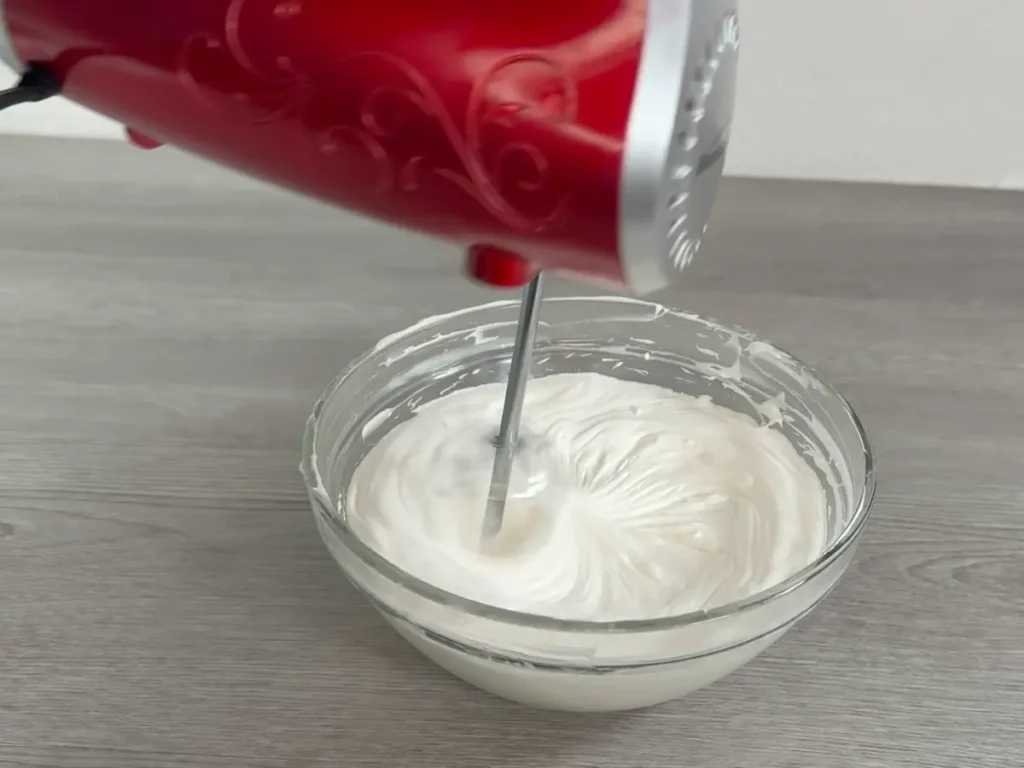
Using a hand mixer, begin whipping the cooled mixture.
Continue until the body butter becomes lighter in color and develops a fluffy, creamy consistency. Scrape down the sides of the mixing bowl as needed to make sure everything is incorporated.
You want a consistency similar to soft whipped frosting. It should hold soft peaks but still be easy to scoop and pipe.
If it is not holding its shape, it is probably still a little warm. Allow to cool at room temperature and whip again.
Step 4: Divide and Color the Body Butter
Divide the finished whipped body butter evenly between three separate containers.
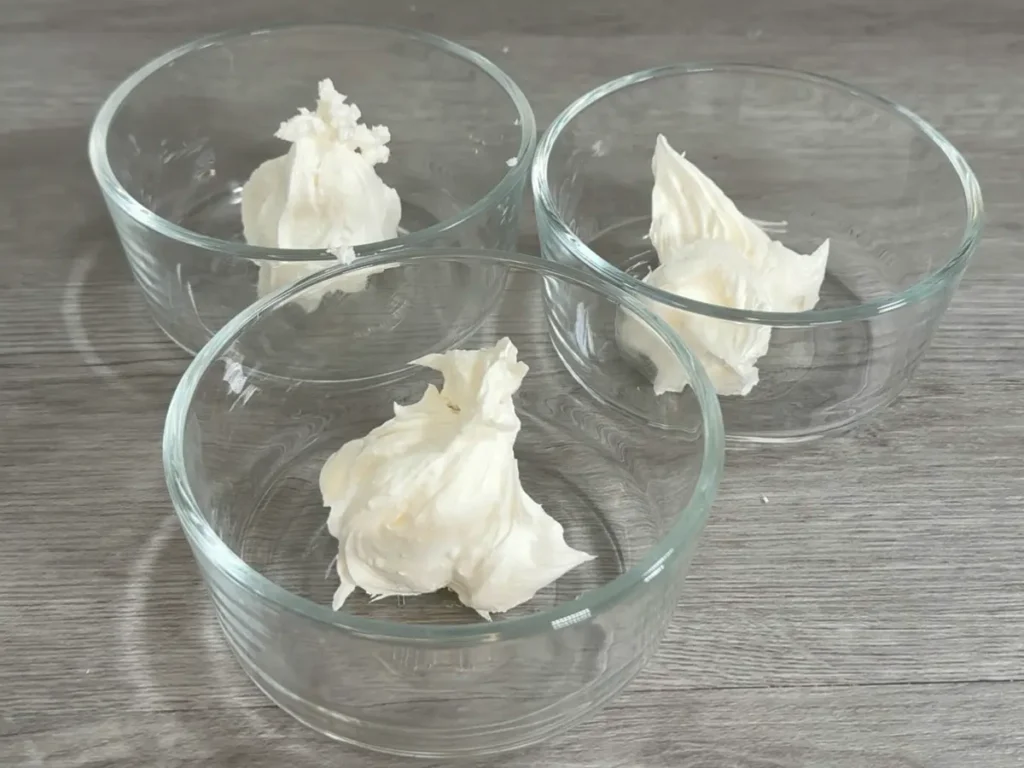
Add red mica to the first container, yellow mica to the second, and blue mica to the third.
Start with a small amount of mica and gradually add more until you reach your desired color.
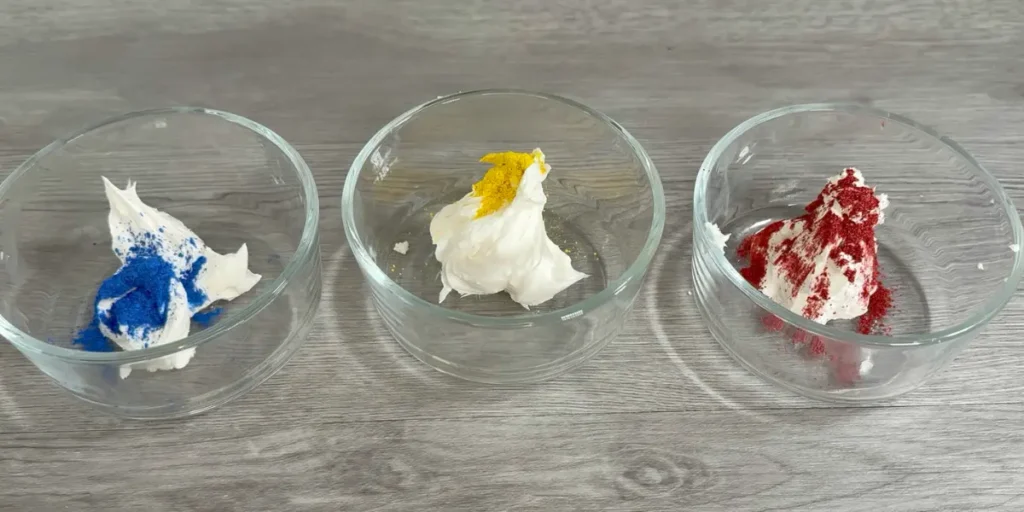
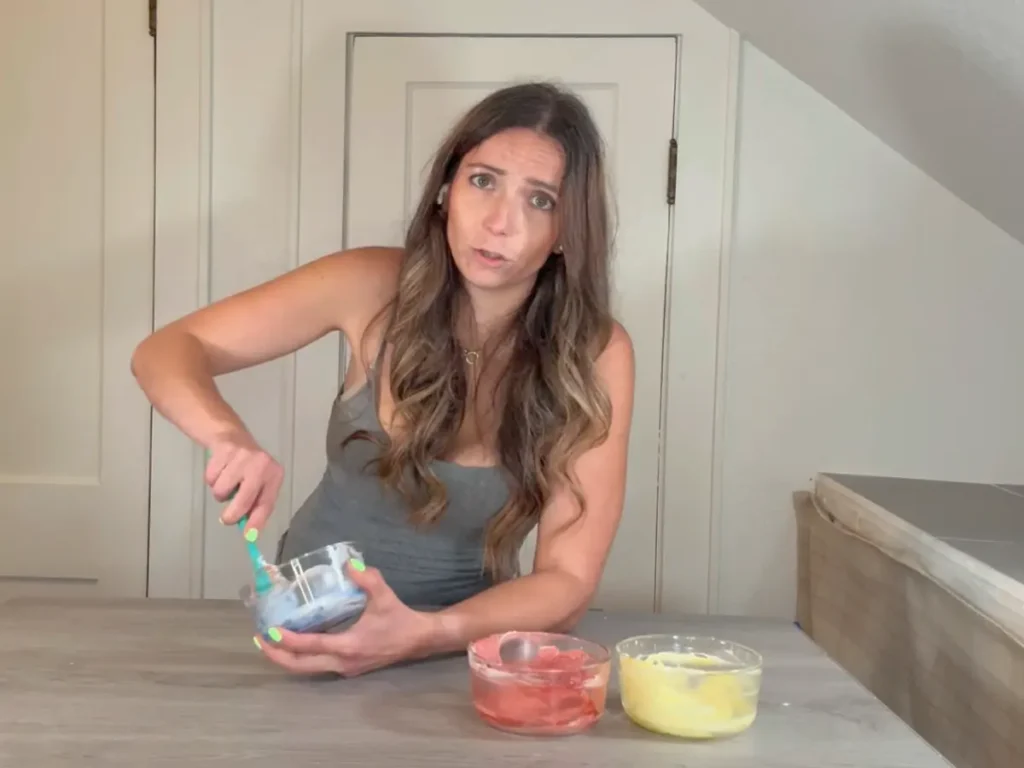
Mix each portion thoroughly so the color is evenly distributed.
Try to keep the colors distinct. You don’t need to make them overly dark because the goal is to create a soft pastel swirl.
Step 5: Prepare the Plastic Wrap
This is the trick that makes the multicolored piping technique possible.
Lay a large piece of plastic wrap flat on your countertop. It does not have to be press n seal but that does make this a lot easier!
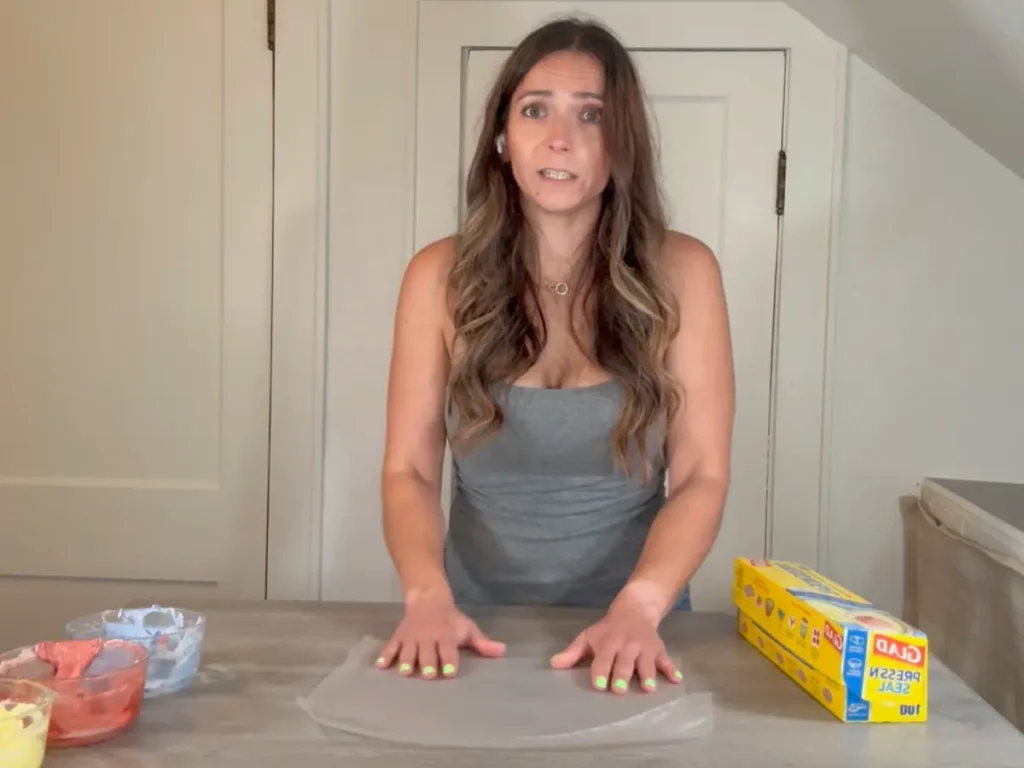
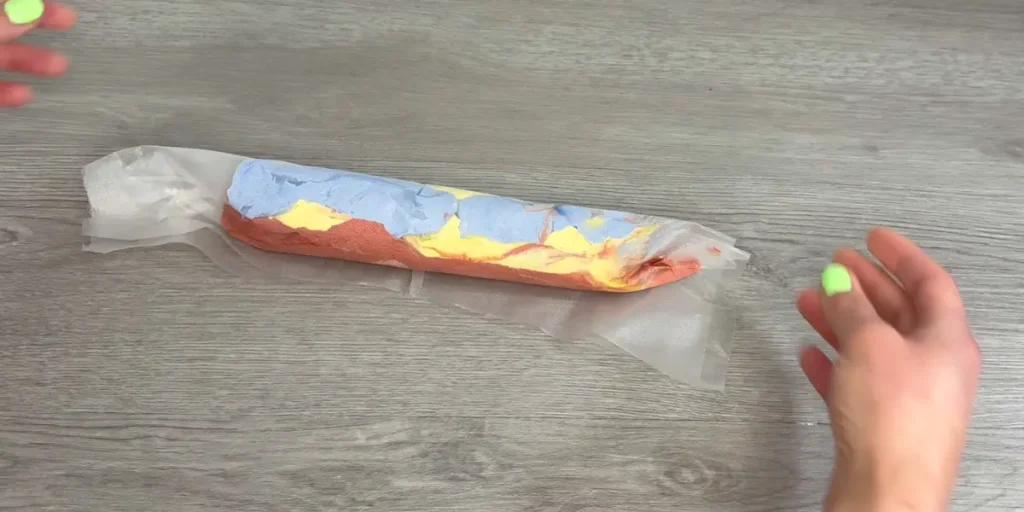
Spoon the first color onto the plastic wrap, arranging it in a long strip.
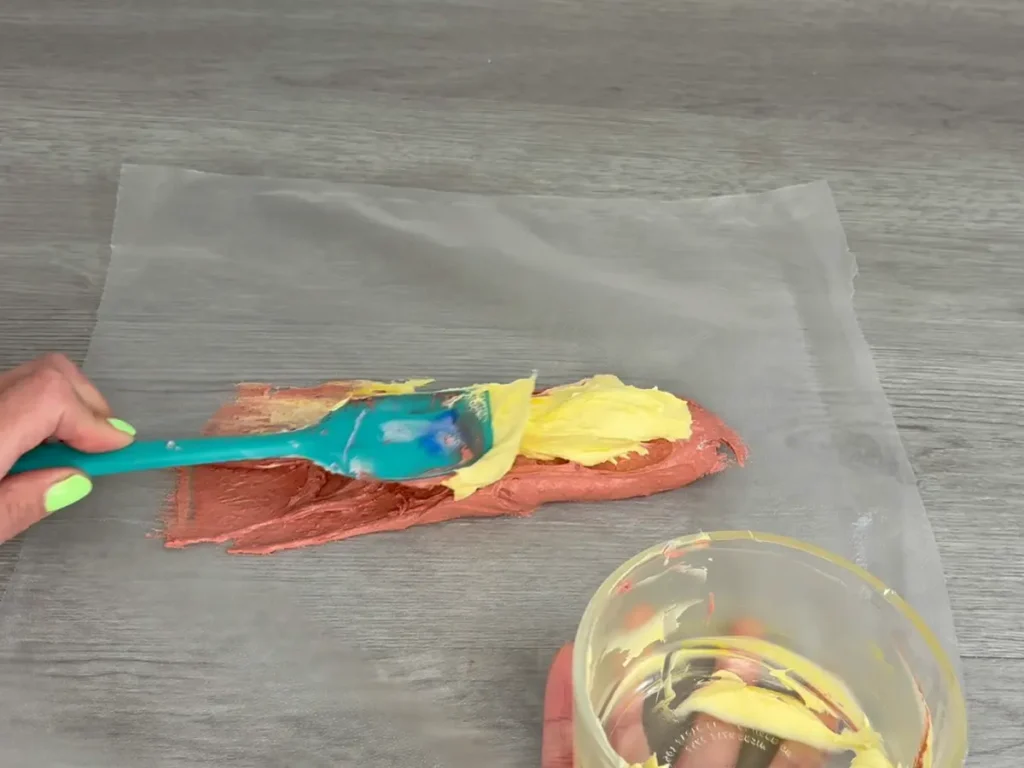
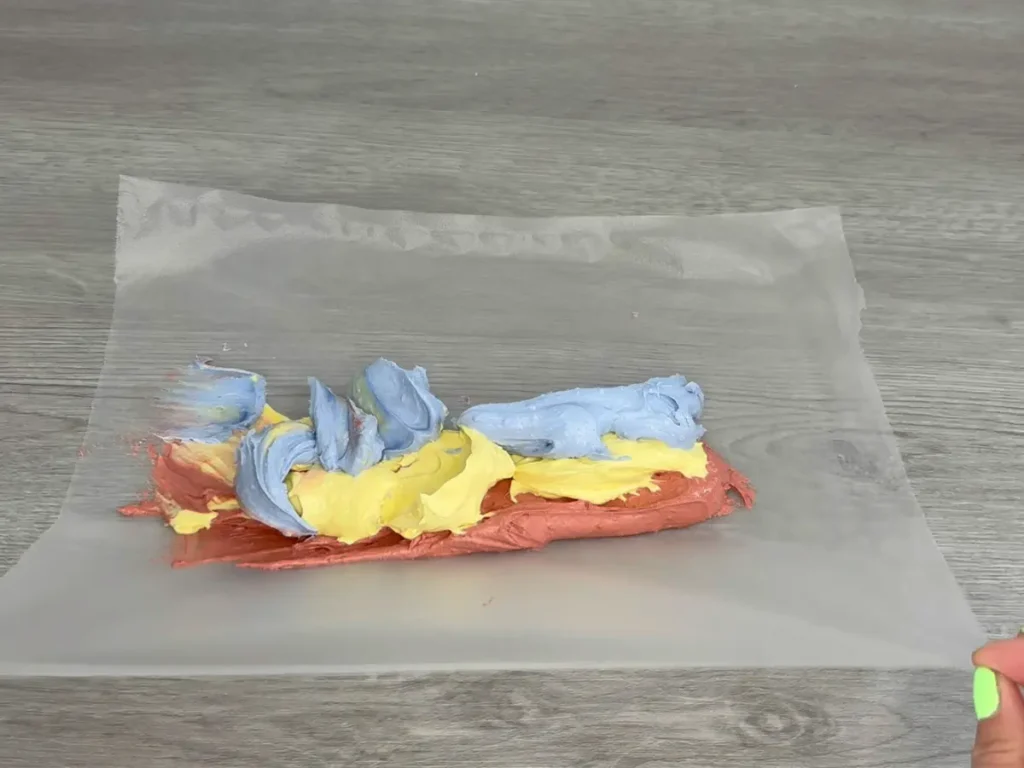
Add the second color (yellow) on top of it, followed by the third color.
You want the three colors to sit on top of each other, doing your best not to mix them.
Try to make the strips relatively even in thickness. This helps ensure that each color comes through when you begin piping.
Leave enough plastic wrap around the edges to roll everything together.
Step 6: Roll the Colors Together
Once all three colors have been arranged, carefully lift one side of the plastic wrap and begin rolling it into a tube.
The goal is to bring the colors together without mixing them.
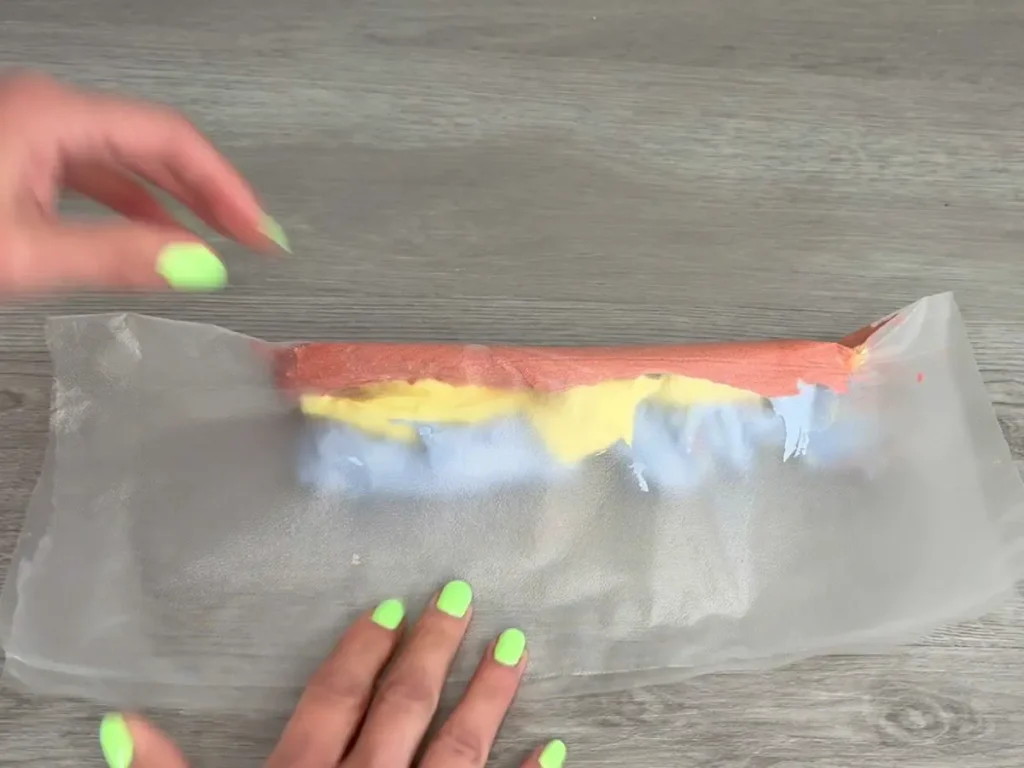
Twist both ends of the plastic wrap to close the tube. Gently guide the body butter toward the center so the colors are packed together.
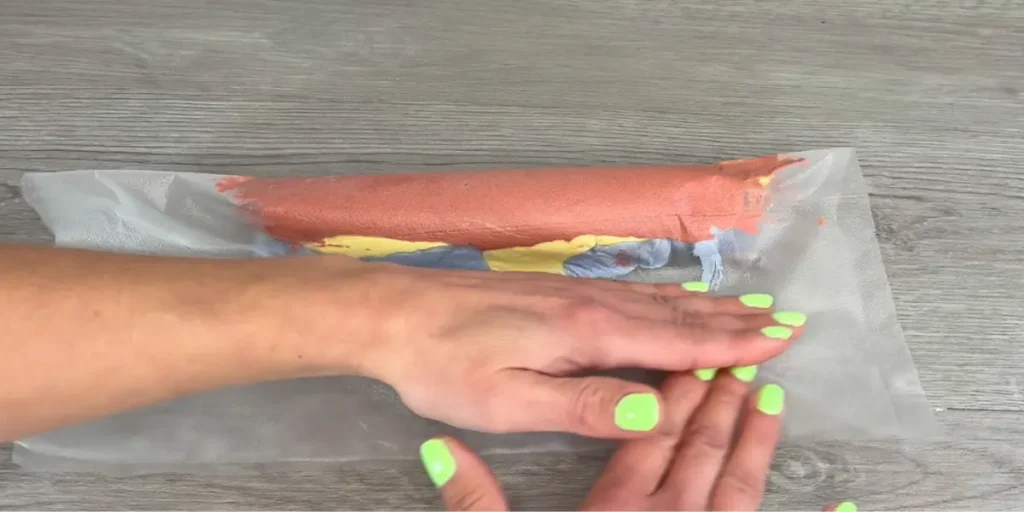
Avoid squeezing too tightly. Excessive pressure can force the colors into one another and create a blended appearance.
You should now have a long tube of body butter with all three colors running alongside one another.
Step 7: Transfer to Your Piping Bag
Cut one end of the plastic wrap tube open.
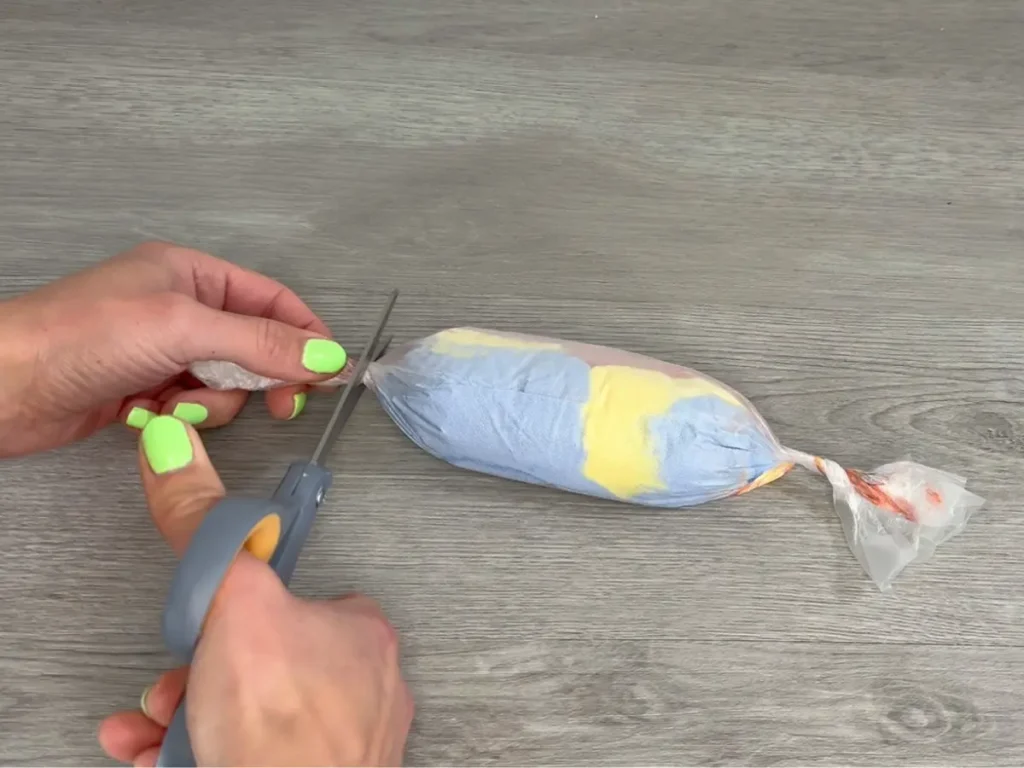
Position the open end inside your piping bag, allowing the plastic-wrapped body butter to slide down toward the piping tip.
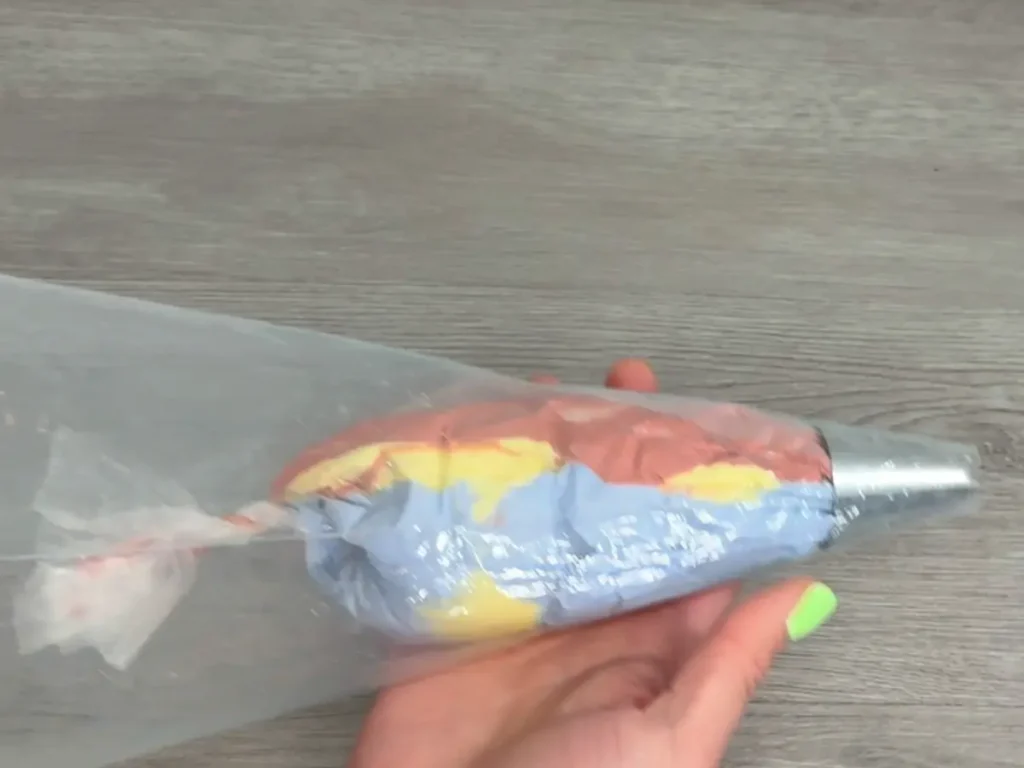
You can use a large piping tip or simply cut the end of the piping bag to create a wide opening. I like the Wilton 6B tip.
A larger opening is helpful because whipped body butter is thicker than traditional cake frosting.
The plastic wrap keeps the colors together while making it much easier to transfer the mixture into the piping bag without creating a mess.
Step 8: Pipe the Unicorn Body Butter into Containers
Now it’s time to create the finished design.
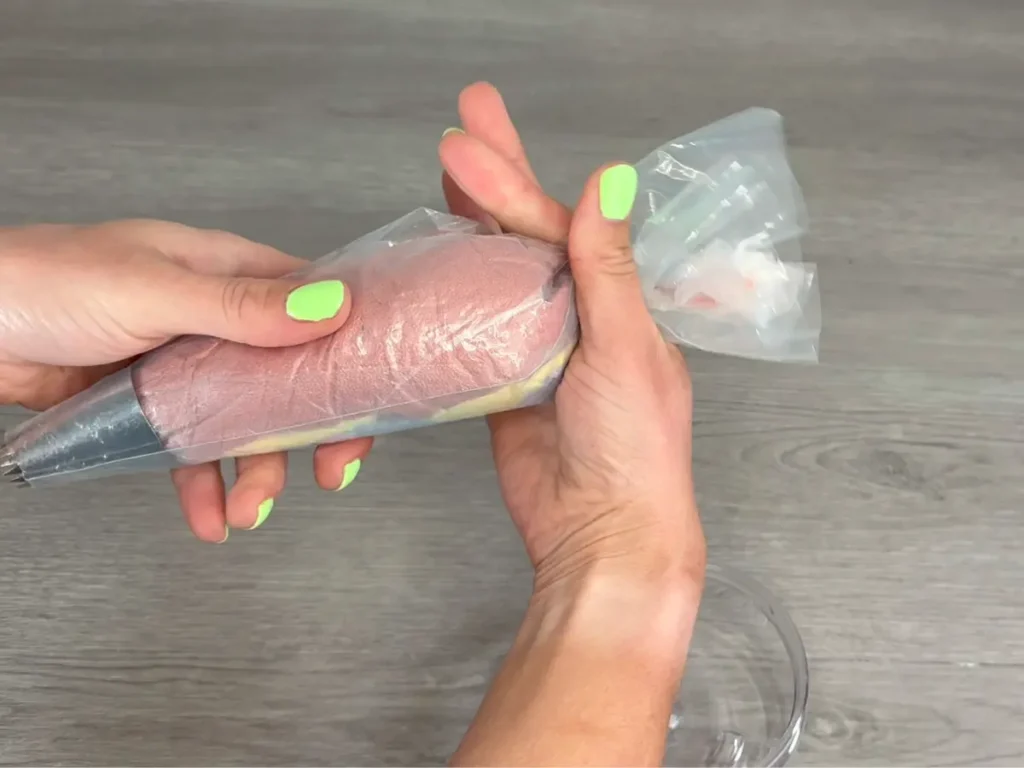
Hold your piping bag over your body butter container.
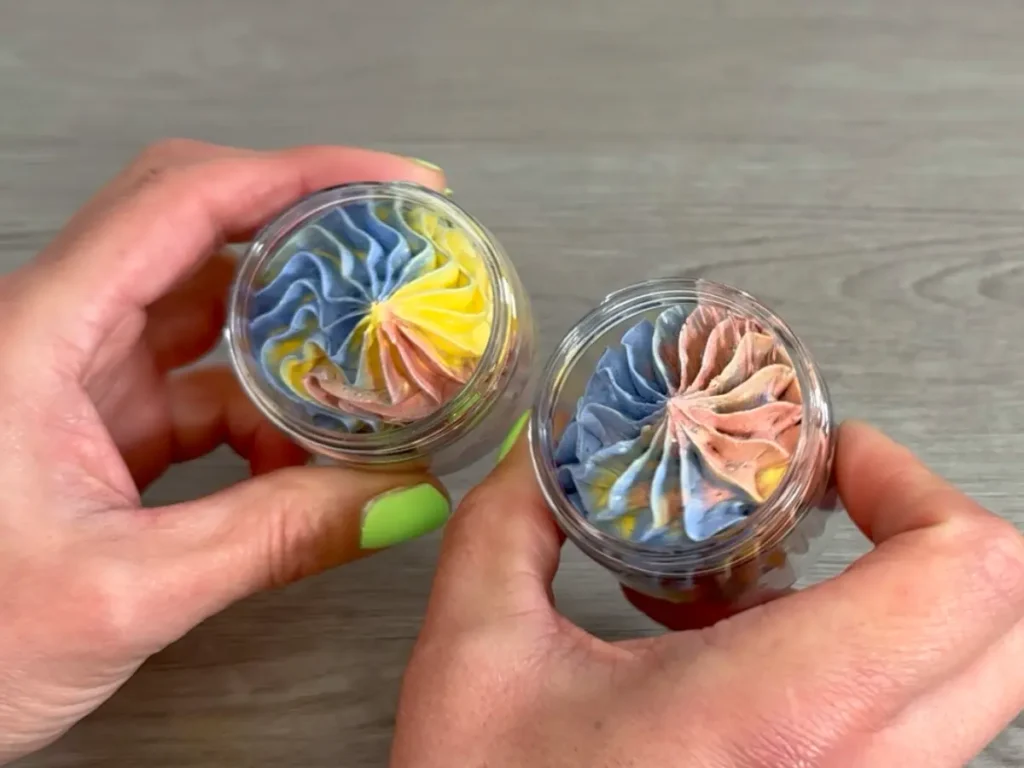
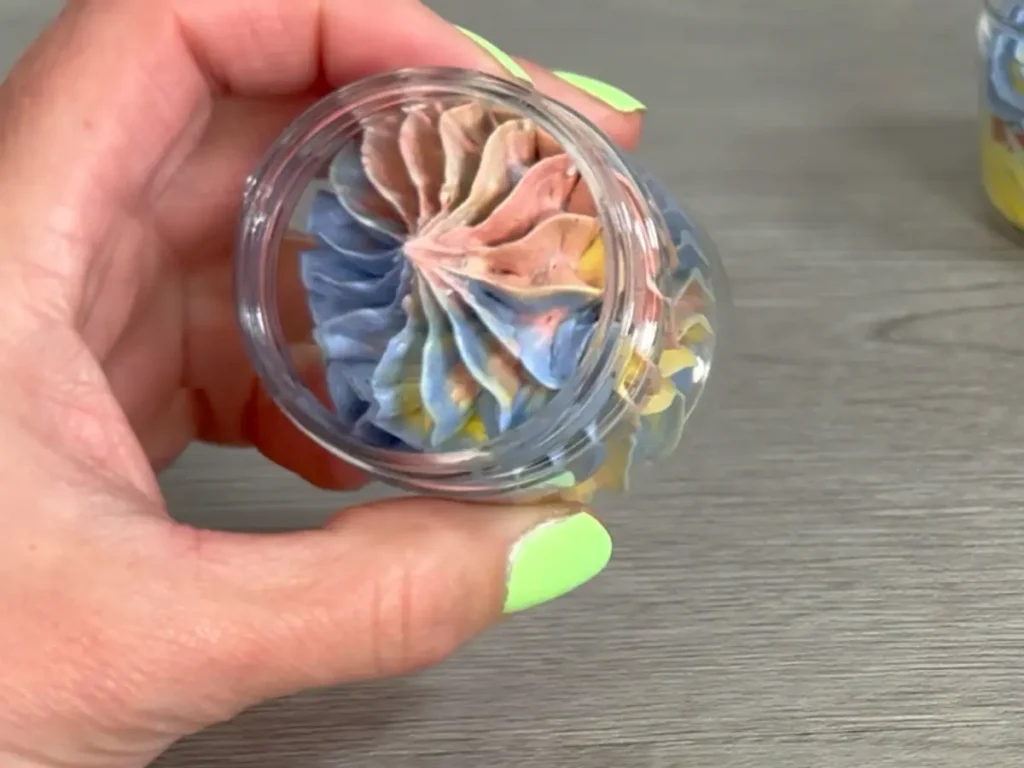
Apply steady, even pressure as you pipe the body butter into the container. The three colors should come out together, creating a multicolored appearance.
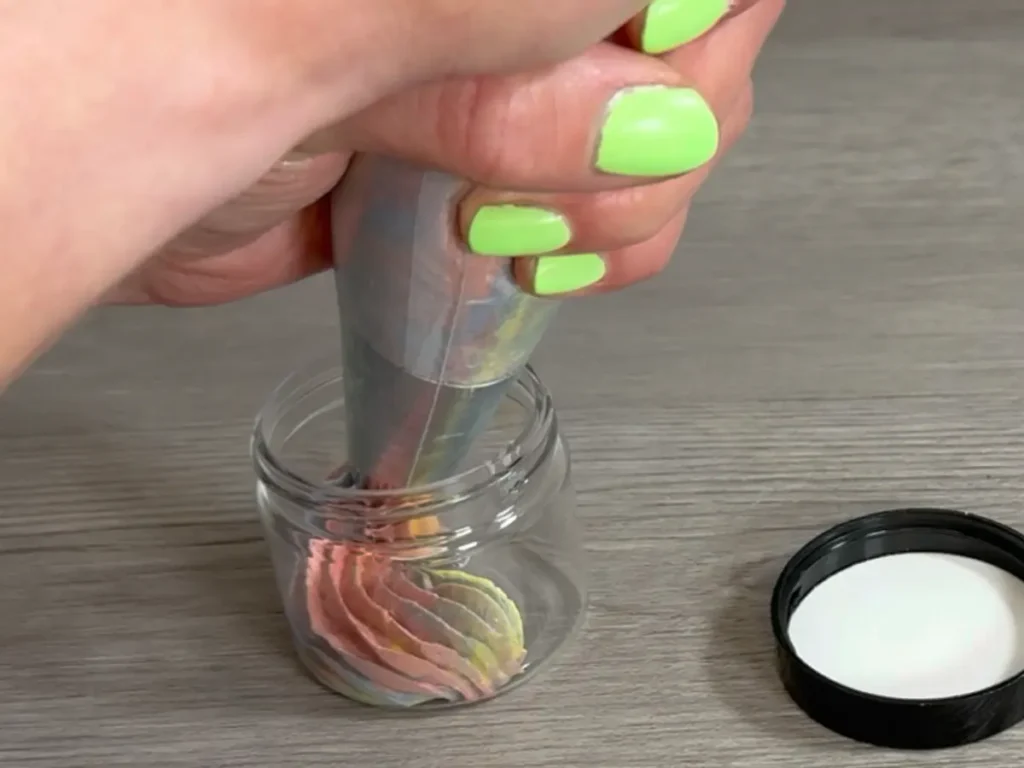
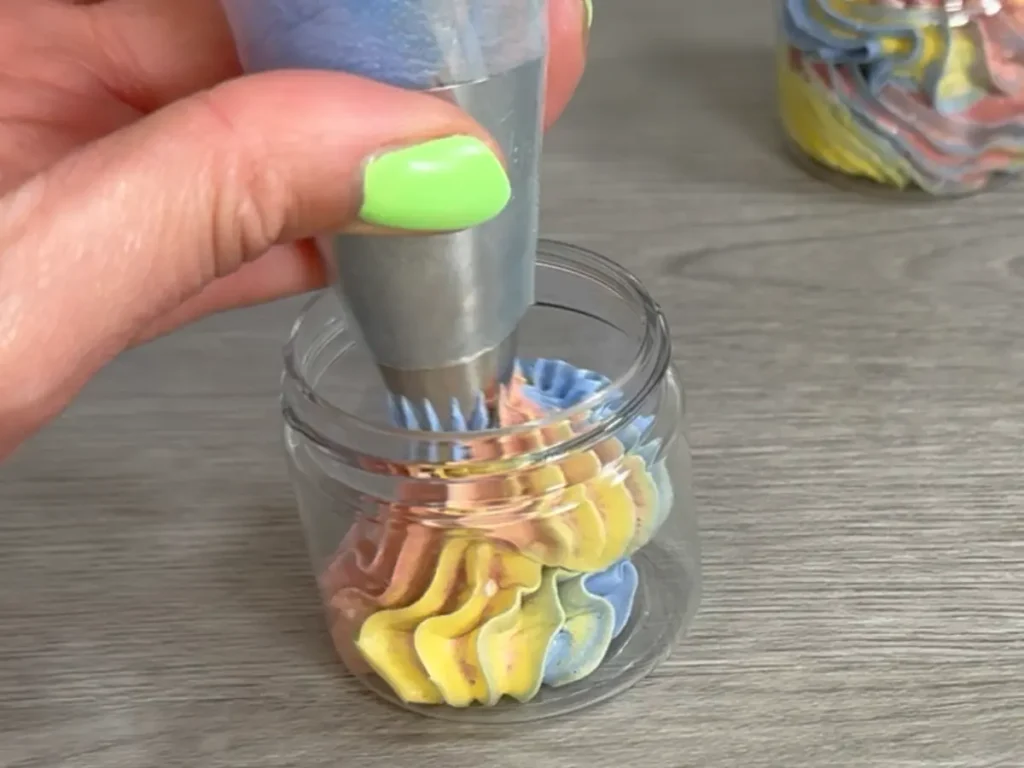
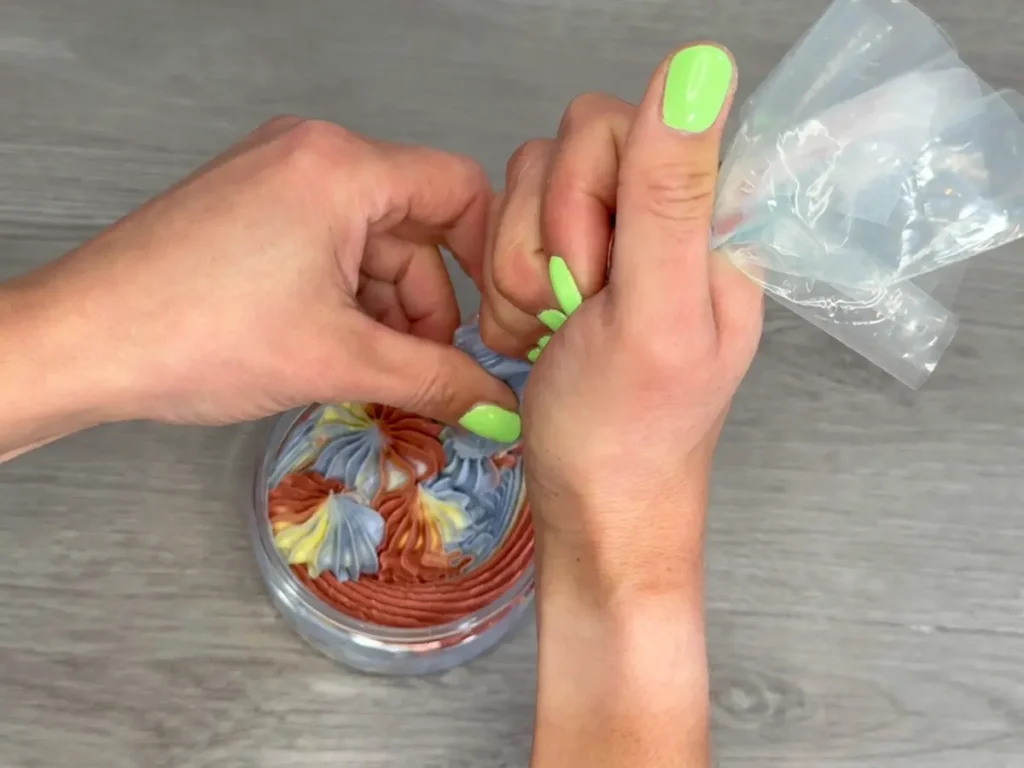
Start near the bottom of the container and work your way upward, keeping the piping bag relatively close to the product as you fill it.
I like to make little blobs of color, they really seem to make the Unicorn Colors pop.
Don’t overfill your containers. Leave enough room at the top so the product doesn’t get pushed out when you put the lids on.
Repeat with your remaining containers.
Tips for Getting a Beautiful Multicolored Swirl
A few small details can make a big difference in how your finished body butter looks.
Keep the colors separate. Mix the mica into each portion thoroughly, but avoid mixing the different colored portions together when arranging them on the plastic wrap.
Work with the right consistency. The body butter should be soft enough to pipe without requiring excessive pressure. If it becomes too firm, allow it to soften slightly before continuing.
Use a large piping opening. Body butter is thicker than traditional frosting. A small piping tip can make it difficult to dispense the mixture evenly.
Arrange the colors evenly. Try to use similar amounts of each color so one doesn’t overpower the others.
Don’t overfill the piping bag. A smaller amount is easier to handle and gives you better control over the pressure.
Practice on a small amount first. If you’re unsure how the colors will look, pipe a little onto a piece of parchment paper before filling your containers.
Can You Customize the Colors?
Absolutely! One of the best things about this project is how easy it is to customize.
You can use almost any combination of cosmetic-grade mica powders to create a different look.
Some color combinations to try include:
- Pink, purple, and lavender for a pastel look.
- Blue, purple, and silver for a cool-toned design.
- Peach, pink, and yellow for a warm, colorful swirl.
- Green, blue, and turquoise for a fresh color combination.
You can also experiment with different fragrance oils to create a body butter that matches the colors and theme.
Just remember that the colorants need to be suitable for leave-on cosmetic products.
Troubleshooting Your Swirled Body Butter
Why Is My Body Butter Too Firm to Pipe?
The mixture may have cooled too much before you transferred it into the piping bag.
Body butter firms up as it cools, so it’s important to work while the mixture is still soft enough to pipe.
Allow it to soften slightly at room temperature before continuing. Avoid overheating the mixture, as this can affect its whipped consistency.
Why Are My Colors Blending Together?
This usually happens when the colored portions are mixed or squeezed together too much.
When arranging the body butter on the plastic wrap, keep each color in its own strip. Roll the plastic wrap gently and avoid excessive pressure when transferring it into the piping bag.
Why Does My Body Butter Look Grainy?
Some cosmetic butters can develop a grainy texture if they cool slowly or experience temperature fluctuations.
This is related to how the fats crystallize as they cool. Proper melting and controlled cooling can help reduce this issue.
For more information, see my guide to troubleshooting homemade body butter .
Why Isn’t My Body Butter Holding Its Shape?
The mixture may be too warm or too soft.
Make sure the body butter has cooled sufficiently before whipping and piping. A warm environment can also cause the finished product to soften, especially if it’s exposed to heat after packaging.
How to Store Unicorn Body Butter
Store your finished body butter in clean, completely dry containers with tight-fitting lids.
Because this is an anhydrous formula, it doesn’t contain a water phase. A traditional broad-spectrum preservative isn’t generally required for a properly made, water-free product. However, that doesn’t mean the product is immune to contamination.
Keep your body butter away from direct sunlight, excessive heat, and temperature fluctuations. Warmer temperatures can soften or melt the finished product, causing it to lose some of its whipped structure.
Frequently Asked Questions
Can I Use Different Colors?
Yes! You can use any combination of cosmetic-grade mica powders that are suitable for leave-on products.
Red, blue, and yellow give this recipe its unicorn-inspired appearance, but you can experiment with purple, lavender, turquoise, or other colors.
Can I Use Food Coloring Instead of Mica?
I recommend using cosmetic-grade mica powders for this project.
Many food colorings are water-based, and this is a water-free body butter formula. Adding a water-based colorant can introduce moisture and affect the product.
Can I Use a Different Body Butter Recipe?
Yes, but the consistency of the formula matters.
You’ll want a whipped body butter that is firm enough to hold its shape but soft enough to pass through a piping bag.
A formula with a higher percentage of hard butters may be too firm to pipe, while one with too much liquid oil may not hold its shape.
If you’re using another recipe, test a small batch before attempting the multicolored design.
Do I Need a Piping Tip?
No. You can use a piping bag without a tip by simply cutting an opening at the end.
A piping tip can help create a more decorative finish, but it’s not necessary for making the multicolored effect.
Can I Make This Body Butter Ahead of Time?
Yes. You can prepare the finished body butter and package it in its containers ahead of time.
Store it properly and keep it away from excessive heat so it maintains its consistency.
Final Thoughts
Swirled unicorn body butter is a fun way to turn a basic whipped body butter recipe into something a little more special.
The plastic wrap technique makes it surprisingly easy to pipe multiple colors together without needing separate piping bags or professional decorating equipment.
Once you get the hang of arranging and rolling the colors, you can experiment with different color combinations, fragrances, and piping designs.
It’s a beautiful homemade skincare project for gifting, special occasions, or simply making your everyday body butter a little more fun.