
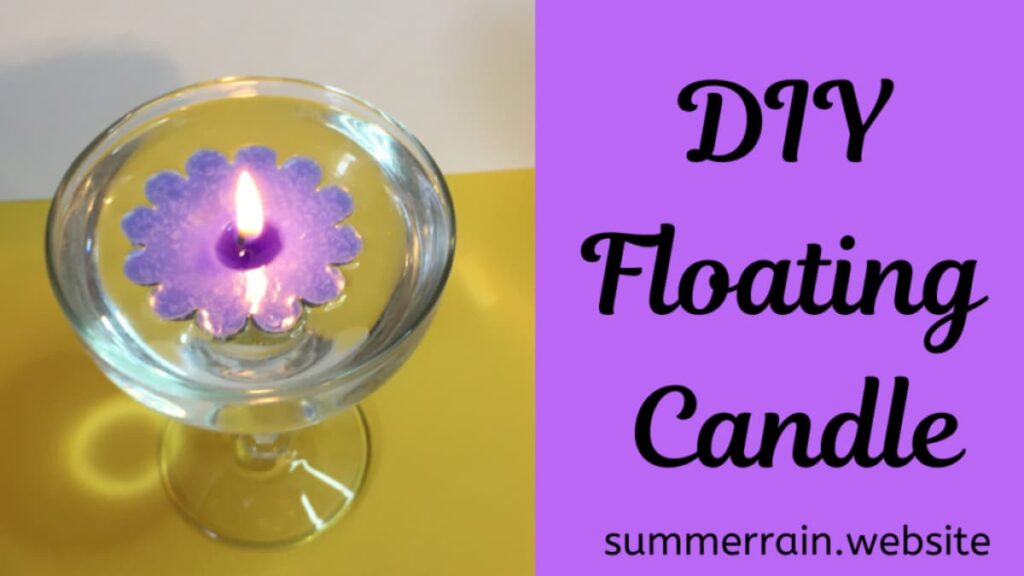
Floating candles are one of my favorite beginner candle-making projects because they look much more complicated than they actually are.
If you’ve ever made a candle before, you already know most of the process. You’re melting wax, adding fragrance and color, placing a wick, and allowing the candle to cool.
The difference is the shape.
Instead of making a candle in a jar or container, you’re making a short, flat candle that can sit on the surface of water. Once you add a few of them to a bowl, vase, or other water-filled container, you have an easy centerpiece that looks much more elaborate than the amount of work that went into it.
And because you’re making them yourself, you can choose the fragrance, color, and mold shape.
In this tutorial, I’ll show you how to make simple floating candles using soy wax and a tart mold. I’ll also explain why these candles float, how to keep the wick dry when placing them in water, and a few things that can make unmolding easier.
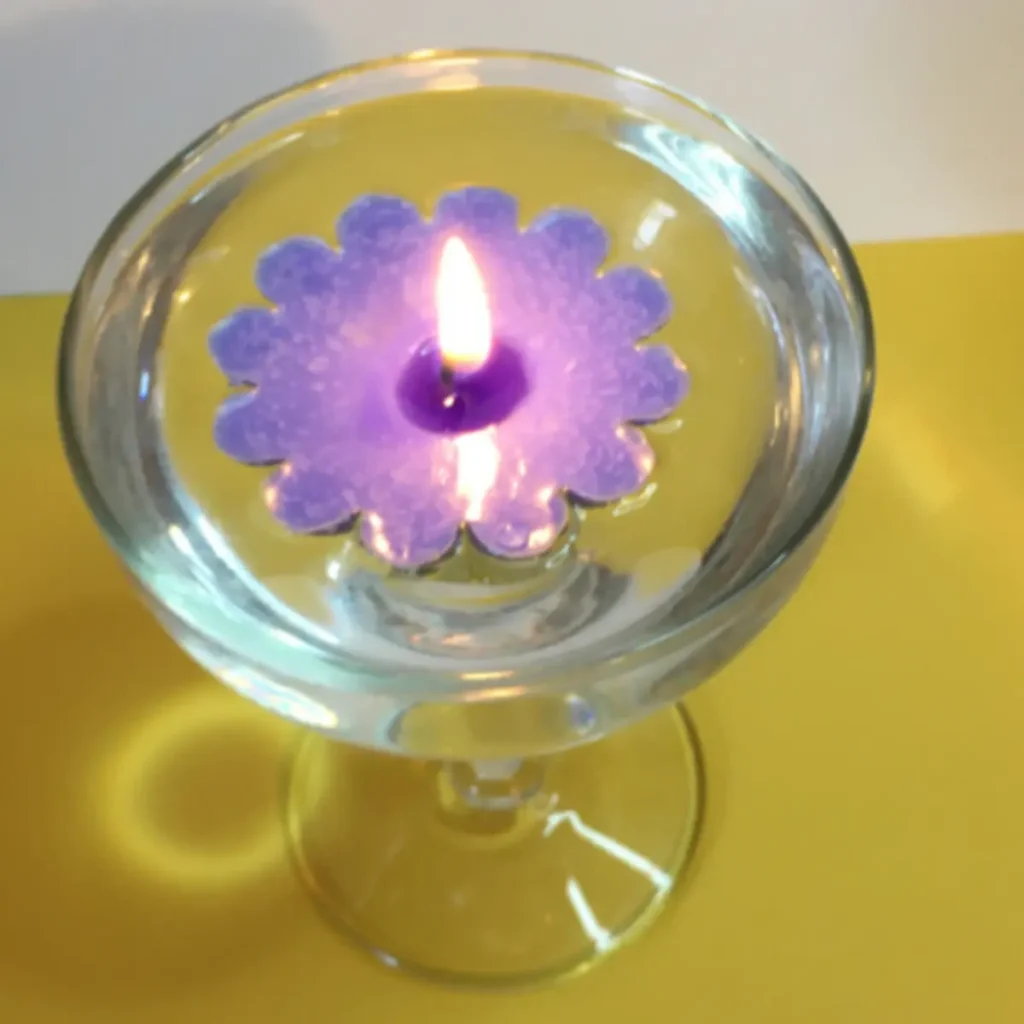
What Makes a Floating Candle Float?
The shape of the candle is what makes this project work.
Floating candles are generally short and fairly wide, with a flat bottom. That shape gives the candle a low center of gravity and allows it to sit on top of the water instead of tipping over.
The candle also needs to displace enough water to support its own weight.
You don’t need to calculate the buoyancy every time you make a floating candle, though. If you use a mold specifically designed for a floating candle, the shape has already been designed with this in mind.
That is one reason I like using a tart mold for this project. It creates a short, flat candle that works well in water.
Prefer to watch this project instead of reading it?
Some links are “affiliate links”, because I am an Amazon Associate and I earn from qualifying purchases. There is no additional cost to you, the price of the item is the same whether it is an affiliate link or not.
How Do You Use a Floating Candle?
Once your candle has completely cooled and you’ve removed it from the mold, it’s ready to use.
Fill a heat-safe container with water and carefully place the candle on the surface.
The biggest thing to watch out for is the wick.
You don’t want to soak the wick before lighting the candle. A wet wick can make lighting the candle more difficult and can affect how it burns.
I like to lower the floating candle into the water by holding the wick. This lets me place the candle gently on the surface without getting the wick wet.
Once the candle is floating, make sure there is plenty of space around the flame and that the candle is away from anything flammable.
What You’ll Need
Equipment
- Digital scale
- Infrared thermometer
- Heat-safe pouring pitcher or container
- Double boiler
- Tart mold
- Stirring utensil
Ingredients
- Soy wax
- Candle wax colorant
- Candle wick
- Candle-safe fragrance oil
The exact amount of wax you need will depend on the size of your mold.
If you’re making several candles, I recommend weighing your wax rather than trying to measure it by volume. A digital scale will give you much more consistent results from batch to batch.
Choosing Your Wax
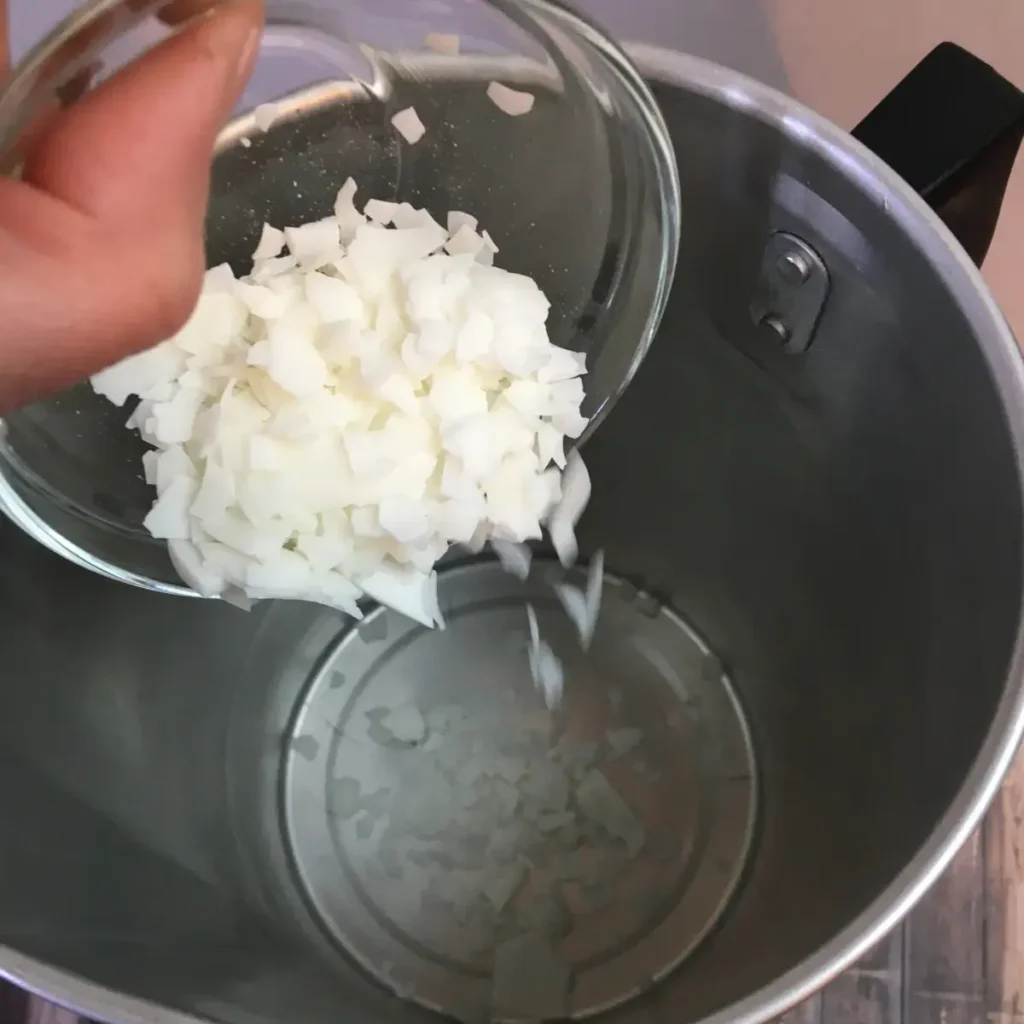
For this project, I’m using soy wax.
The important thing is that the wax you choose is suitable for making molded candles. A floating candle needs enough structure to hold its shape once it is removed from the mold.
If you’re using a different type of wax, follow the manufacturer’s recommendations for melting, fragrance addition, and pouring temperature rather than automatically using the temperatures in this tutorial.
Wax behaves differently depending on the type of wax you’re using, so your ideal temperatures may not be exactly the same.
Choosing a Fragrance Oil
You can make floating candles scented or unscented.
If you want to add fragrance, use a fragrance oil specifically intended for candle making and follow the recommended fragrance load for your particular wax and fragrance.
Don’t assume that adding more fragrance will automatically give you a stronger candle. Too much fragrance can create problems with how the wax sets and burns.
If you’re interested in getting better scent throw from your soy candles, I have a separate guide that goes into fragrance load, mixing, curing, and hot and cold scent throw:
How to Make a Strong-Scented Soy Candle: Maximize Hot & Cold Throw
Adding Color to Floating Candles
Floating candles are especially fun to customize with color.
You can make them white, pastel, bright, or match them to a particular event or season.
Use a candle colorant designed for wax rather than food coloring or liquid food coloring. Candle colorants are formulated to disperse through melted wax properly.
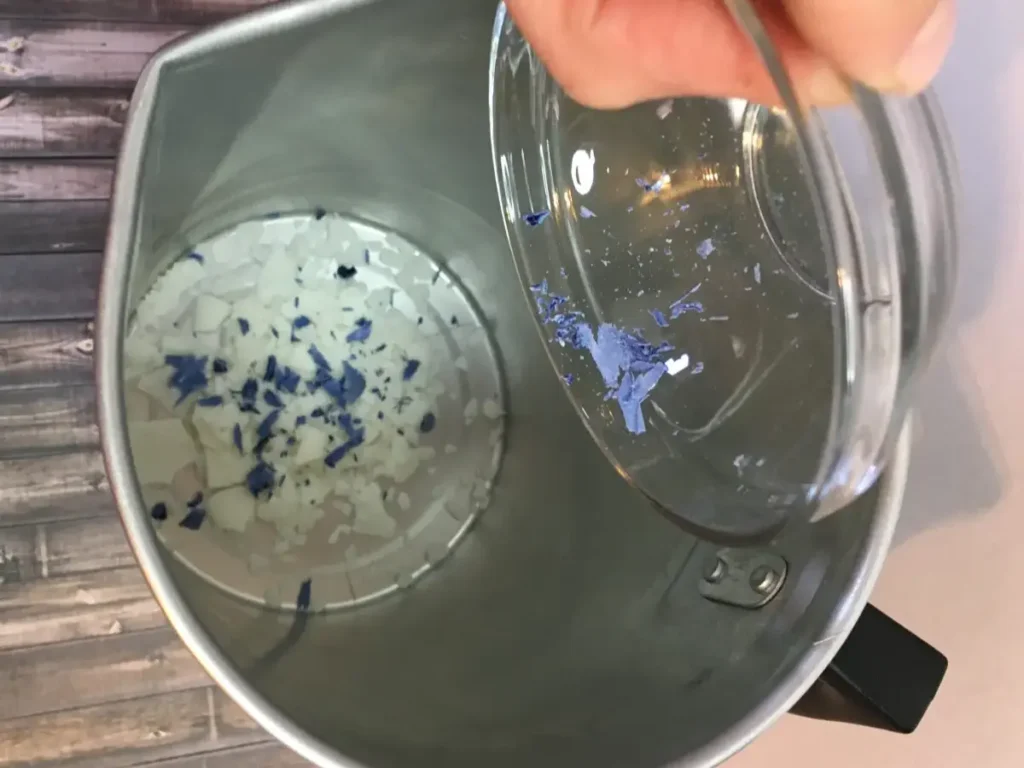
For this project, I used a wax color block. I shaved a small amount into the wax before melting it.
Remember that melted wax can look different from the finished candle once it has cooled, so it is worth making a small test if you’re trying to create a very specific color. I like to test it on a paper towel. That will show you what the final color will be.
How to Make Floating Candles
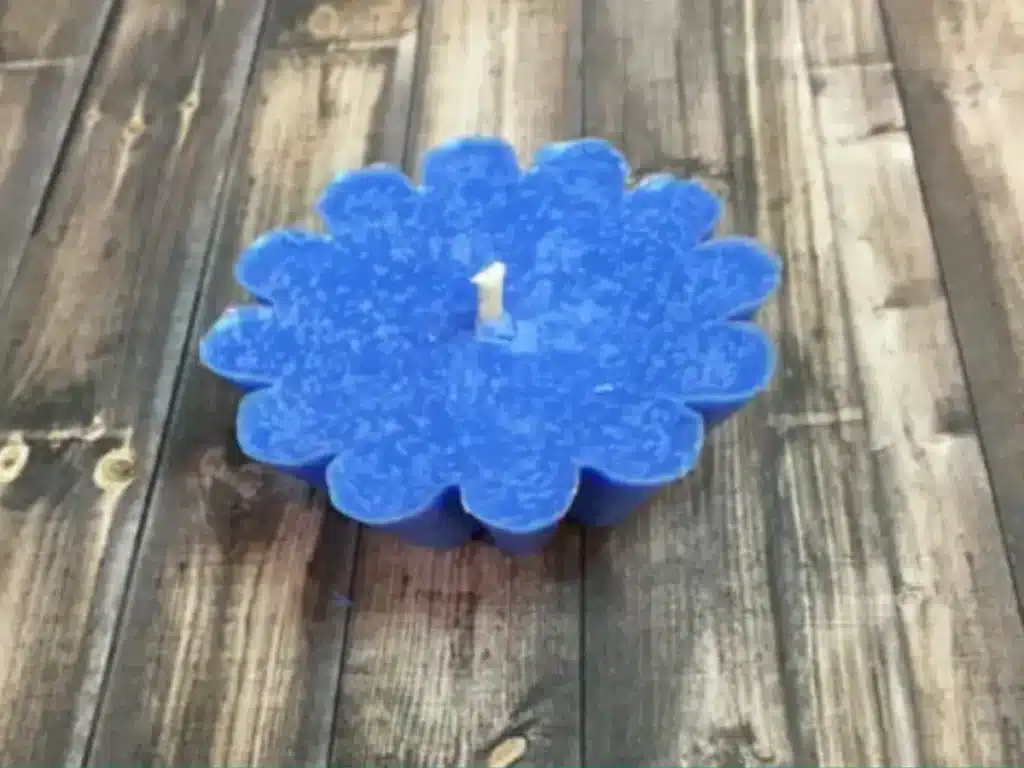
The process is simple, but there are a couple of steps where temperature makes a difference.
Step 1: Weigh the Wax and Add Color
Weigh the amount of soy wax needed for your mold and place it into your heat-safe pouring pitcher or melting container.
If you’re using a wax color block, shave the desired amount of colorant into the wax.
I like to add the colorant before melting because it gives it plenty of time to dissolve completely as the wax heats.
Step 2: Melt the Wax
Place your pouring container into a double boiler and gently melt the wax.
Stir the wax occasionally as it melts so the colorant distributes evenly.
Once the wax is completely melted, remove it from the heat.
Avoid overheating the wax unnecessarily. Follow the heating recommendations provided by your wax manufacturer, especially if you’re using a different soy wax than the one used in this tutorial.
Step 3: Add the Fragrance Oil
After removing the wax from the heat, continue stirring while the temperature drops.
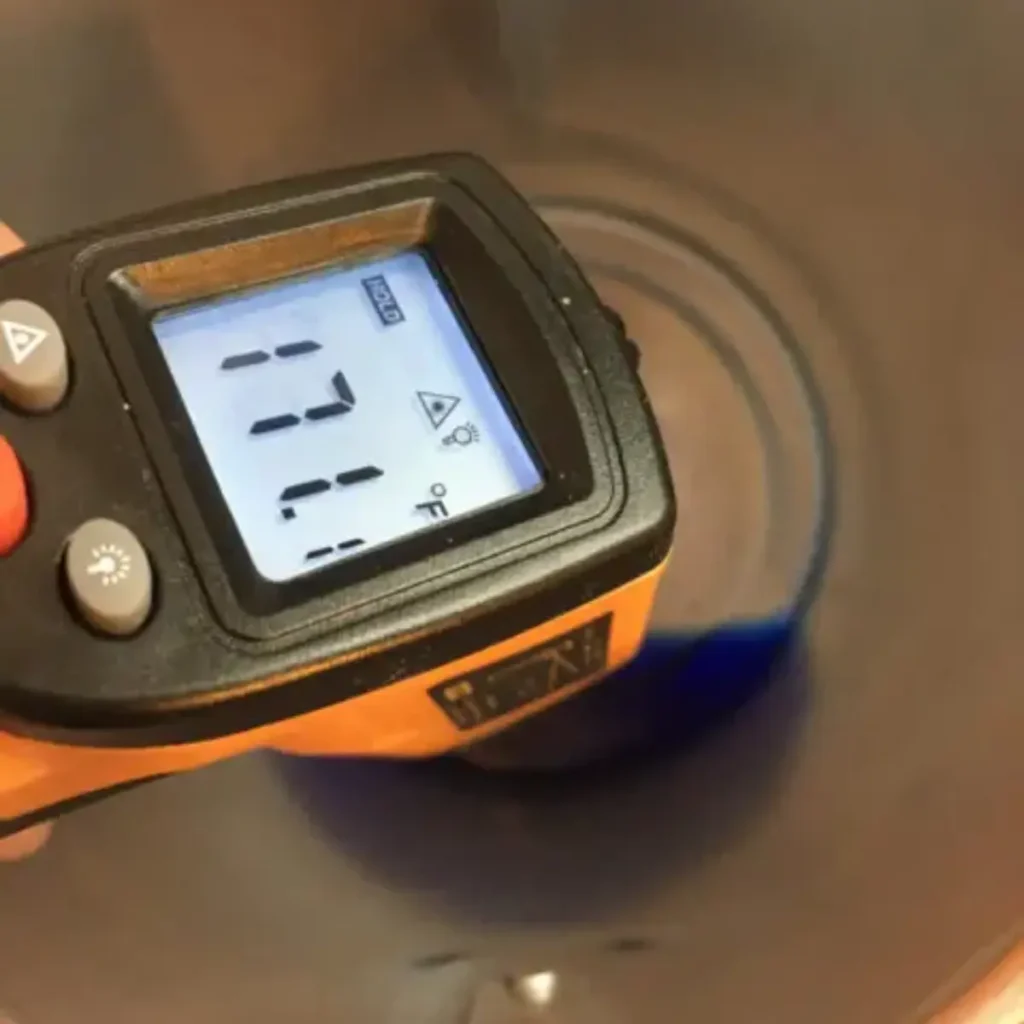
For the soy wax I used, I allowed the wax to cool to approximately 175°F before adding my fragrance oil.
Add your candle-safe fragrance oil and mix thoroughly.
The important part here isn’t simply hitting one specific temperature. Your wax and fragrance manufacturer may recommend a different temperature, so use those recommendations when they are available.
Mix the fragrance thoroughly so it is evenly distributed throughout the wax.
Step 4: Pour the Wax Into the Mold
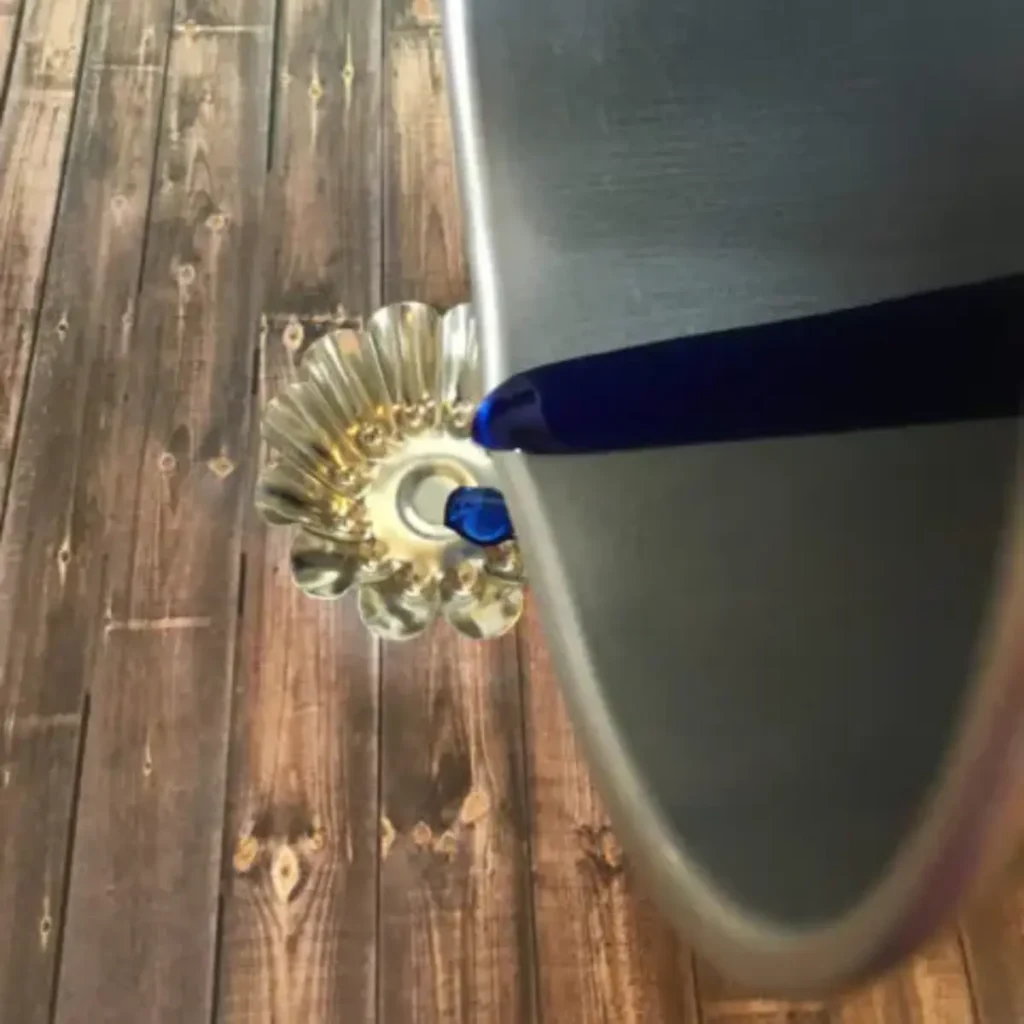
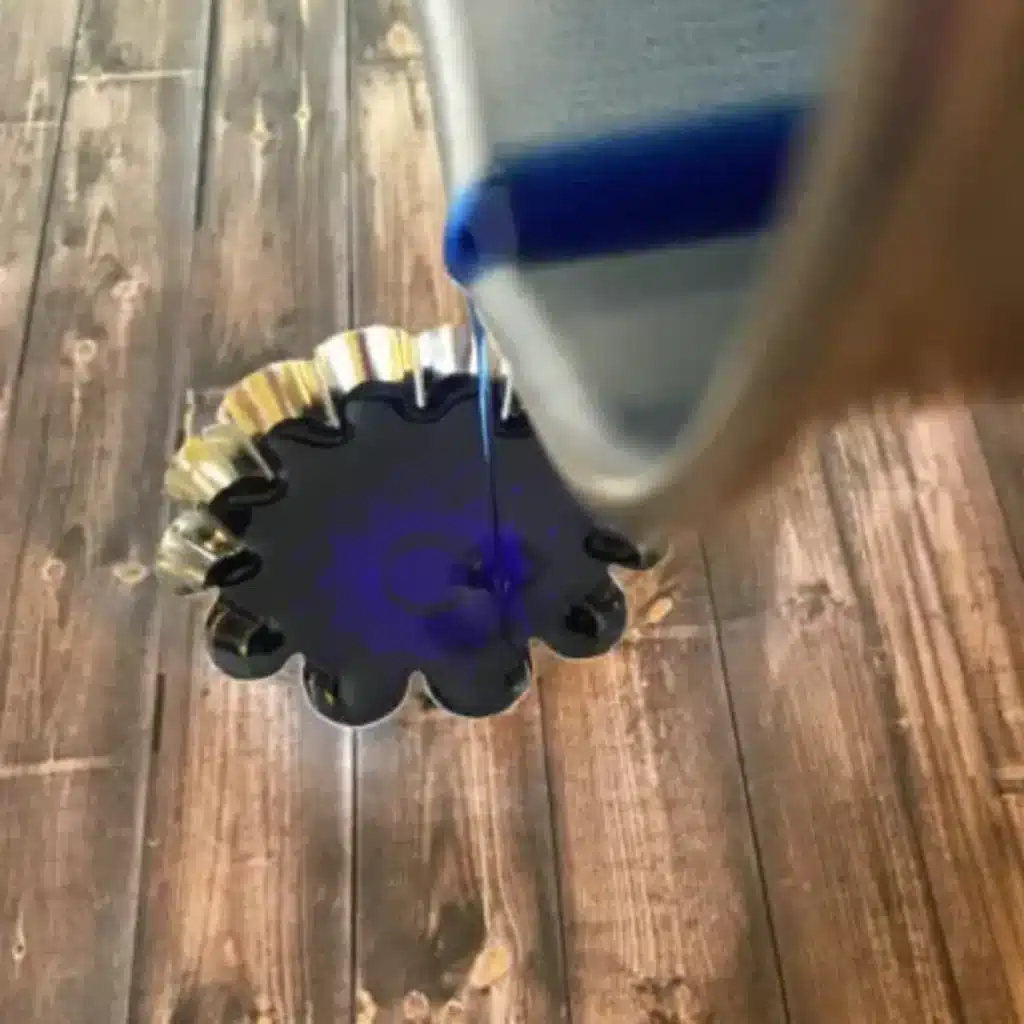
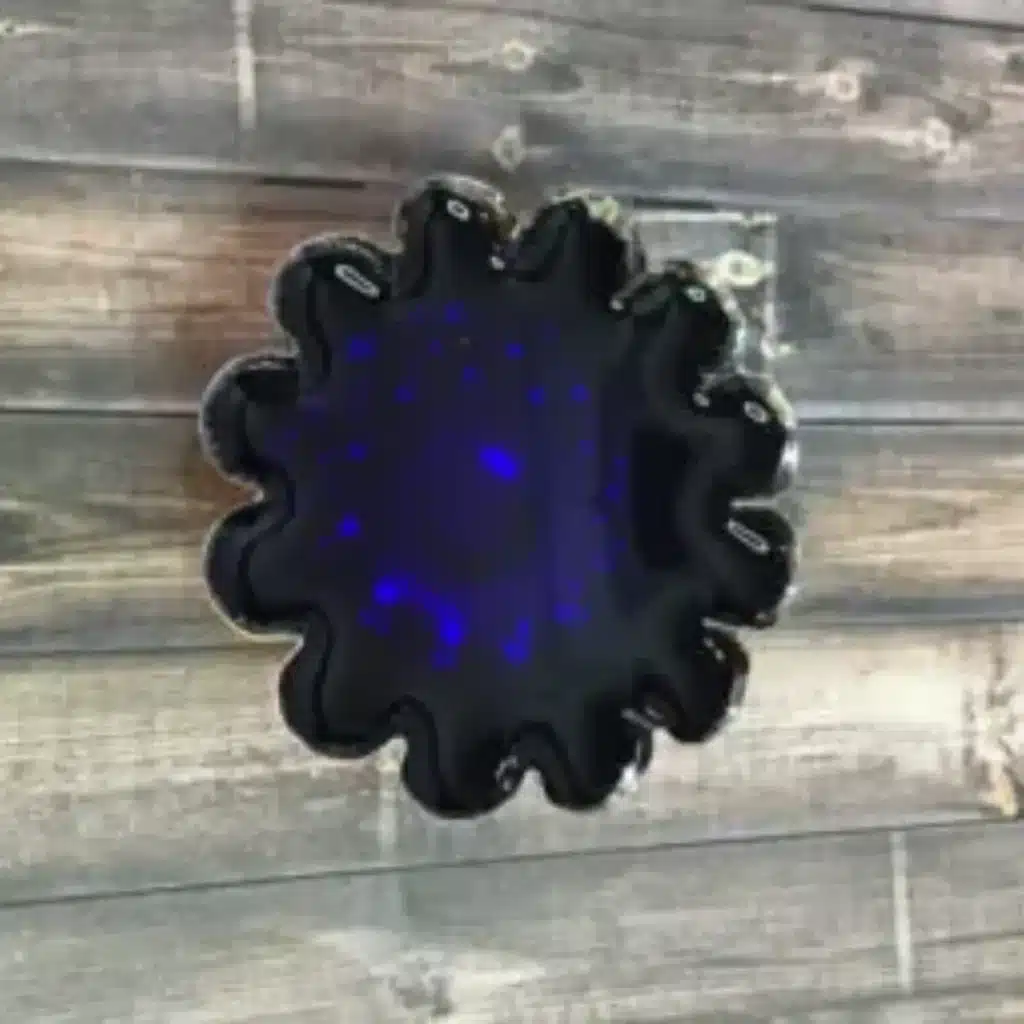
Allow the wax to continue cooling until it reaches approximately 120–130°F, then carefully pour it into your tart molds.
Pouring at the right temperature can help reduce problems such as excessive shrinkage.
Don’t fill the molds too quickly. A slow, steady pour can also help reduce the amount of air introduced into the wax.
Leave a little room around the wick rather than overfilling the mold.
Step 5: Add the Wick
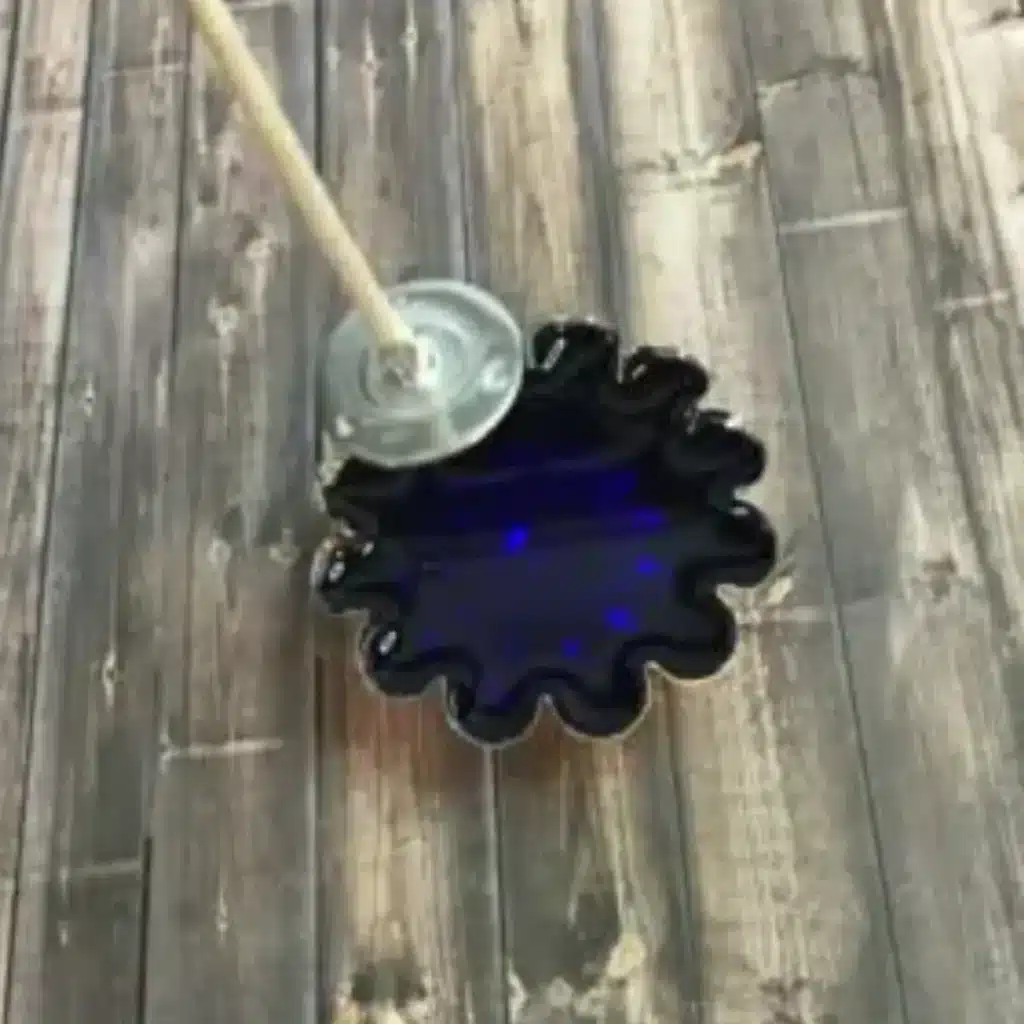
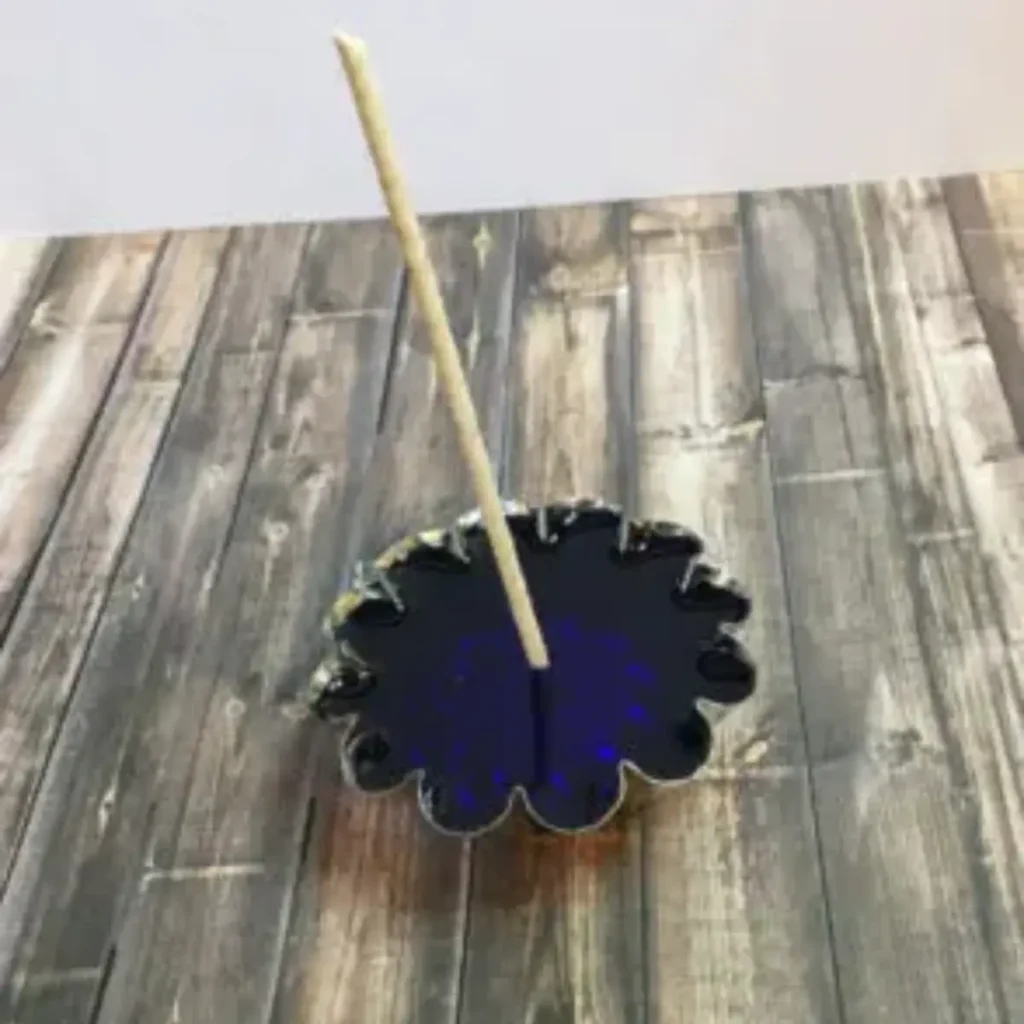
Place the wick in the center of the mold while the wax is still liquid.
This is one of the unusual parts of making a molded candle.
Normally, you would secure a wick to the bottom of a candle container with a wick sticker or adhesive. You don’t want to do that here because you need to remove the finished candle from the tart mold.
Simply position the wick in the center of the candle and allow the wax to cool around it.
If the wick wants to move, gently reposition it before the wax becomes too firm.
Step 6: Allow the Candle to Cool Completely
Now leave the candles alone and allow them to cool completely.
Try not to move the molds while the wax is setting.
It can be tempting to unmold them as soon as the outside looks solid, but the center of the candle may still be soft.
Giving the candle plenty of time to become firm will make the unmolding process much easier.
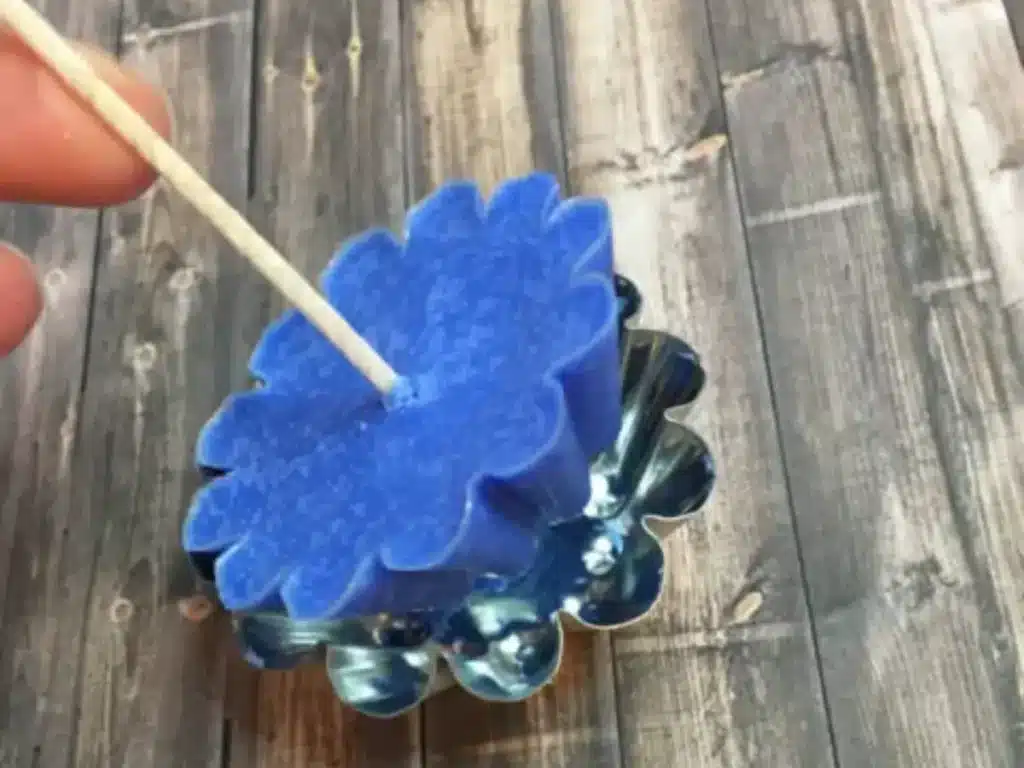
Step 7: Remove the Candle From the Mold
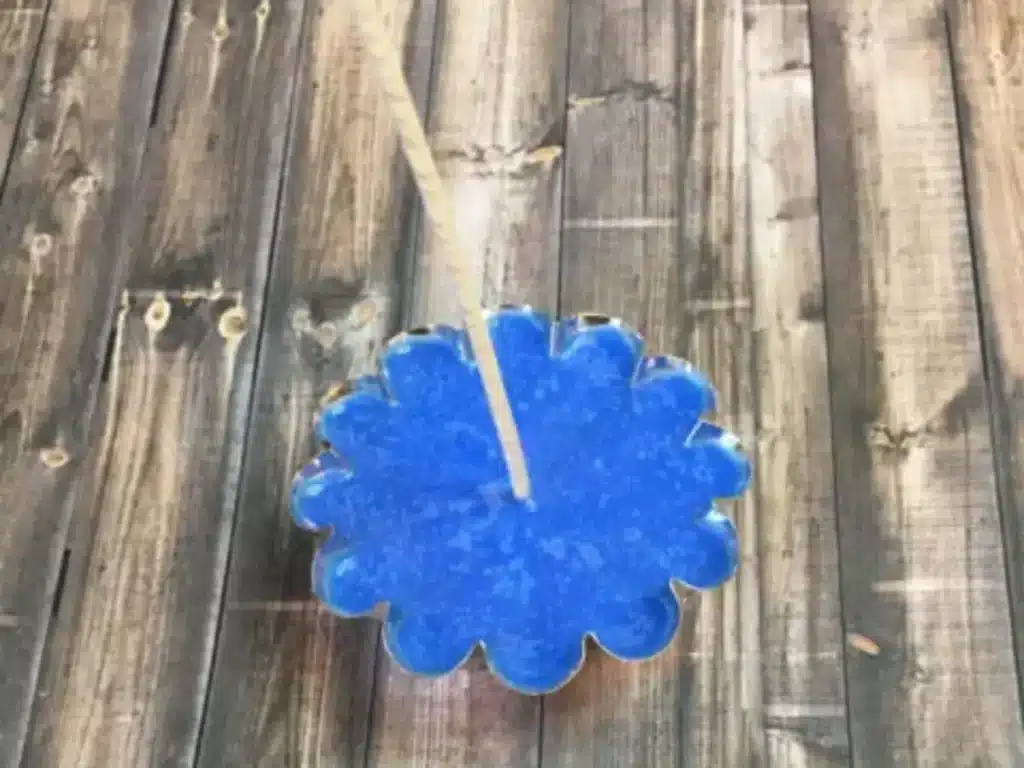
Once the candle is completely cool and firm, it’s time to remove it from the mold.
Because the wick isn’t glued to the mold, you should be able to gently pull upward on the wick to help release the candle.
Don’t pull aggressively.
If the candle doesn’t want to release, give it more time to cool before trying again.
If you’re having trouble getting it out, you can place the mold in the freezer for a few minutes. However, don’t leave it in there for an extended period or rapidly change the temperature of the candle, as this can cause cracking.
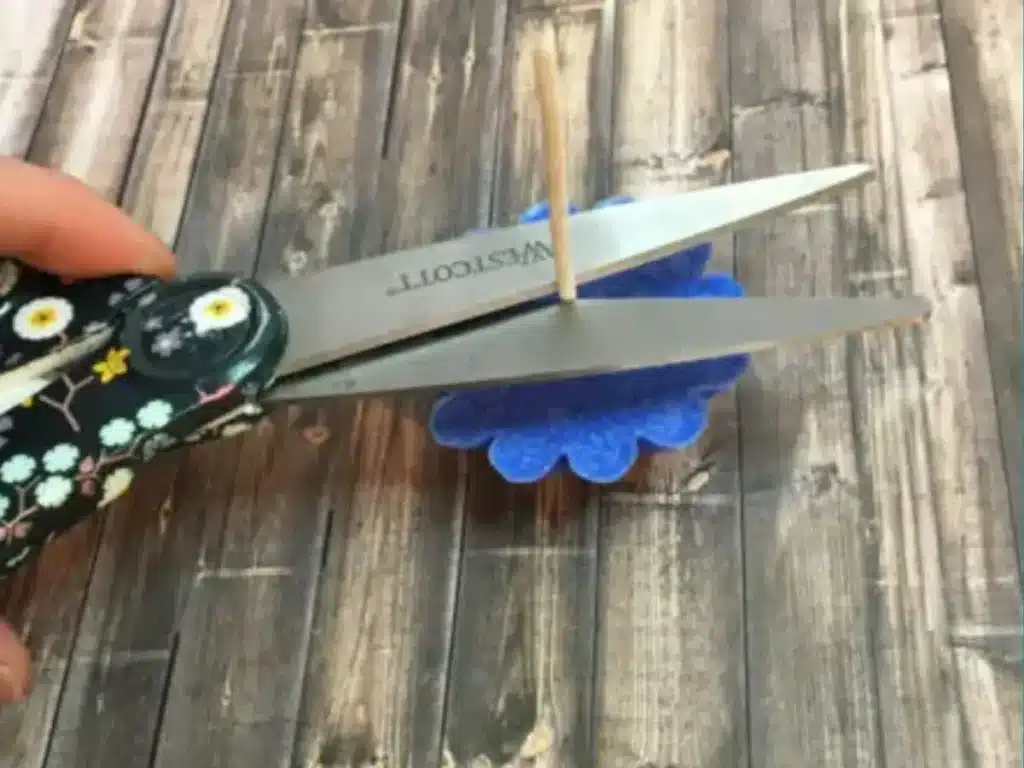
Step 8: Trim the Wick
Once the candle is out of the mold, trim the wick to approximately 1/4 inch.
And that’s it.
Your floating candle is ready to use.
Why Did My Floating Candle Sink?
If your candle doesn’t float properly, the shape and weight of the candle are the first things I’d look at.
A floating candle needs to displace enough water to support its weight. A candle that is too heavy for its shape may sit too low in the water or sink.
This is another reason a purpose-made floating candle mold is helpful. The proportions are designed to create a candle that can sit on the surface of the water.
If you’re experimenting with your own molds, keep the candles relatively short and wide rather than making them tall and narrow.
Why Is My Floating Candle Tipping Over?
Floating candles need a stable shape.
If your candle is very tall or has an uneven bottom, it may be more likely to tip.
A short, flat shape gives you a much more stable candle.
Also check that the wick is centered. A significantly off-center wick can affect how the candle burns, especially as the candle begins to melt.
My Candle Is Sticking to the Mold
The first thing I’d do is give it more time.
The candle should be completely cool and firm before you try to remove it.
If you’re using a soft wax, it may need more cooling time than you expect.
Don’t force the candle out of the mold. It’s much easier to damage a candle during unmolding than it is to simply wait another little while.
If you’re making a large batch, having multiple molds can also make the process easier because you can leave each candle undisturbed while the next one is being made.
My Candle Cracked When I Removed It
Cracking can happen when the candle is forced out of the mold or when it experiences a rapid temperature change.
Try letting the candle cool naturally rather than using the freezer to speed up the process.
If you do need to use the freezer to help release a stubborn candle, keep the cooling time short and handle the candle carefully.
My Candle Has a Dip in the Top
Soy wax can shrink as it cools, which can sometimes leave a small depression in the center of the candle.
This doesn’t necessarily mean you’ve done anything wrong.
If the finished candle has a noticeable dip, you can usually correct it with a small second pour of melted wax or with a heat gun.
Allow the candle to cool completely first, then add a small amount of melted wax to fill the depression. Let it cool again before unmolding.
Can I Make Floating Candles Without Fragrance?
Absolutely.
If you don’t want scented candles, simply leave the fragrance oil out.
Unscented floating candles are a great choice if you’re using them as part of a centerpiece where you don’t want the candle fragrance competing with flowers, food, or other scents in the room.
Can I Make Floating Candles in Different Colors?
Yes.
This is one of my favorite things about making floating candles yourself.
You can make them in almost any color that works with your wax and candle colorant.
Try white for a simple centerpiece, pastel colors for a spring event, or deeper colors for a holiday or evening display.
You can also make several colors and combine them in the same bowl.
If you enjoy experimenting with candle color, an ombre candle is another fun project where you can play with different shades of the same color:
How to Make an Ombre Layered Candle
How to Use Floating Candles Safely
Floating candles are still candles, so treat them like any other open flame.
Use a heat-safe container that is appropriate for holding water and candles.
Never leave a burning candle unattended.
Keep the candle away from curtains, decorations, flowers, leaves, and anything else that could catch fire.
If you’re using multiple floating candles, leave enough space between them so the flames don’t come too close together.
And remember that the water does not make the candle completely risk-free. The flame and hot wax still need to be treated with care.
How to Clean Your Candle Pouring Pot
Cleaning your pouring pot doesn’t have to be difficult.
The easiest approach is to let any remaining wax cool and solidify rather than pouring melted wax down your drain.
Once the wax has hardened, remove as much of it as possible from the pouring pot.
Wipe out the remaining residue with paper towels while the wax is still easy to remove, then clean the container according to the manufacturer’s recommendations.
Avoid washing large amounts of wax down your sink. Melted candle wax can cool inside your plumbing and cause problems.
If you regularly make candles, keeping a few paper towels specifically for wiping out your pouring equipment will save you a lot of cleanup.
More Candle-Making Projects
Once you’ve made these floating candles, you can use the same basic candle-making skills for all kinds of projects.
You can experiment with different colors, fragrances, shapes, and pouring techniques.
If you’re looking for another project to try, take a look at my other candle-making tutorials for more ideas and techniques.
Browse Candle Making Tutorials
And if you want to turn your floating candles into a larger table centerpiece, I have a separate tutorial showing how I used homemade floating candles with flowers, water, and glass pebbles:
How to Make Floating Candles with Soy Wax
Final Thoughts
Making floating candles is one of those projects that proves you don’t need complicated candle-making techniques to create something that looks beautiful.
The basic process is simple: melt your wax, add your color and fragrance, pour it into a shallow mold, add the wick, and let it cool completely.
The shape is what makes the finished candle special.
Once you have the basic technique down, you can start experimenting with different colors, fragrances, and molds to create floating candles for everyday use, dinner parties, holidays, weddings, or special occasions.
And because they’re so quick to make, they’re a great project to come back to whenever you want to create something new.