
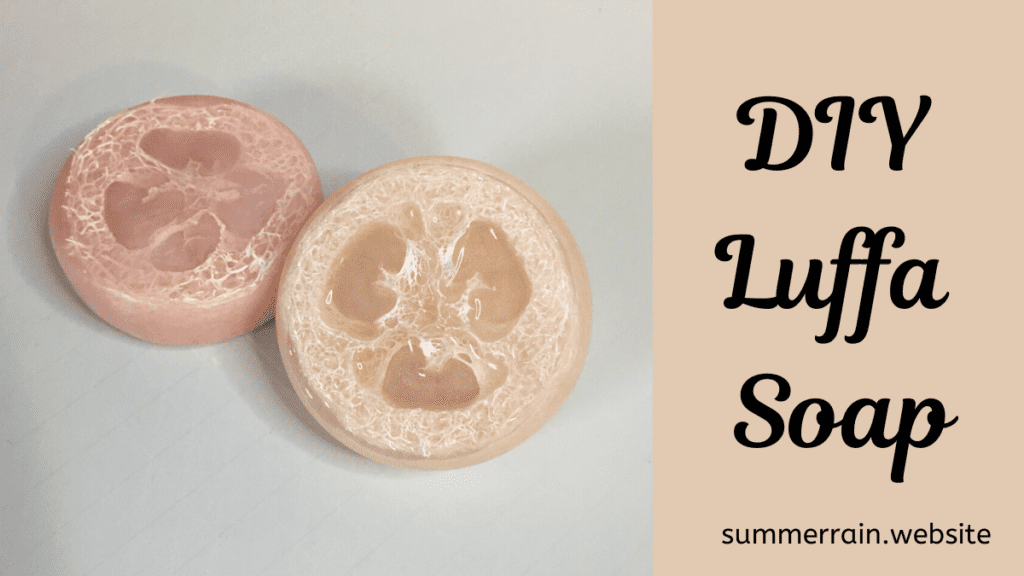
I love the way my skin feels after exfoliating, it is always so soft feeling. This is because exfoliating sloughs off the dead skin cells and reveals the new layer beneath. These luffa soap bars are super simple to make and are a great way to naturally exfoliate your skin.
What is a luffa?
So, luffas are actually a member of the gourd family. After they are picked, they are left to dry. Then the outer layer and seeds are removed. The luffa is washed and dried. Then bam, an all natural exfoliating sponge!
DIY Exfoliating Luffa Melt and Pour Soap Bars
If you love the feeling of freshly exfoliated skin, these DIY luffa soap bars are such a fun project to make.
Instead of using a separate scrub and bar of soap, these melt and pour soap bars combine cleansing and physical exfoliation in one simple project. A natural luffa sponge is embedded directly into the soap, giving the finished bar a textured surface that you can use on areas like your hands, feet, elbows, knees, and body.
And because this is a melt and pour soap project, there is no lye to handle and no curing time to wait for. You simply melt the premade soap base, add your fragrance and color, place the luffa into the mold, and let everything cool.
The trickiest part is getting the luffa positioned correctly so it stays where you want it and is completely surrounded by soap.
In this tutorial, I’ll show you how to make the bars, how to keep the luffa from floating, how to avoid bubbles around the sponge, and how to store the finished soap so it doesn’t develop glycerin dew.
If you’re completely new to melt and pour soap, you may also want to start with my Beginner’s Guide to Making Melt and Pour Soap. It covers the basics of choosing a soap base, melting it without overheating, adding fragrance and color, and working with molds.
Prefer to watch instead of read?
Some of the links on this website are affiliate links. If you purchase through one of these links, I may earn a small commission at no additional cost to you.
What Is a Luffa?
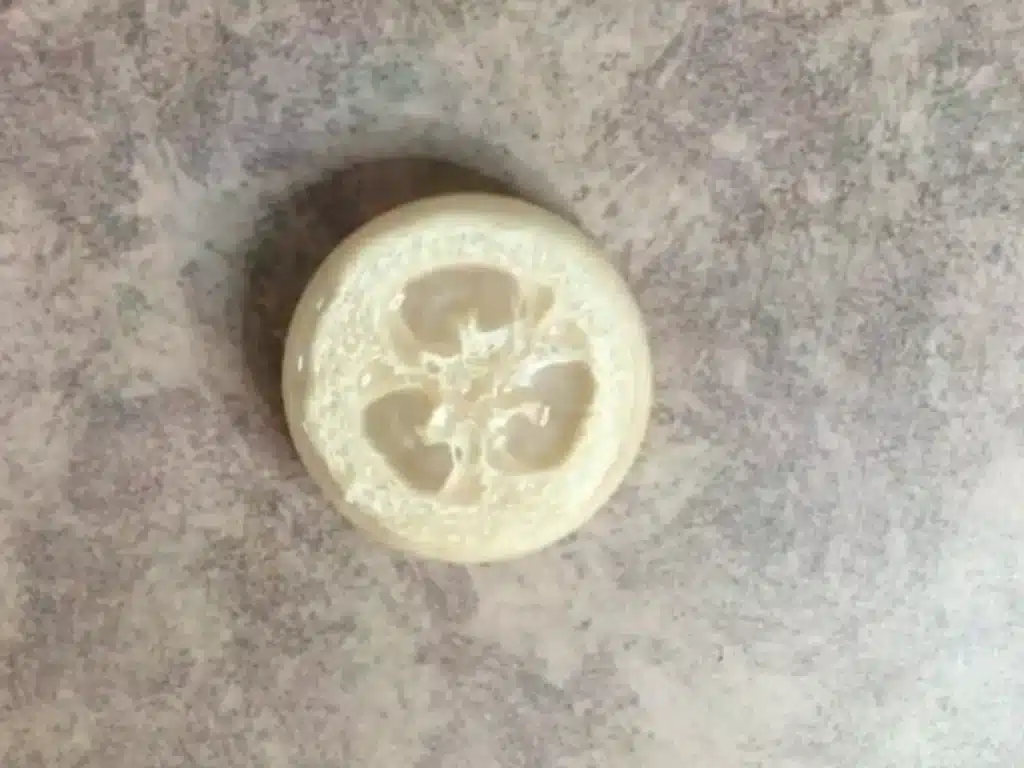
A natural luffa is actually part of the gourd family.
The luffa grows as a type of gourd and, once mature, it can be dried so that the outer layer and seeds can be removed. What remains is the familiar fibrous sponge that can be used for bathing and exfoliation.
When you put a luffa inside melt and pour soap, the soap surrounds those natural fibers and creates a convenient exfoliating bar.
You don’t need much luffa for this project. A slice that fits inside your mold is enough.
Why Put a Luffa Inside Soap?
The luffa gives the soap its texture.
As you use the bar, the exposed fibers provide physical exfoliation while the soap cleanses your skin. This makes the bar particularly useful when you want something more textured than a standard smooth bar of soap.
Because the luffa is doing the exfoliating, you don’t need to add sugar, salt, pumice, or another scrub ingredient to the soap.
Keep in mind that a luffa bar is more exfoliating than a smooth melt and pour bar. I would use a lighter touch rather than scrubbing aggressively, especially on sensitive skin.
For an even more exfoliating project for the feet, take a look at my homemade pedicure with foot soak, exfoliator and whipped pedi butter.
Why Use Melt and Pour Soap?
Melt and pour soap is already soap. The base has gone through the saponification process before you purchase it, so you aren’t making soap from oils and lye yourself.
That makes it especially convenient for projects like this one.
You can cut the base into pieces, melt it gently, add your fragrance and color, and pour it directly into your mold.
There is also no traditional soap curing period. Once the soap has cooled and hardened, it can be unmolded and used.
If you’re deciding between clear and white melt and pour soap, think about the look you want.
Clear melt and pour soap lets you see the luffa through the soap and gives the finished bar a more transparent appearance.
White melt and pour soap creates a more opaque bar and gives mica colors a softer, more pastel appearance.
For this project, I especially like clear melt and pour soap because you can see the luffa inside the finished bar.
DIY Luffa Soap Formula
This recipe makes approximately four 3-ounce bars, depending on the size and depth of your mold.
| Ingredient | Percentage | 4-Bar Batch |
|---|---|---|
| Clear melt and pour soap base | 98% | 340 g |
| Fragrance oil | 2% | 6.9 g |
| Mica powder | As needed | Small amount |
| Natural luffa | — | 4 slices |
The mica and luffa aren’t included in the percentage calculation because they are used as needed rather than as part of the liquid soap formula.
About the fragrance amount
The 2% fragrance rate above is an example, not a universal maximum.
Always check the fragrance manufacturer’s recommended usage rate for soap and stay within that limit. Different fragrance oils have different usage restrictions.
If your particular fragrance has a lower maximum usage rate, use the lower amount.
If you’re changing the batch size, the percentage formula makes it easy to scale.
For example, if you want to make 100 g of soap:
- 98 g melt and pour soap base
- 2 g fragrance oil
- Mica as needed
- Luffa as needed
Choosing Your Luffa
The size of your luffa matters more than you might expect.
You want a piece that fits comfortably inside your mold without pressing tightly against the sides.
If the luffa is too large, simply trim it with scissors or a sharp knife.
Try to choose slices that are relatively even in thickness. A very thick piece can make it harder to completely cover the luffa with soap.
You also don’t want the luffa to completely fill the cavity. You need enough room around it for the melt and pour soap to flow around the fibers.
Luffa Soap Ingredients
- Scale
- Heat Safe Container
- Spatula
- Rubbing alcohol in a spray container
- Silicone mold
How to Make Luffa Melt and Pour Soap
1. Prepare the luffa
Start by cutting your luffa into pieces that fit inside your mold.
If necessary, trim the edges so there is a little space between the luffa and the sides of the mold.
Set the pieces aside while you prepare your soap.
2. Weigh the soap base
Place your heat-safe container on your digital scale and tare the scale.
Add the amount of melt and pour soap base you need for your mold.
For the four-bar batch above, you’ll need 340 g of soap base.
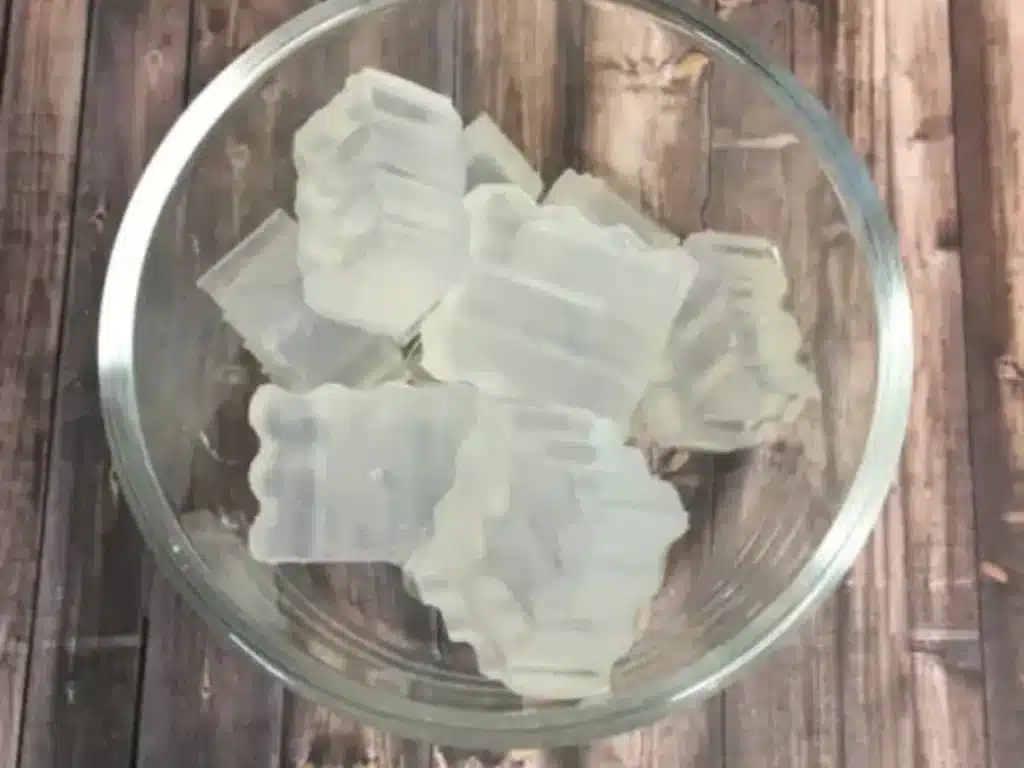
Cut the soap into smaller pieces before melting. Pieces around 1 inch or smaller will melt more evenly than one large block.
3. Melt the soap gently
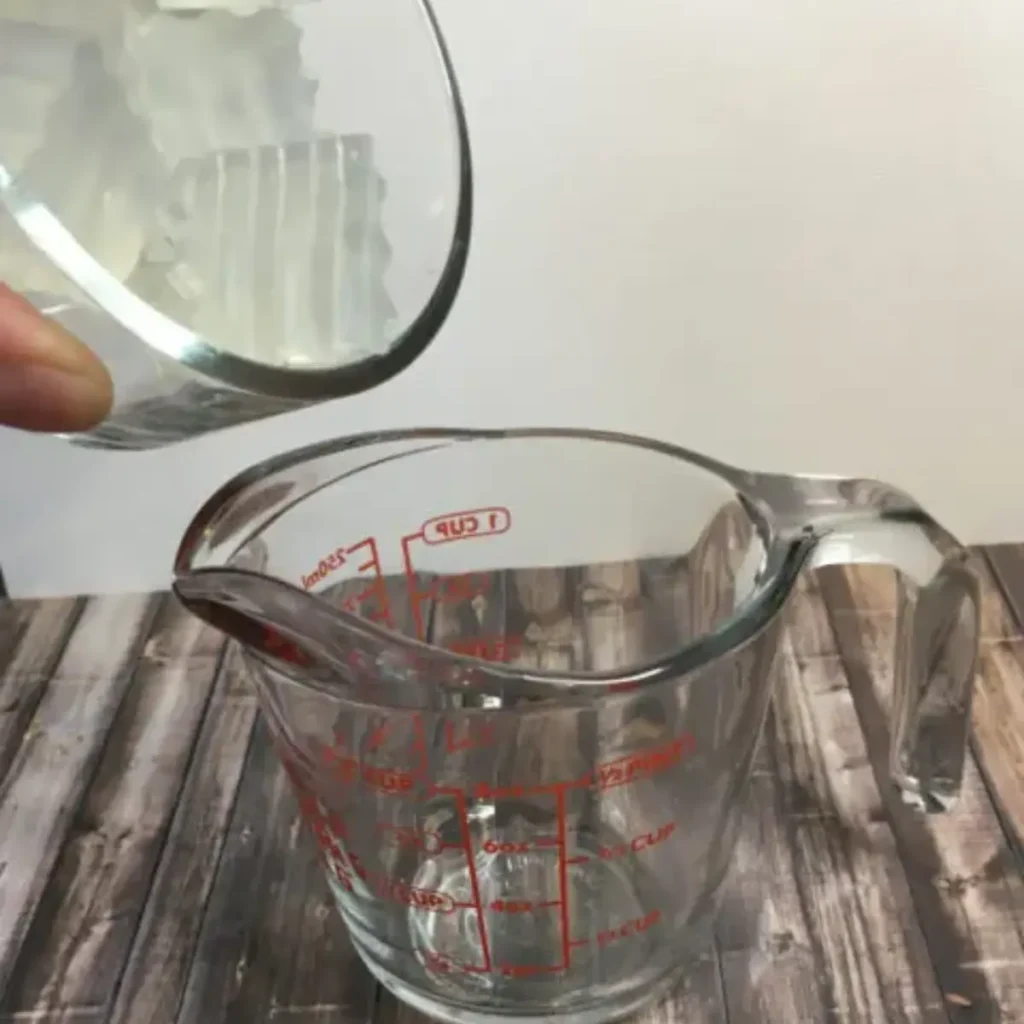
Place the soap in the microwave and heat it in short intervals.
Start with about 20–30 seconds, then remove the container and stir.
Continue using shorter intervals as the soap gets closer to completely melted.
You don’t want to simply microwave the soap until everything is bubbling hot. Overheating melt and pour soap can affect the finished bar and may leave you with a rubbery texture.
Short heating intervals and frequent stirring give you much more control.
My Beginner’s Guide to Making Melt and Pour Soap goes into more detail about melting soap without overheating it.
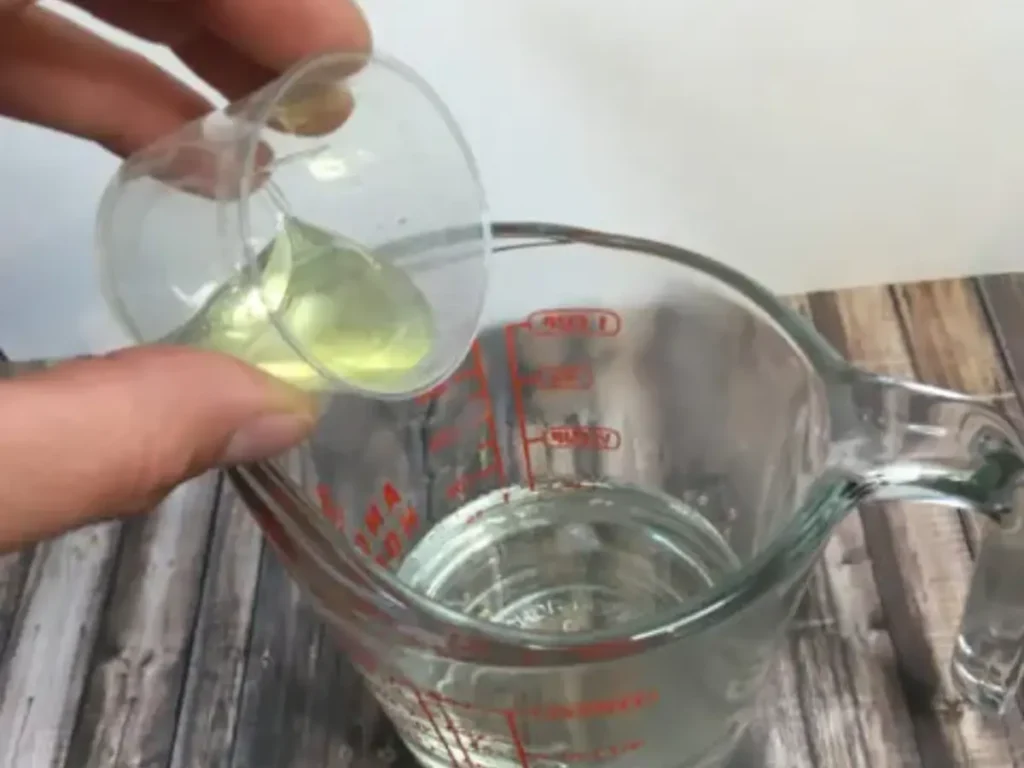
4. Add your fragrance
Once the soap is completely melted, weigh your fragrance oil.
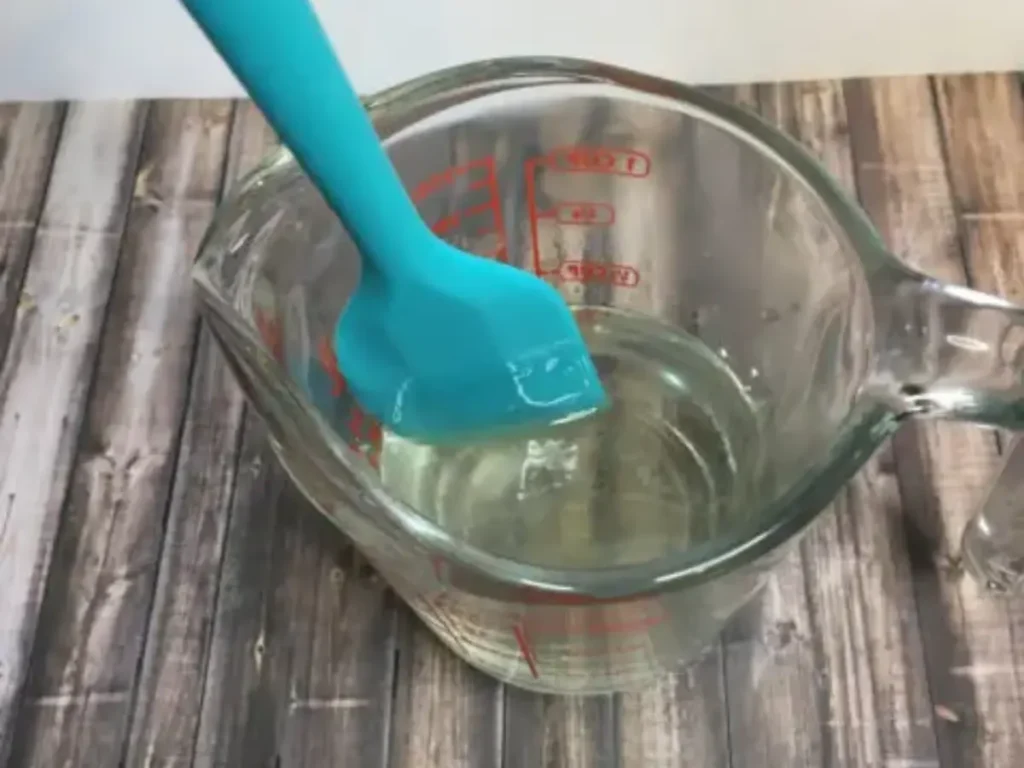
Add it to the melted soap and stir gently but thoroughly.
You want the fragrance evenly distributed throughout the soap, but try not to stir aggressively. The more you whip the melted soap around, the more air bubbles you can introduce.
5. Add mica
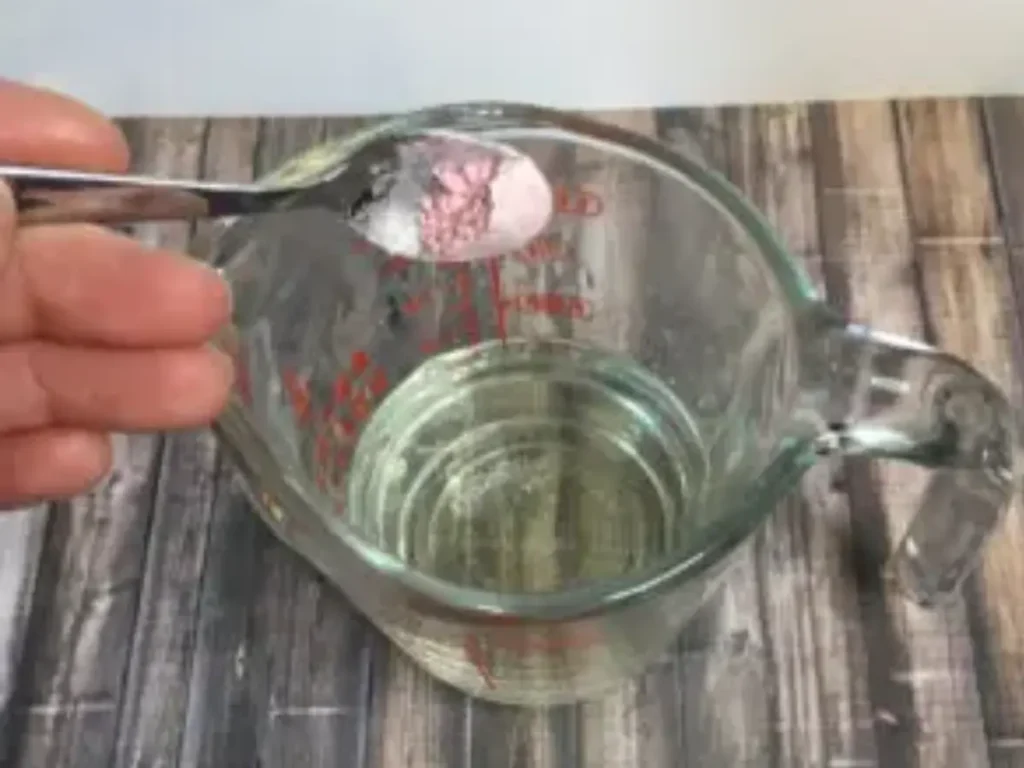
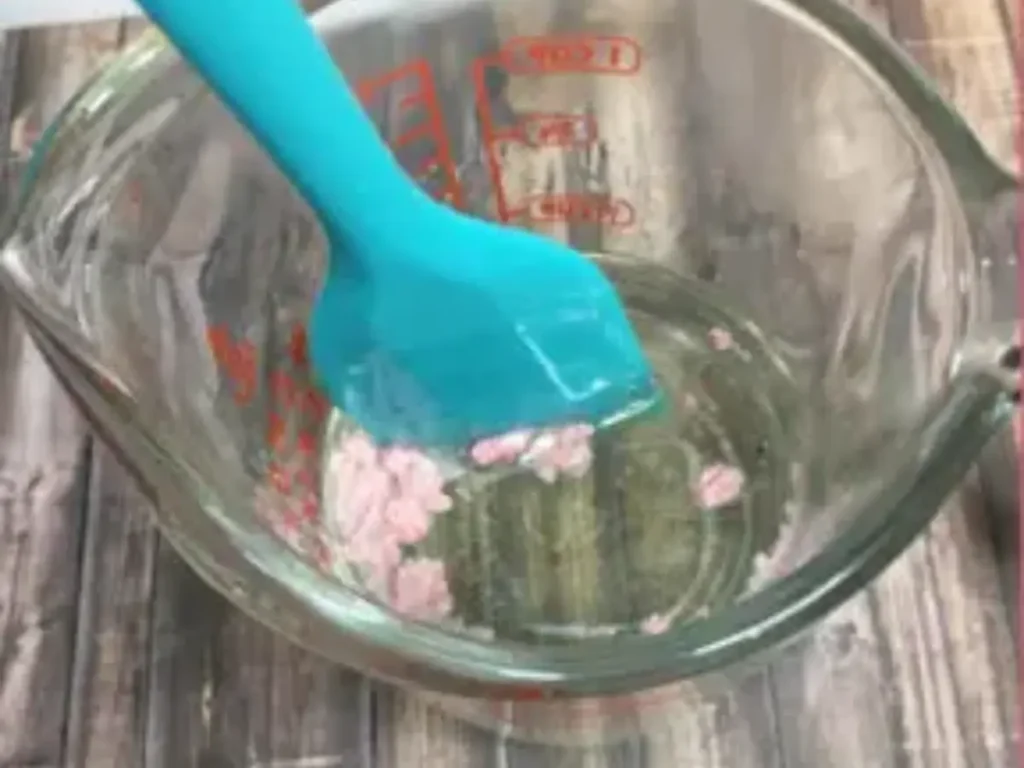
Add a small amount of mica powder and stir until it is evenly distributed.
You don’t need much.
In fact, I prefer using less mica for this project because one of the fun parts of luffa soap is being able to see the sponge inside the bar.
If your mica is clumping on the surface, a light mist of rubbing alcohol can help break it up.
Don’t saturate the soap with alcohol. A small amount is enough.
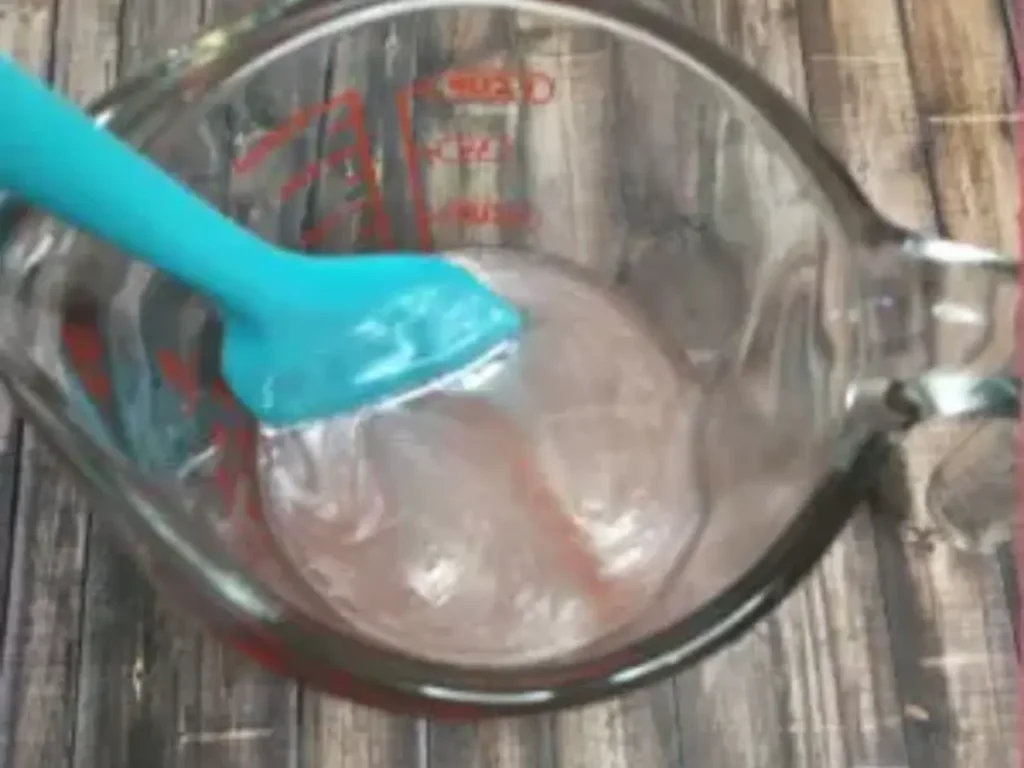
6. Put the luffa into the mold
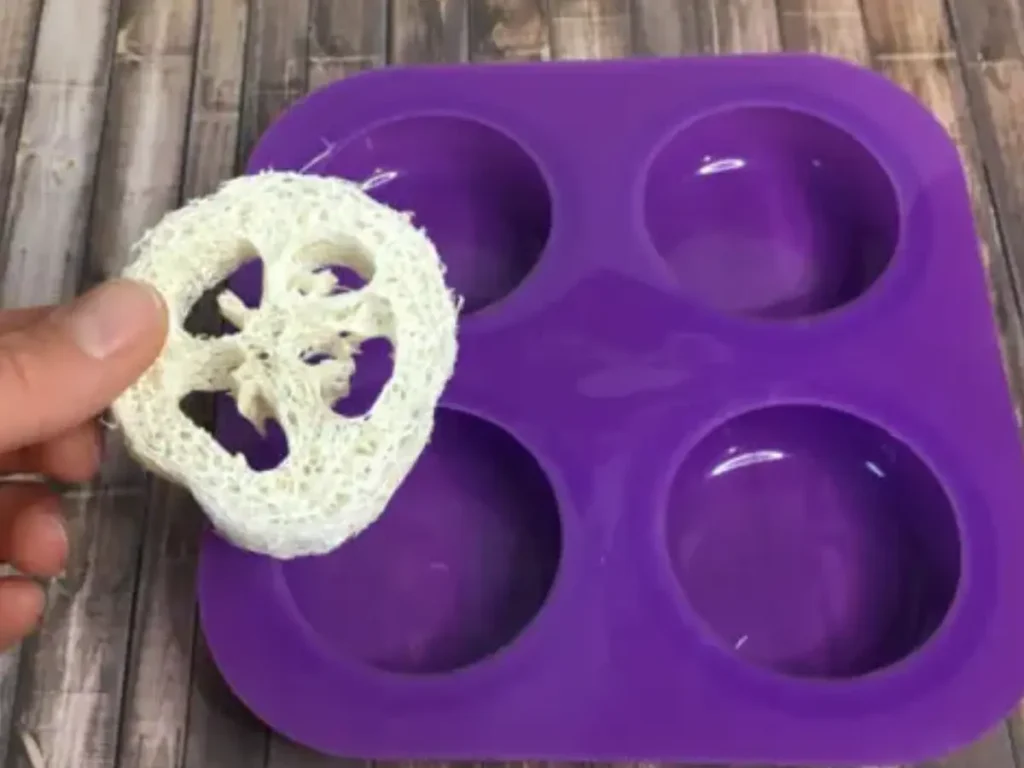
Place one piece of luffa into each mold cavity.
Make sure it is centered as much as possible.
This is where you may discover that your luffa is either too large or too thick for your mold. If that happens, trim it before continuing.
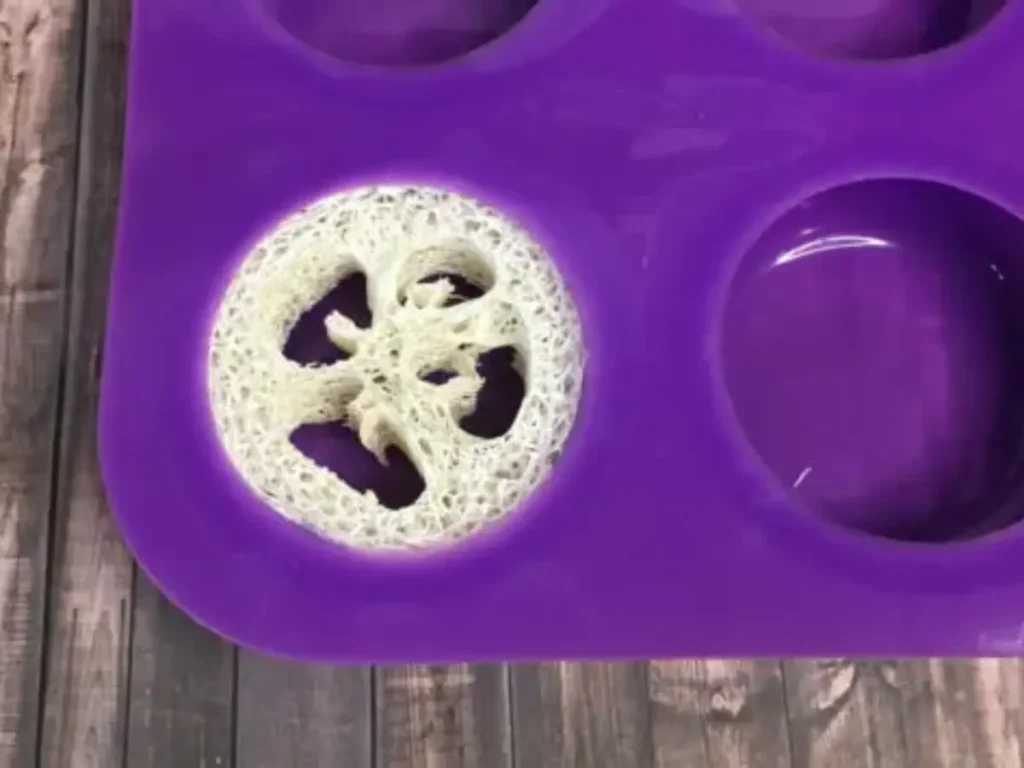
7. Position the luffa
Place the luffa into the mold.
Press it down gently so it sits flat.
8. Pour the soap
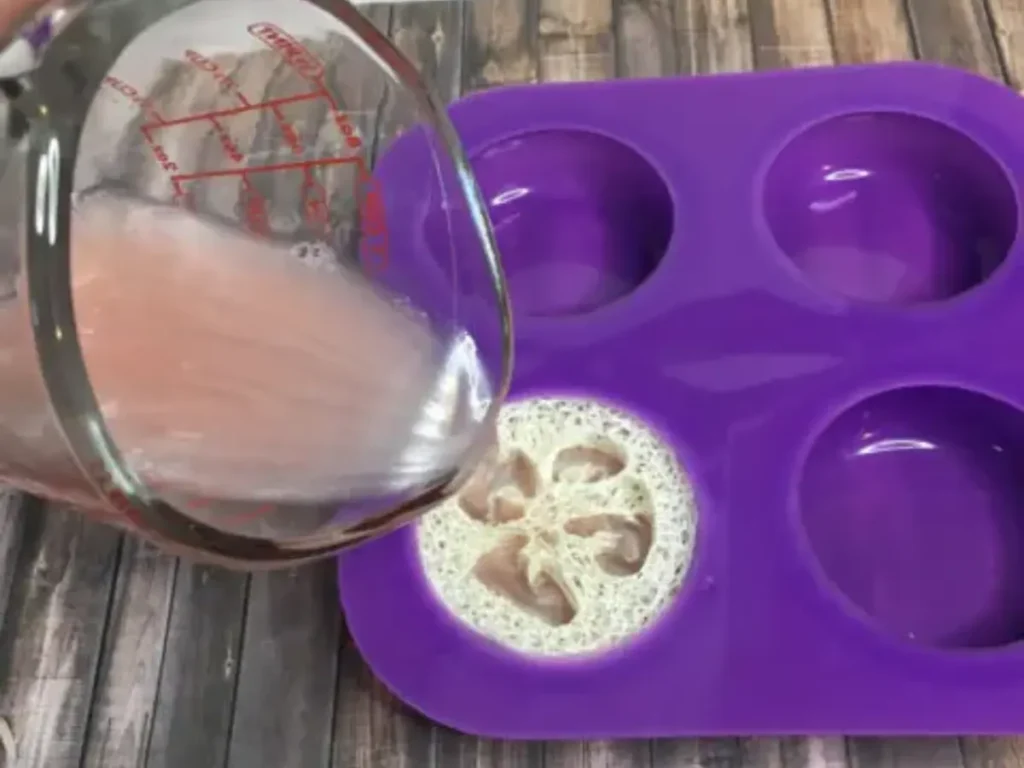
Slowly pour the remaining melted soap around and over the luffa.
Pouring slowly is important because the soap needs time to work its way into all of those little spaces between the luffa fibers.
If you pour too quickly, you can trap air around the sponge.
You can also gently tap the sides of the mold against your work surface to encourage trapped air bubbles to rise.
9. Spray with rubbing alcohol
Once the mold is filled, give the surface a light mist of rubbing alcohol.
This helps pop bubbles that have collected on the surface of the soap.
You can also lightly mist the exposed luffa before your final pour if you notice a lot of air trapped around it.
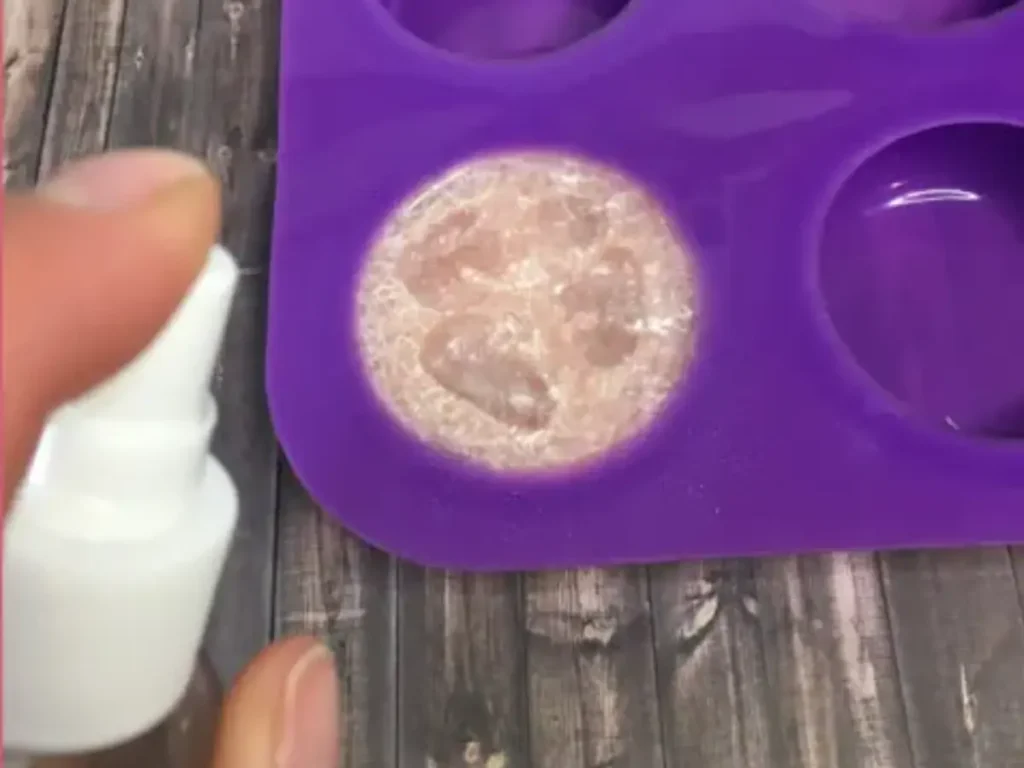
11. Let the soap cool completely
Leave the soap at room temperature until it has completely hardened.
There is no need to put it in the refrigerator or freezer.
In fact, rapid cooling can contribute to condensation and glycerin dew.
Allowing melt and pour soap to cool naturally gives you the best chance of getting a smooth finished bar.
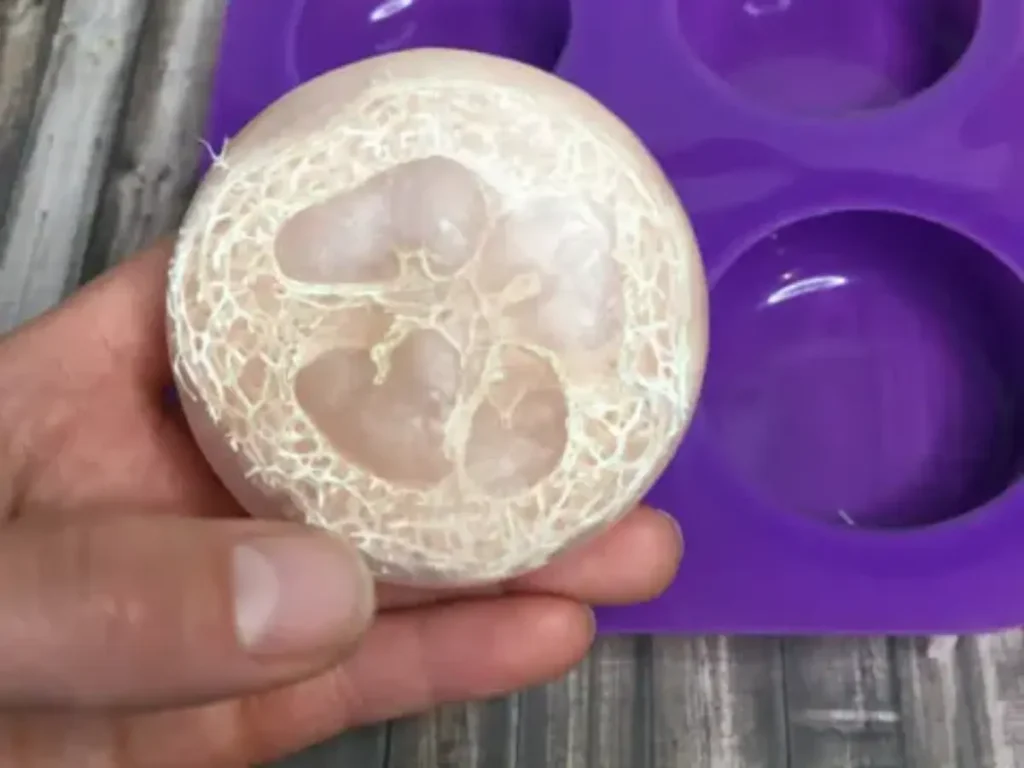
12. Unmold the soap
Once the soap is completely firm, gently pull the silicone mold away from the sides of the bar.
Press from the bottom of the mold to release the soap.
Don’t try to unmold it while the soap is still soft. The luffa can make the bar slightly more difficult to release than a plain bar, so patience helps.
Why Is My Luffa Floating?
This is probably the most common problem with this project.
A natural luffa is light and full of air pockets, so it can want to float in the melted soap.
The easiest solution is to anchor it.
Pour a small amount of soap into the bottom of the mold first. Let it cool enough to become slightly thicker, then place the luffa into that layer.
After that, pour the remaining soap around it.
You can also place something clean and heat-safe over the luffa temporarily to hold it in place while the soap begins to set.
The important thing is not to rely on the final pour alone to hold the luffa down.
Why Are There Bubbles Around My Luffa?
Luffa has a lot of little spaces where air can become trapped.
That means this soap can naturally be more prone to bubbles than a simple smooth bar.
There are a few things you can do:
- Pour the soap slowly.
- Don’t aggressively stir after adding the fragrance.
- Tap the mold gently against the counter.
- Spray the surface lightly with rubbing alcohol.
- Make sure the luffa is completely surrounded by melted soap.
If a few small bubbles remain, don’t worry. Some can be hidden inside the fibers and aren’t necessarily a problem.
Why Is the Luffa Showing Through the Bottom?
This usually means the luffa is sitting too close to the bottom of the mold.
Before making the final pour, look at the position of the sponge.
Honestly, I do not mind a little luffa poking out in this soap!
What If My Luffa Is Too Big?
Trim it.
Seriously.
It is much easier to trim the luffa before it goes into the soap than to try to force an oversized piece into the mold.
Leave a little room around the edges so the melted soap can completely surround the sponge.
Can I Use White Melt and Pour Soap?
Absolutely.
Clear soap gives you a more visible luffa and a slightly more transparent appearance, but white melt and pour works just as well.
White soap will give your mica color a softer, more opaque appearance.
You can also use a different type of melt and pour base depending on the ingredients and finish you want.
If you’re unsure which type to use, my Beginner’s Guide to Making Melt and Pour Soap explains the main differences between clear and white bases.
Can I Use Essential Oils Instead of Fragrance Oil?
You can use an essential oil only if it is appropriate for the intended cosmetic use and you have verified its recommended usage rate.
Essential oils are not automatically safer simply because they are natural.
For an easy beginner project, I usually recommend using a fragrance oil that is specifically formulated and labeled for soapmaking.
Can I Add Dried Flowers or Herbs?
Yes, but think about how the finished soap will be used.
Dried botanicals can make melt and pour soap look beautiful, but some can become messy as the soap is used.
They can also create additional texture against the skin.
If you want to experiment with botanicals, start with a small amount and consider how they will look after the soap has been used a few times.
My Lavender Melt and Pour Luffa Soap is another example of combining a luffa with botanicals in a melt and pour project.
How Exfoliating Is a Luffa Soap Bar?
That depends on the luffa you use and how much pressure you apply.
A luffa bar is considerably more textured than a smooth bar of melt and pour soap.
For that reason, I would treat it as a body exfoliating soap rather than something you need to scrub aggressively with.
Use gentle pressure and let the texture of the luffa do the work.
If your skin becomes irritated, stop using it.
You can also use different luffa thicknesses to change the feel of the finished bar. A thinner, softer piece will generally feel different from a thick, dense piece.
How Do I Store Luffa Soap?
Melt and pour soap does best when it is kept dry between uses.
The luffa can hold water inside its fibers, so don’t leave the bar sitting in a puddle of water.
A draining soap dish or soap rack is a much better option.
Letting the bar dry between uses will help it last longer.
If you’re giving these soaps as gifts, wrap them after they have cooled completely.
Why Does Melt and Pour Soap Get Sweaty?
You may notice little droplets forming on the surface of your finished soap.
This is commonly called glycerin dew or soap sweating.
Melt and pour soap contains glycerin, which attracts moisture from the surrounding air. In humid conditions, that moisture can collect on the surface of the bar.
It doesn’t mean the soap has gone bad.
The easiest way to reduce the problem is to wrap the finished soap in plastic wrap or shrink wrap.
For a deeper explanation, see my article on Soap Sweating or Glycerin Dew.
And don’t put the freshly made soap in the refrigerator or freezer just to make it harden faster. Let it cool naturally at room temperature.
Can I Make These as Gifts?
Absolutely.
These make especially nice handmade gifts because they look more complicated than they actually are.
You can change the color and fragrance to create completely different bars without changing the basic process.
Try:
- Lavender and purple
- Citrus and yellow
- Mint and green
- Vanilla-inspired colors
- Floral fragrances with soft pastel mica
- A completely clear bar with no mica
Just remember to use skin-safe fragrance and colorants intended for soapmaking.
More Melt and Pour Soap Projects
Once you’ve made a few luffa bars, there are plenty of ways to take the same basic melt and pour techniques further.
If you enjoy textured soap, try my Massage Soap on a Rope. The mold creates texture on the outside of the bar, while the rope makes it easy to hang between uses.
You can also experiment with embeds, multiple colors, and layers. My tutorial on how to layer melt and pour soap walks through the temperature and timing that make layered soap work properly.
And if you want to try another unusual melt and pour design, my Easy Coffee Bean Melt and Pour Soap Recipe uses coffee beans to create a completely different look.
Frequently Asked Questions
Does a luffa soap bar actually exfoliate?
Yes. The natural luffa fibers provide physical exfoliation as you wash. The amount of exfoliation depends on the thickness and texture of the luffa and how much pressure you use.
Can I use a different soap mold?
Yes. You can use almost any silicone mold that gives you enough room for the luffa and the surrounding soap.
Keep in mind that very shallow molds may not leave enough soap around the sponge.
Do I have to use clear melt and pour soap?
No. White melt and pour soap works too. Clear soap simply makes it easier to see the luffa inside the finished bar.
How much fragrance should I use?
Use the fragrance manufacturer’s recommended usage rate for soap. The 2% formula in this tutorial is an example and should be adjusted if your particular fragrance has a different maximum usage rate.
Why do I need rubbing alcohol?
Rubbing alcohol helps break surface tension and pop bubbles in melted melt and pour soap. It can also help disperse small mica clumps.
Do I need to cure melt and pour soap?
No traditional cure time is required. Melt and pour soap is already saponified. Once your bar has cooled and hardened, it can be unmolded and used.
How do I keep melt and pour soap from sweating?
Wrap the finished bar tightly in plastic wrap or shrink wrap and store it somewhere cool and dry. Humidity can make glycerin dew more noticeable.
Can I use the luffa on my face?
I wouldn’t recommend this particular bar as a facial exfoliator. A luffa is relatively textured, so this project is better suited to the body, especially areas where you want more physical exfoliation.
Final Thoughts
These luffa soap bars are one of those projects that look much more complicated than they actually are.
The soap itself is simple. The part that makes the finished bar interesting is the natural luffa running through the center, giving you a built-in exfoliating texture every time you use it.
And that’s one of my favorite things about melt and pour soap: once you understand the basic process, you can keep changing the details and creating something completely new.